17
Note 1:
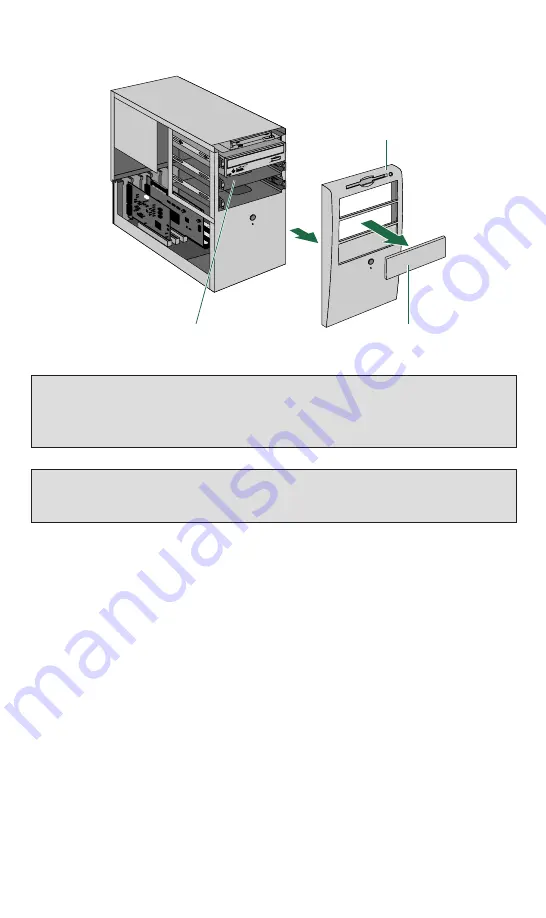
To install your new 3-in-1 CD-RW drive, you need an empty drive bay. If you plan to use an existing
drive bay currently occupied by a CD-ROM drive, you must first remove the driver software for that drive and
then turn off your computer and remove the drive. Then, turn on the computer again, making sure that your
system recognizes that the old drive is no longer there. Turn off the computer again and start the installation
process of your new 3-in-1 CD-RW drive from the beginning.
Note 2:
The drive bays of most computers accommodate any Yamaha CD-RW drive directly. However, some
computers may require an accessory rail or mounting bracket. These components are available from your com-
puter’s manufacturer or your local computer hardware store.
5. Your Yamaha CD-RW drive is protected in a poly bag. Ground yourself again and then
remove the drive slowly from its poly bag. Make sure you hold your 3-in-1 CD-RW drive
by its main case and not the tray or front panel.
6. Locate the serial number label, as shown on page 6, and write down the serial number
of your 3-in-1 CD-RW drive. This serial number is required for product registration, as
well as for any type of technical and customer service.
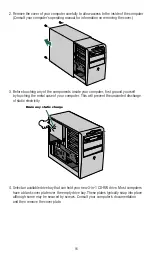
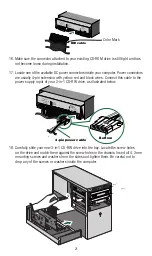
7. Slide your 3-in-1 CD-RW drive into the drive bay. Do not force the CD-RW drive in if
you feel it does not fit the slot. Repeat step 4 and study the illustration carefully.
8. If space is tight inside your computer, you may wish to connect the audio output cable,
the power supply cable, and the ribbon cable before sliding your CD-RW 3-in-1 drive all
the way into the bay.
Front panel
5.25-inch drive bay slot
Front cover


