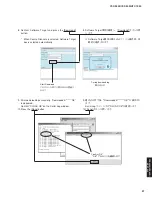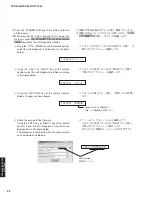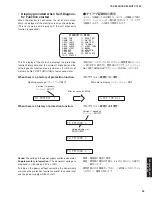
YSP-3000/YSP-30D/HTY-7030
22
YSP-3000/YSP-30D/
HTY-7030
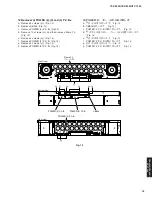
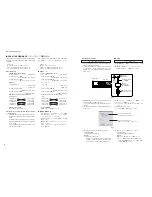
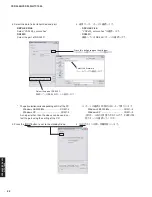
※ ポートの選択はPC側のOSによって異なります。
Windows 98/2000/Me ..................... COM1〜4
Windows XP ................................... COM1〜2
上記ポート以外は使用できませんので、PC側の設
定でポートを選択してください。
4.[RDY]ボタンを押し待機状態にします。
* The port selection varies depending on OS of the PC.
Windows 98/2000/Me ........................ COM1-4
Windows XP ...................................... COM1-2
As no port other than the above can be used, se-
lect the port using the setting of the PC.
4. Press the [RDY] button to set to the standby mode.
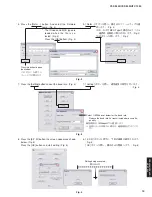
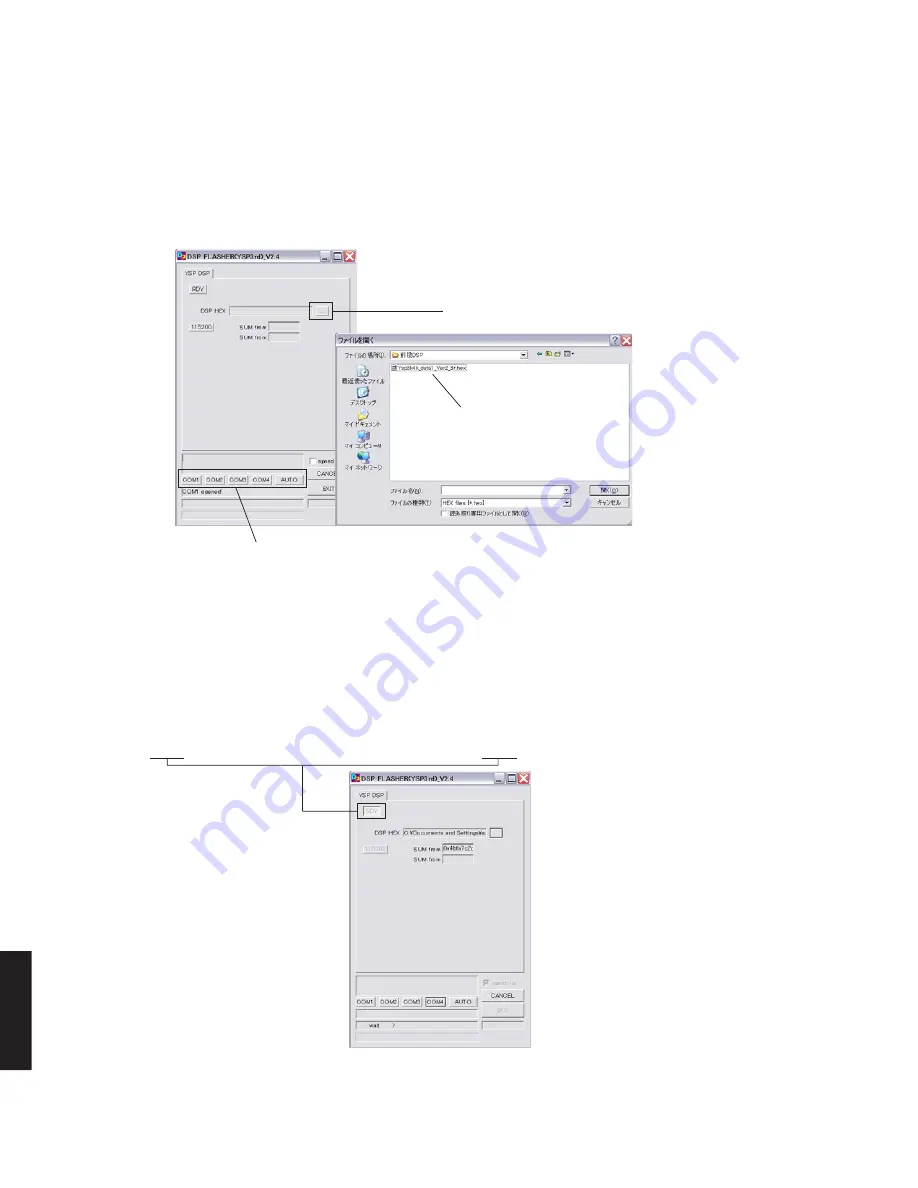
3. 送信データ、ポートを選択します。
・ DSP HEX FILE
YSPx00̲verxxxx.hex を選択します。
・ RS232C
接続しているRS-232Cポートを選択します。
3. Select the data to be transmitted and port.
·
DSP HEX FILE
Select “YSPx00_verxxxx.hex”.
·
RS232C
Select the port of RS-232C.
Press this button to open the window
このボタンを押すとウィンドウが開きます
Select the port of RS-232C
接続しているRS-232Cポートを選択します
Select the firmware
ファームウェアを選択します
Summary of Contents for Digital Sound Projector YSP-3000
Page 78: ...78 YSP 3000 YSP 30D HTY 7030 YSP 3000 YSP 30D HTY 7030 MEMO MEMO ...
Page 111: ...111 YSP 3000 YSP 30D HTY 7030 YSP 3000 YSP 30D HTY 7030 ...
Page 112: ...112 YSP 3000 YSP 30D HTY 7030 YSP 3000 YSP 30D HTY 7030 ...
Page 113: ...113 YSP 3000 YSP 30D HTY 7030 YSP 3000 YSP 30D HTY 7030 ...
Page 114: ...114 YSP 3000 YSP 30D HTY 7030 YSP 3000 YSP 30D HTY 7030 ...
Page 115: ...YSP 3000 YSP 30D HTY 7030 115 ...
Page 116: ...YSP 3000 YSP 30D HTY 7030 ...

