Perio
d
ic maintenance an
d
a
d
justment
6-18
6
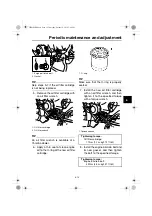
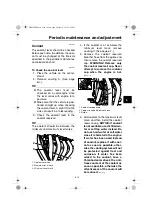
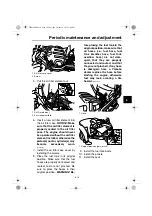
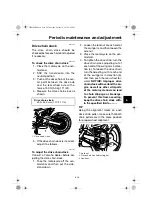
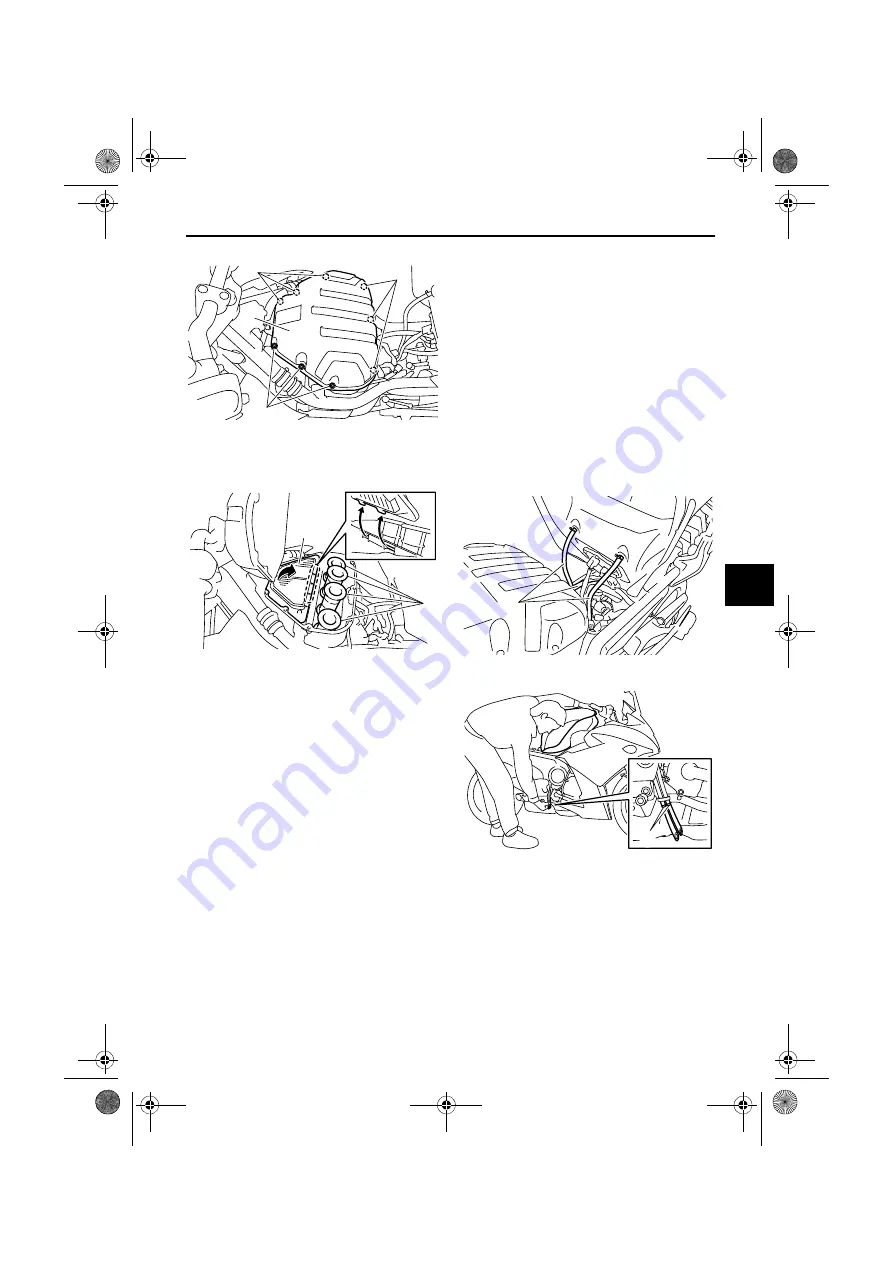
5. Pull the air filter element out.
6. Insert a new air filter element into
the air filter case.
NOTICE:
Make
sure that the air filter element is
properly seate
d
in the air filter
case. The en
g
ine shoul
d
never
b
e operate
d
without the air filter
element installe
d
, otherwise the
piston(s) an
d
/or cylin
d
er(s) may
b
ecome excessively worn.
[ECA10482]
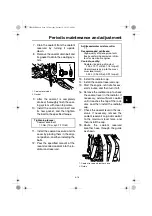
7. Install the air filter case cover by
installing the screws.
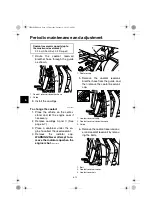
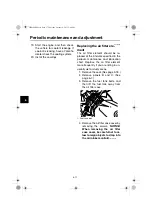
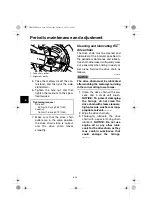
8. Place the fuel tank in its original
position. Make sure that the fuel
hoses are properly connected and
routed, and are not pinched. Be
sure to place the hoses in their
original position.
WARNING! Be-
fore placin
g
the fuel tank in the
ori
g
inal position, make sure that
all hoses (i.e., fuel hose, fuel
tank
b
reather hose, fuel tank
overflow hose) are not
d
am-
a
g
e
d
, that they are properly
connecte
d
an
d
route
d
, an
d
that
they are not pinche
d
. If any hose
is
d
ama
g
e
d
, have a Yamaha
d
ealer replace the hose
b
efore
startin
g
the en
g
ine, otherwise
fuel may leak, creatin
g
a fire
hazar
d
.
[EWA12464]
9. Install the fuel tank bolts.
10. Install the panels.
11. Install the seat.
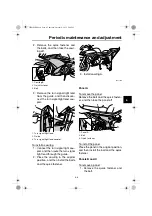
1. Air filter case cover
2. Screw
1. Air filter element
2. Air intake manifold
1
2
2
2
2
1
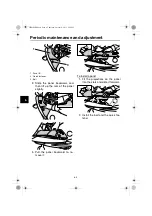
1. Hose
1. Original position (paint mark)
1
1
UBS1E0E0.book Page 18 Thursday, October 8, 2015 3:40 PM

