Preparing for the update
1.
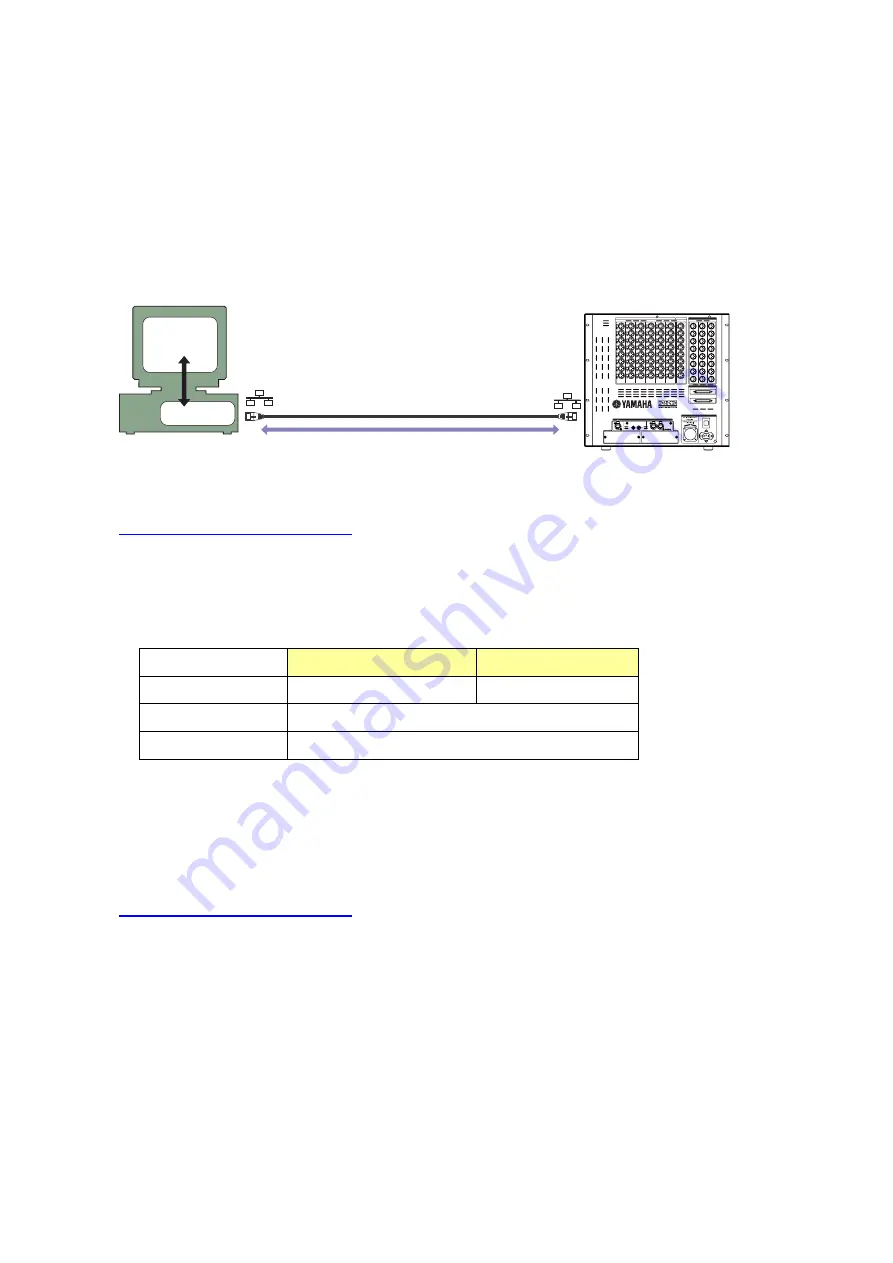
Connect the computer to the DSP5D with an Ethernet cable.
Yamaha recommends that you connect the computer directly to a single DSP5D via the NETWORK
connector.
If you have already used the DSP5D Editor, and the computer settings (including the DME-N
Network Driver) and the DSP5D network settings have been made, go to step 3.
DSP5D Loader
Ethernet cable
Driver
Computer
2.
Download the DME-N Network Driver from the following Yamaha Pro Audio website, then install
and set up the driver.
http://www.yamahaproaudio.com/
For instructions on how to install and set up the DME-N Network Driver, refer to the DME-N Network
Driver Installation Guide for DSP5D.
If you are connecting the computer to a single DSP5D, we recommend that you make the following
network settings (initial settings for the DSP5D).
DSP5D
DSP5D (Initial settings)
Computer
IP address
192.168.0.129
192.168.0.3
Gateway address
192.168.0.1
Subnet mask
255.255.255.0
3.
Save the DSP5D internal data as a backup because you will need to initialize the internal memory
after the update.
If you want to save the data to a PM5D memory card, save it as ALL DATA using the SAVE/LOAD
function. You can also save the data to the computer using the DSP5D Editor.
4.
Download the latest firmware from the Yamaha Pro Audio website.
http://www.yamahaproaudio.com/
5.
Extract the downloaded file, then double-click “DSP5DLoader.exe” in the “V***_Update” folder (“***”
indicates the version number).
DSP5D Upgrade Guide
2


