


OUT
TX RX TX RX
IN
OUT
TX RX TX RX
IN
OUT
TX RX TX RX
IN
OUT
TX RX TX RX
IN
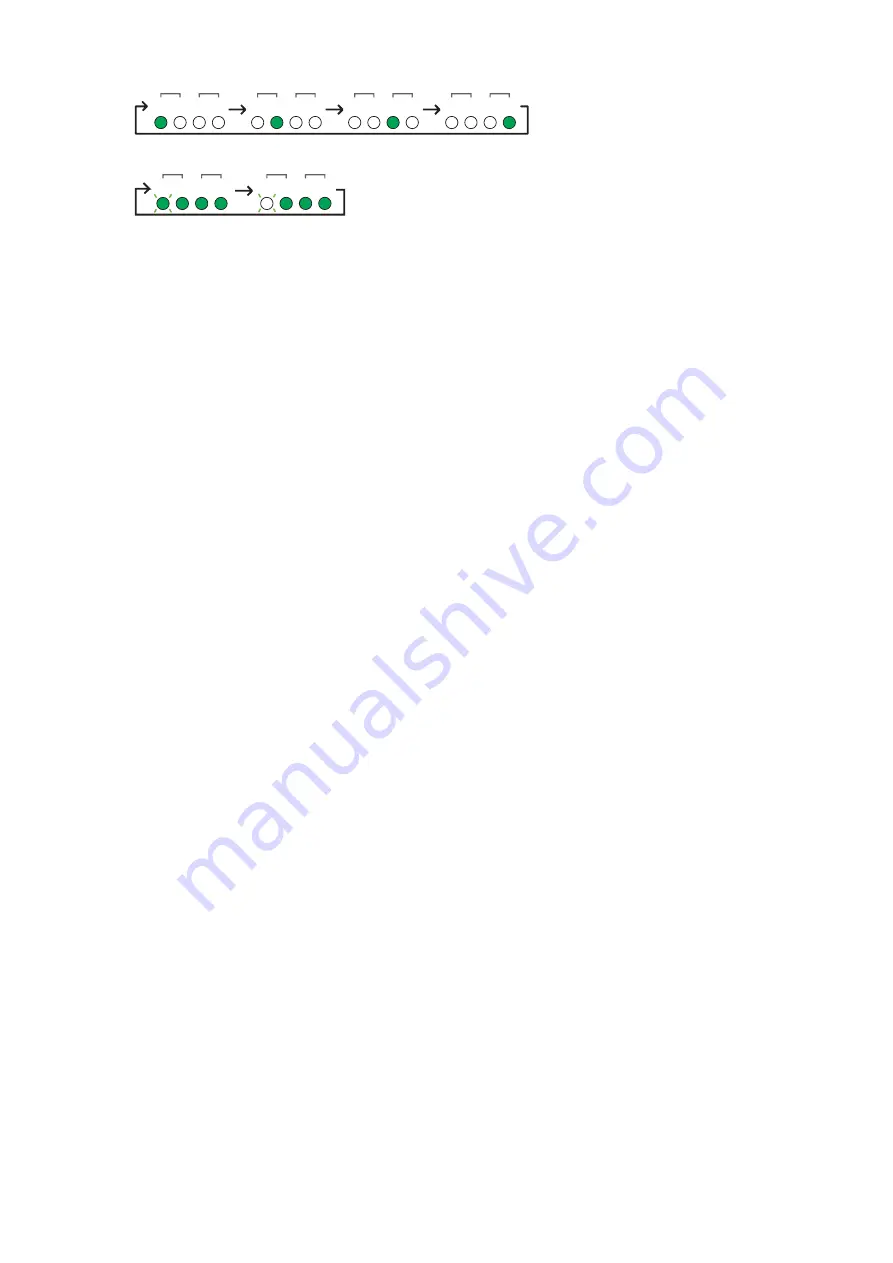
4.
The OUT [TX] LED flashes and the other three LEDs light.
OUT
TX RX TX RX
IN
OUT
TX RX TX RX
IN
5.
Turn the power off, and then on again.
The DSP5D update has been completed.
If you have backed up the necessary data, load it using the PM5D SAVE/LOAD function or the DSP5D
Editor. If necessary, you can check the current firmware version to confirm whether the firmware has
been properly updated or not.
Confirming the Firmware Version
Using the PM5D:
1.
Cascade-connect the PM5D and the DSP5D and set the CASCADE ENABLED/DISABLED button
to ENABLED.
2.
Switch the device to be controlled on the PM5D to the DSP5D.
3.
Press the PM5D [UTILITY] key several times until the PREFERENCE 2 screen is shown.
4.
Confirm that the version shown in the SOFTWARE VERSION field is properly updated.
For details on how to cascade-connect the devices and how to operate the PM5D, refer to the
PM5D V2/DSP5D Owner’s Manual.
Using a computer on which the DSP5D Editor is running:
1.
Cascade-connect the DSP5D and a computer on which the DSP5D Editor is running, then set them
online.
2.
From the DSP5D Editor [Window] menu, select [Utility] -> [Preference] to open the Preference
window.
3.
Confirm that the version shown in the SOFTWARE VERSION field is properly updated.
For details on how to install and operate the DSP5D Editor, refer to the DSP5D Editor Installation
Guide and the PM5DV2/DSP5D Editor Owner’s Manual.
Yamaha Corporation, All Rights Reserved.
B0
© 2007 Yamaha Corporation
DSP5D Upgrade Guide
7


