DTX700 O
w
ner’s Man
u
al
11
Setup
Component Names & Functions
!0
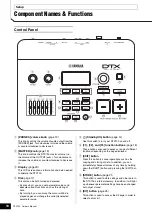
[SONG] button
(page 36)
This
bu
tton is
u
sed to access the Song page in order
to select a song.
!1
[MENU] button
(page 20)
This
bu
tton is
u
sed to access the Men
u
area. From
here, yo
u
can select vario
u
s other pages in order to
config
u
re yo
u
r DTX700 in many different
w
ays.
* This
b
ooklet introd
u
ces some of the
b
asic f
u
nctions avail-
a
b
le in the Men
u
area. For a complete description of all
f
u
nctions, please do
w
nload the DTX700
Reference Manual
from this
w
e
b
page:
http://
www
.yamaha.co.jp/man
u
al/
!2
[INST] button
(page 30)
This
bu
tton is
u
sed to access the Instr
u
ment page in
order to select instr
u
ments.
[Definition] Instrument
In the context of the DTX700, the term “instr
u
-
ment” is
u
sed to refer to each of the vario
u
s
perc
u
ssion instr
u
ments that make
u
p a kit. Typ-
ical examples
w
o
u
ld
b
e snare dr
u
ms, tom-toms,
cym
b
als, and kick dr
u
ms.
!3
[CLICK] button
(page 41)
This
bu
tton is
u
sed to access the Click page in order to
set yo
u
r DTX700’s click-track (or metronome).
!4
[SHIFT] button
When yo
u
press this
bu
tton, the f
u
nctions assigned to
the [F1], [F2], and [F3]
bu
ttons
w
ill change. These
f
u
nctions can
b
e accessed
b
y holding do
w
n the
[SHIFT]
bu
tton and pressing the corresponding f
u
nc-
tion
bu
tton (see page 18). Mean
w
hile, a n
u
m
b
er of the
bu
ttons on the DTX700’s control panel have second-
ary f
u
nctions, indicated j
u
st a
b
ove the
bu
ttons them-
selves. These f
u
nctions can also
b
e accessed
b
y
holding do
w
n the [SHIFT]
bu
tton and pressing the cor-
responding
bu
tton.
!5
[
>
/
] button
(page 48)
Use this
bu
tton to start and stop the play
b
ack of perfor-
mances that yo
u
have recorded on the DTX700.
!6
[REC] button
(page 48)
Using this
bu
tton, yo
u
can activate and deactivate
recording of yo
u
r performances.
!7
[
] (Click-track) button
(page 41)
The Click-track
bu
tton is
u
sed to start and stop the
DTX700’s click-track (or metronome).
!8
[-/DEC] button
(page 18)
This
bu
tton is
u
sed to decrease the val
u
e at the c
u
rsor
position. In addition, the selected val
u
e can
b
e
decreased in
u
nits of 10
b
y holding do
w
n the [SHIFT]
bu
tton and pressing the [-/DEC]
bu
tton or
b
y holding
do
w
n the [-/DEC]
bu
tton and pressing the [+/INC]
bu
t-
ton.
!9
[+/INC] button
(page 18)
This
bu
tton is
u
sed to increase the val
u
e at the c
u
rsor
position. In addition, the selected val
u
e can
b
e
increased in
u
nits of 10
b
y holding do
w
n the [SHIFT]
bu
tton and pressing the [+/INC]
bu
tton or
b
y holding
do
w
n the [+/INC]
bu
tton and pressing the [-/DEC]
bu
t-
ton.
@0
Sliders
(page 41)
The sliders are
u
sed to adj
u
st the vol
u
mes of individ-
u
al parts s
u
ch as the snare and toms, and also the vol-
u
me of the click-track.
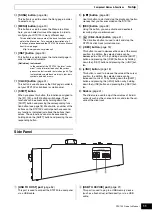
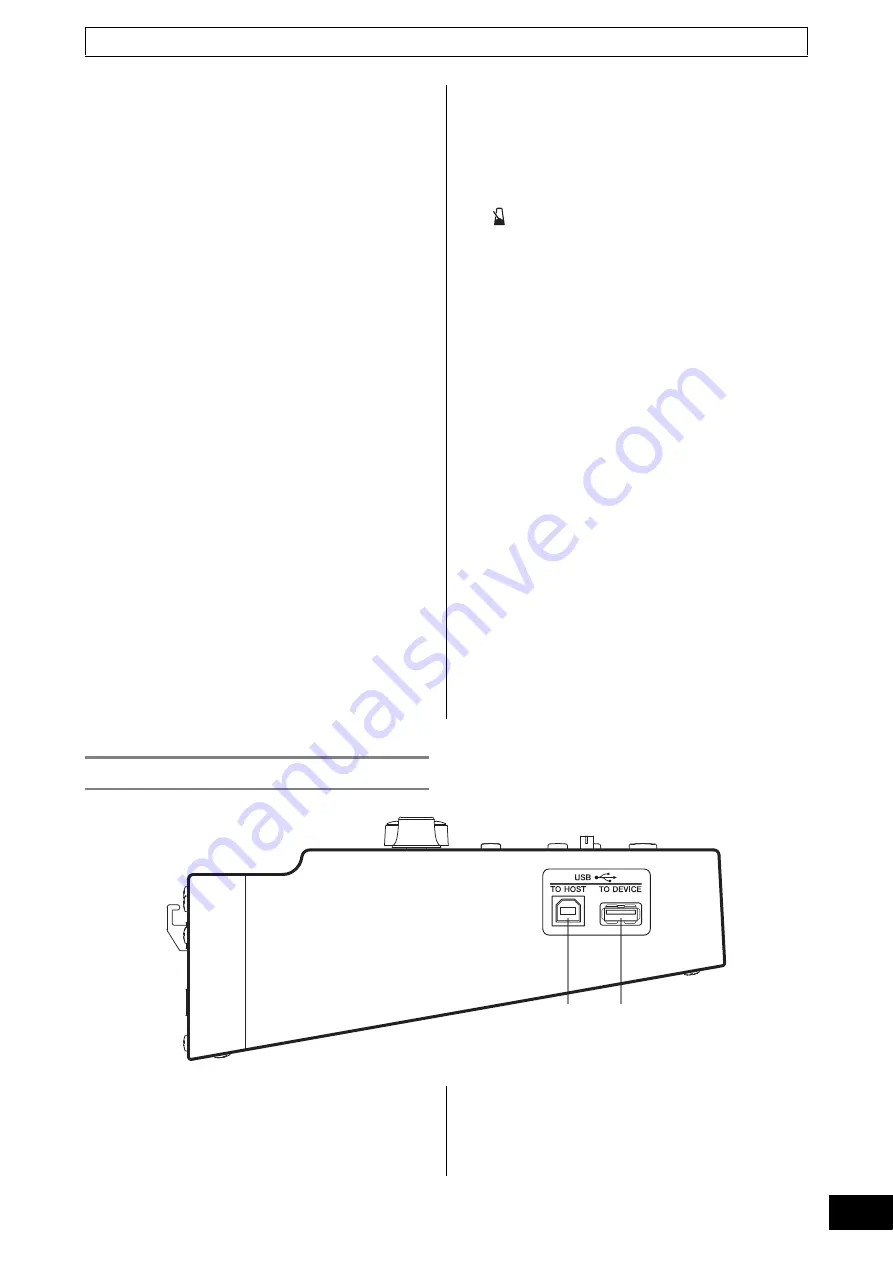
q
[USB TO HOST] port
(page 52)
This port is
u
sed to connect the DTX700 to a comp
u
ter
via a USB ca
b
le.
w
[USB TO DEVICE] port
(page 21)
This port is
u
sed to pl
u
g in a USB memory device
(s
u
ch as a flash drive), either directly or via a USB
ca
b
le.
Side Panel
q
w
Summary of Contents for DTX700
Page 62: ...62 DTX700 Owner s Manual...


