Setting Up
18
DTX900 Owner’s Manual
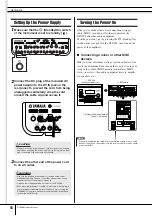
Setting Up the Power Supply
1
Make sure that the
F
(Standby/On) switch
of the instrument is set to standby (
).
2
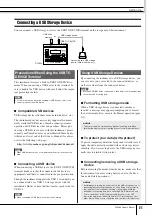
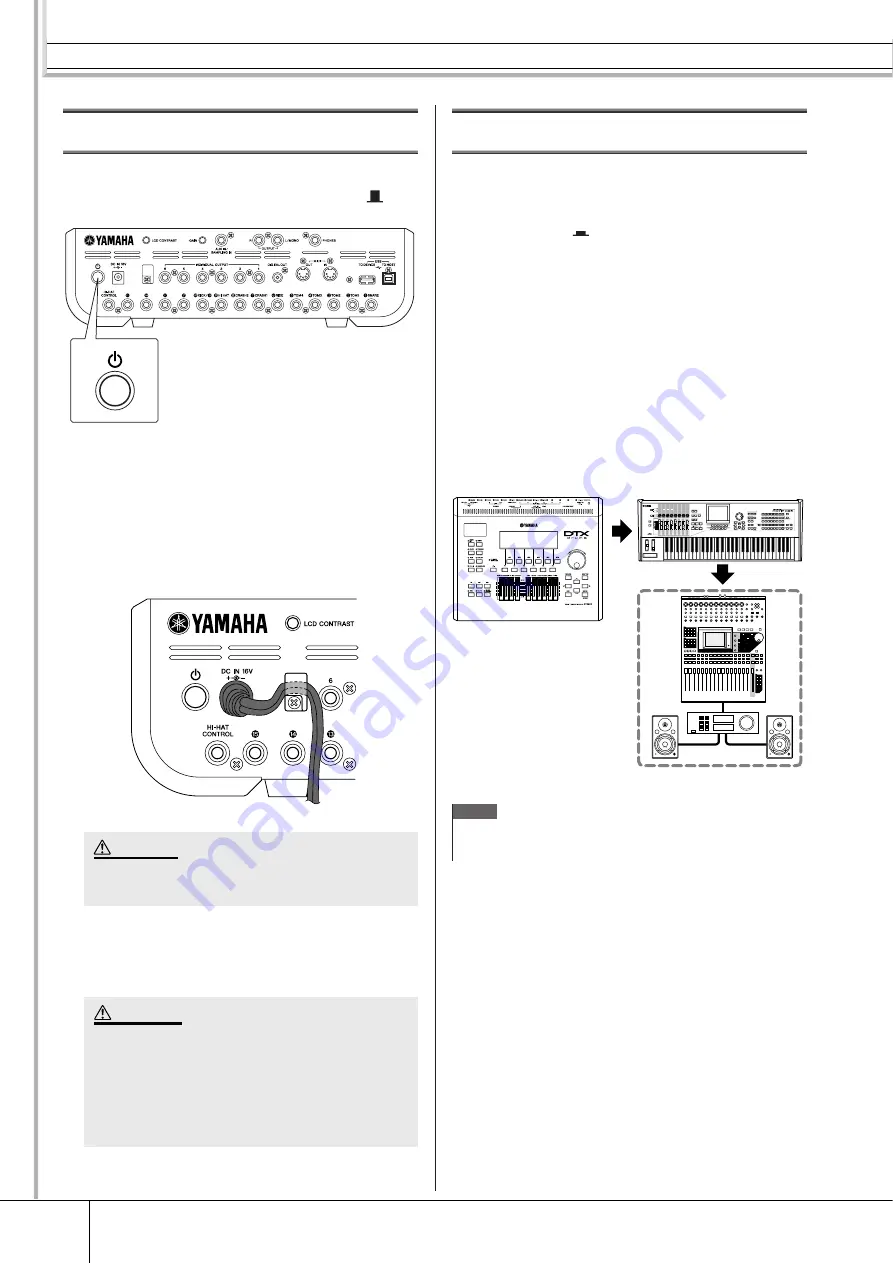
Connect the DC plug of the included AC
power adaptor to the DC IN jack on the
rear panel. To prevent the cord from being
unplugged accidentally, wrap the cord
around the cable clip and secure it.
3
Connect the other end of the power cord
to an AC outlet.
Turning the Power On
After you’ve made all necessary connections (trigger,
audio, MIDI), turn down all volume controls of the
DTX900 and other audio equipment.
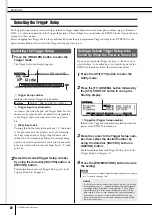
Turn the power on (
) by pressing the
F
(Standby/On)
switch on the rear panel of the DTX900, then turn on the
power of the amplifiers.
■
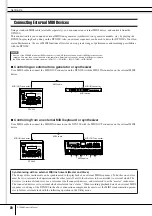
Connecting a mixer or other MIDI
devices
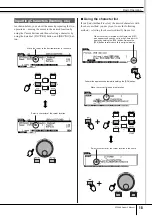
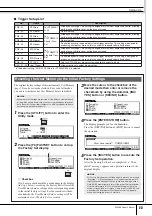
Make sure that all volume settings are turned down all the
way to the minimum. Then turn on the every device in your
setup in the order of MIDI masters (controllers), MIDI
slaves (receivers), then audio equipment (mixers, amplifi-
ers, speakers, etc.).
• Make sure that the power adaptor’s cord is not bent at an extreme
angle when wrapping the cord around the clip. Doing this can dam-
age or sever the cord and create a fire hazard.
• Use only the included power adaptor or an equivalent recom-
mended by Yamaha. The use of any other adaptors may cause
irregular operation or damage to the device.
• Only use the voltage specified as correct for the DTX900.
• Even when the instrument is turned off, electricity is still flowing to
the instrument at the minimum level. When you are not using the
DTX900 for a long time, make sure to unplug the AC power adap-
tor from the wall AC outlet.
CAUTION
WARNING
NOTE
• When powering down the setup, first turn down the volume for each audio
devices, then switch off each device in the reverse order (first audio equip-
ment, then MIDI).
888
1
DTX900
(transmitting device)
2
MIDI slave
3
External audio equipment
(mixer
→
amplifier)

