Setting Up
DTX900 Owner’s Manual
25
Setting up Cubase Remote Control
Using this special feature, the DTX900 can operate as a remote controller for Cubase. For example, you can operate the
Cubase transport, turn its metronome on or off, and control various other functions from the instrument’s front panel, signif-
icantly increasing the efficiency of your music production workflow.
■
Computer settings
When setting up Cubase remote control for the first time,
complete the following steps to properly configure your
computer.
1
Download the latest version of the DTX900
Extension from the following web page.
Save the compressed file in a convenient location and
then expand it.
http://www.yamaha.co.jp/english/product/drums/ed
2
Execute the expanded DTX900 Extension
to carry out the required installation pro-
cedure. For more details, refer to the
owner’s manual included in the down-
loaded package.
■
DTX900 settings
In order to use the Cubase Remote function, the following
steps must be performed on the DTX900.
1
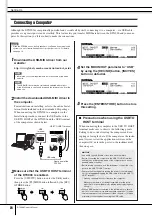
Make sure that the USB TO HOST terminal
of the DTX900 is enabled.
Press the [UTILITY] button to enter the Utility mode,
then press the [F5] MIDI button followed by the [SF3]
OTHER button. For details, see page 131.
2
Set the MIDI IN/OUT parameter to “USB”
by using the [DEC/NO] button, [INC/YES]
button or data dial.
3
Ensure that the DTX900 is connected to
your computer in the correct manner, and
then launch Cubase.
For more details regarding connection, see page 24.
4
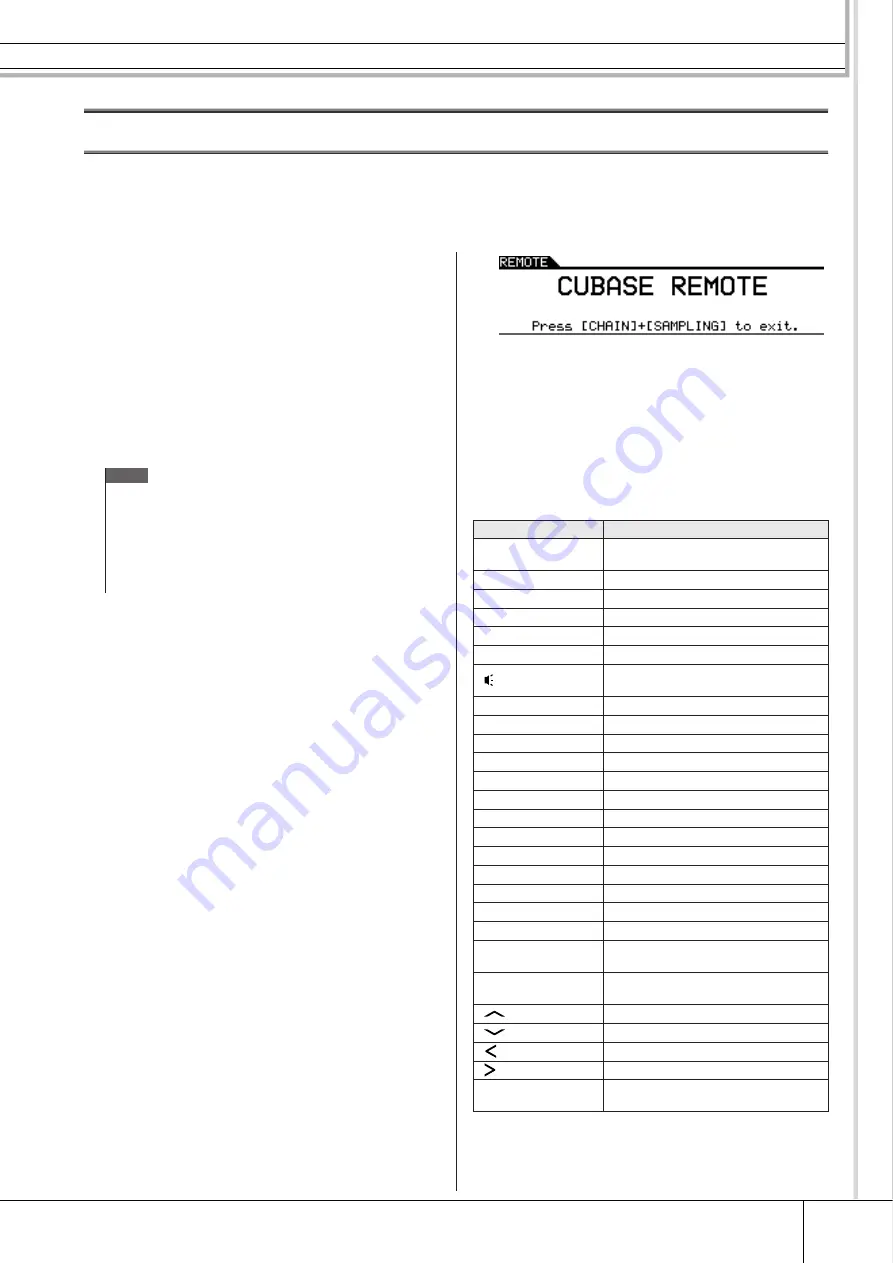
Simultaneously hold down the [CHAIN]
button and press the [SAMPLING] button.
The message “Cubase Remote” will be displayed to
confirm that the function has been activated.
5
To deactivate Cubase Remote mode, again
simultaneously hold down the [CHAIN]
button and press the [SAMPLING] button.
■
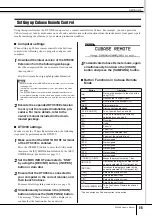
Button Functions in Cubase Remote
Mode
* You can assign any Cubase function to the button.
NOTE
• Ensure that the latest USB MIDI driver is installed on your computer
• Information on system requirements is also provided on the above
web page.
• The DTX900 Extension may be revised and updated without prior
notice. Before installing, visit the above web page to confirm the latest
related information and ensure that you have the most up-to-date ver-
sion.
Button
Operation
[
p
]
Returns the transport to the start of the
song (TOP).
[
r
]
Rewinds the transport (REW).
[
f
]
Fast forwards the transport (FF).
[REC]
Starts recording.
[
>
/■
]
Starts and stops playback.
[CLICK ON/OFF]
Turns the click track on and off.
[
]
Turns Solo Defeat of the currently
selected track on and off.
[F1]
Quantize*
[F2]
Undo*
[F3]
Zoom In*
[F4]
Zoom Out*
[F5]
Zoom in the selected track*
[F6]
Zoom out the selected track*
[SF1]
Not assigned *
[SF2]
Not assigned *
[SF3]
Not assigned *
[SF4]
Not assigned *
[SF5]
Not assigned *
[SF6]
Not assigned *
[-1/DEC], [+1/INC]
Moves the project cursor by 1 bar.
[INC/YES]
Decreases the program number of the
currently selected VST instrument by 1.
[DEC/NO]
Increases the program number of the
currently selected VST instrument by 1.
[
]
Selects the previous track.
[
]
Selects the next track.
[
]
Selects the previous track.
[
]
Selects the next track.
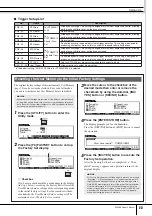
[CHAIN]+[SAMPLING]
Turns the Cubase Remote function on
and off.

