
4 Playing Along With a Song
23
DTXPRESS
IV
Owner’s Manual
6
Play Along with Bass Solo
The useful Bass Solo function lets you isolate just the bass
part during playback and play along with it. Since this func-
tion mutes the other accompaniment parts, it lets you concen-
trate on mastering the important technique of ‘locking in’
with the bass and forming a tight rhythm section.
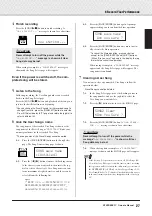
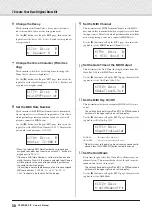
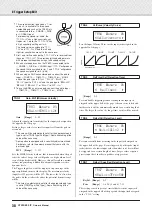
First, press the [SHIFT] + [SAVE/ENTER] buttons to call up
the Utility pages.
Next, press the [
>
] button three times to call up the follow-
ing page. Rotate the jog dial and select “
BassSolo=on
.”
With this set, press the [SONG
>
/
■
] button to start play-
back—only the bass part will be heard.
* You may find that with the drum part muted or the bass solo,
it may be a little difficult to keep time. In this case, use the
click along with the song. Using the click sound as a refer-
ence will make it easier to play along with the song.
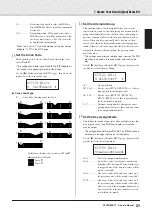
Press the [
ON/OFF] button to have the click play in tempo
along with song playback. Press the [
ON/OFF] button
again to stop.
* Changing the song will normally change the drum kit to the
kit that is pre-assigned to the song.
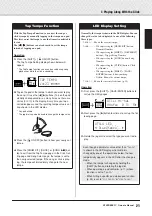
If you want to use a different drum kit when playing along with
the song, press the [DRUM KIT] button to enter the Drum Kit
Select display, and then select another drum kit number.
If a different song is selected while Drum Mute is active, the
drum kit will not change when a different song is selected.
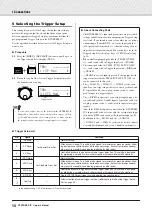
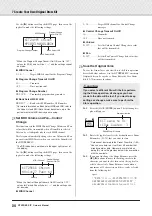
UTIL3
~
Song
”
~
BassSolo=off
~
‚
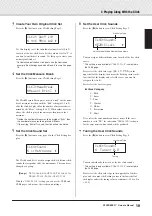
Pad Function Settings
The DTXPRESS IV conveniently lets you execute impor-
tant operations by hitting a specific pad—without having
to press buttons on the panel. You can assign the following
functions to the pads.
off
................... Normal operation.
inc
~
kitNo
..... Increases the drum kit number by 1
(increment).
dec
~
kitNo
..... Decreases the drum kit number by 1
(decrement).
inc
~
clkNo
..... Increases the click set number by 1
(increment).
dec
~
clkNo
..... Decreases the click set number by 1
(decrement).
inc
~
tempo
..... Increases the value of the tempo by 1
(increment).
dec
~
tempo
..... Decreases the value of the tempo by 1
(decrement).
clkOn/Off
..... Switches the click sound on/off.
Operation
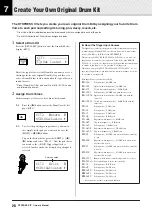
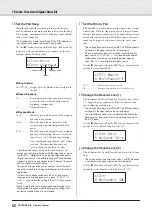
1.
First, press the [SHIFT] + [SAVE/ENTER] buttons to
call up the Utility pages.
2.
Press the [
>
] button several times to call up the
UTIL7 page.
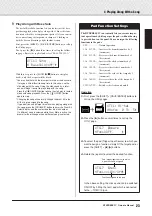
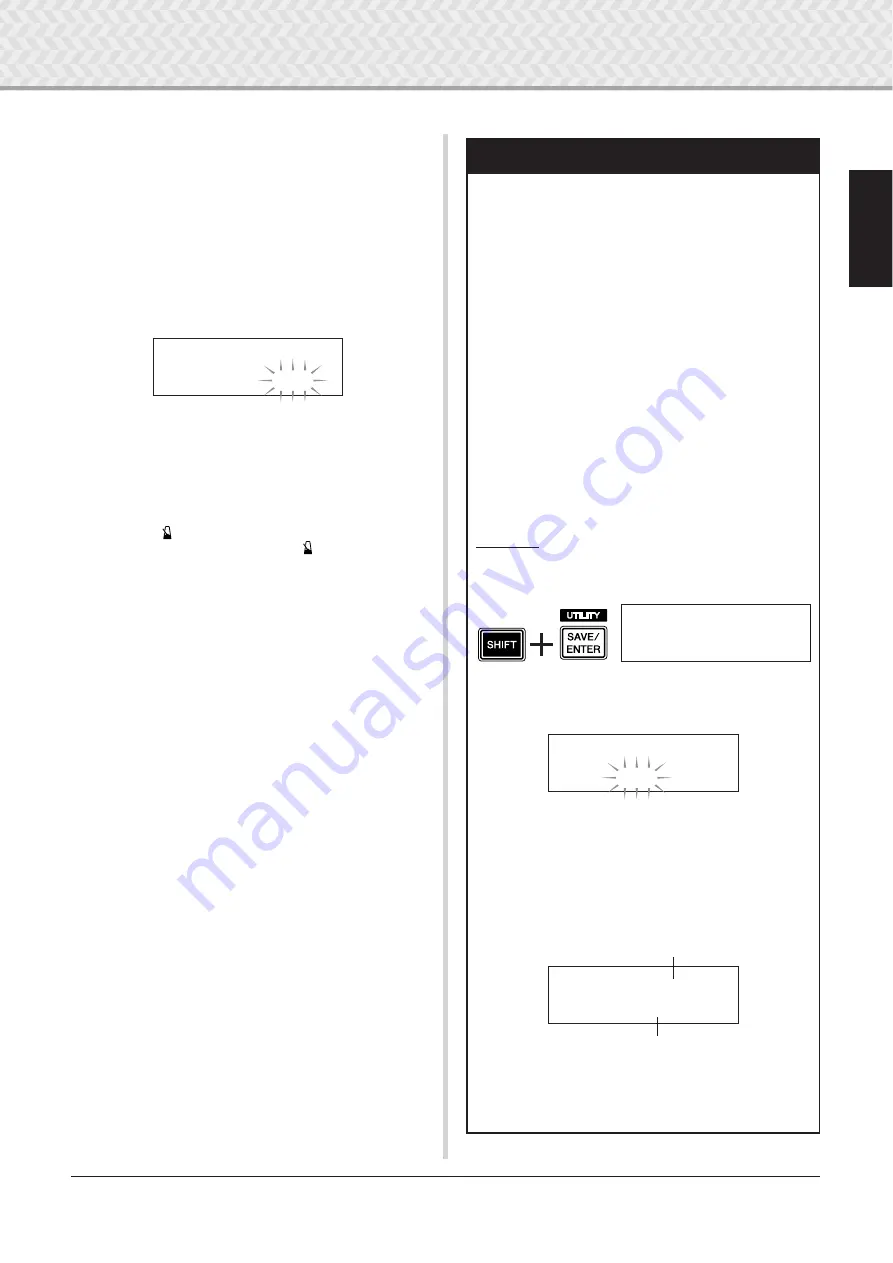
3.
To select the pad (Trigger Input Source) to which you
want to assign a function, simply hit the target pad, or
press the [SHIFT] + [
<
]/[
>
] buttons.
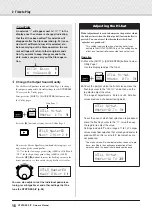
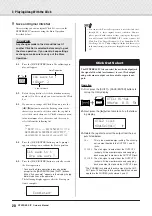
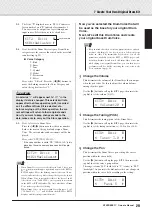
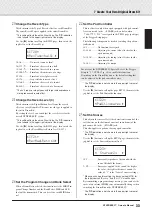
4.
Rotate the jog dial to select the desired function.
In the above setting, the click sound can be switched
ON/OFF by hitting the tom1 pad which is connected
to the
2
TOM1/10 jack.
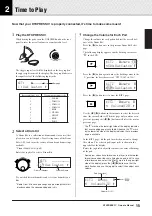
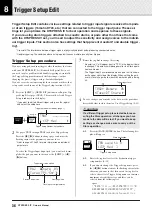
UTIL1
~
Hi-hat
HHofs=
~~
0
~
T=
~~
5‚
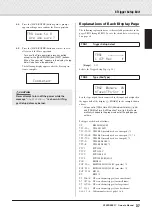
UTIL7
~~
ƒsnare
”Func=off
~~~~~~
‚
UTIL7
~~
™tom1
”Func=clkOn/Off‚
Pad (trigger input source) to which
a pad function is assigned
Function assigned to the pad


