Song Recording and Editing
62
R e s o l u t i o n a n d Q u a n t i z e
If you set Quantize
4
to some value other than off
(determining the shortest note for real-time
recording), your performance will be auto-corrected
while recording according to the selected timing
(resolution). If you set it to off, your performance will
be recorded exactly as you perform it (actually at the
resolution of 1/96 quarter notes).
n
Setting the shortest note for added recording in OverDub
mode may also correct the timing of existing data, if it is
larger than the newly specified one. You can correct the
overall timing of the recorded data after recording (page
67).
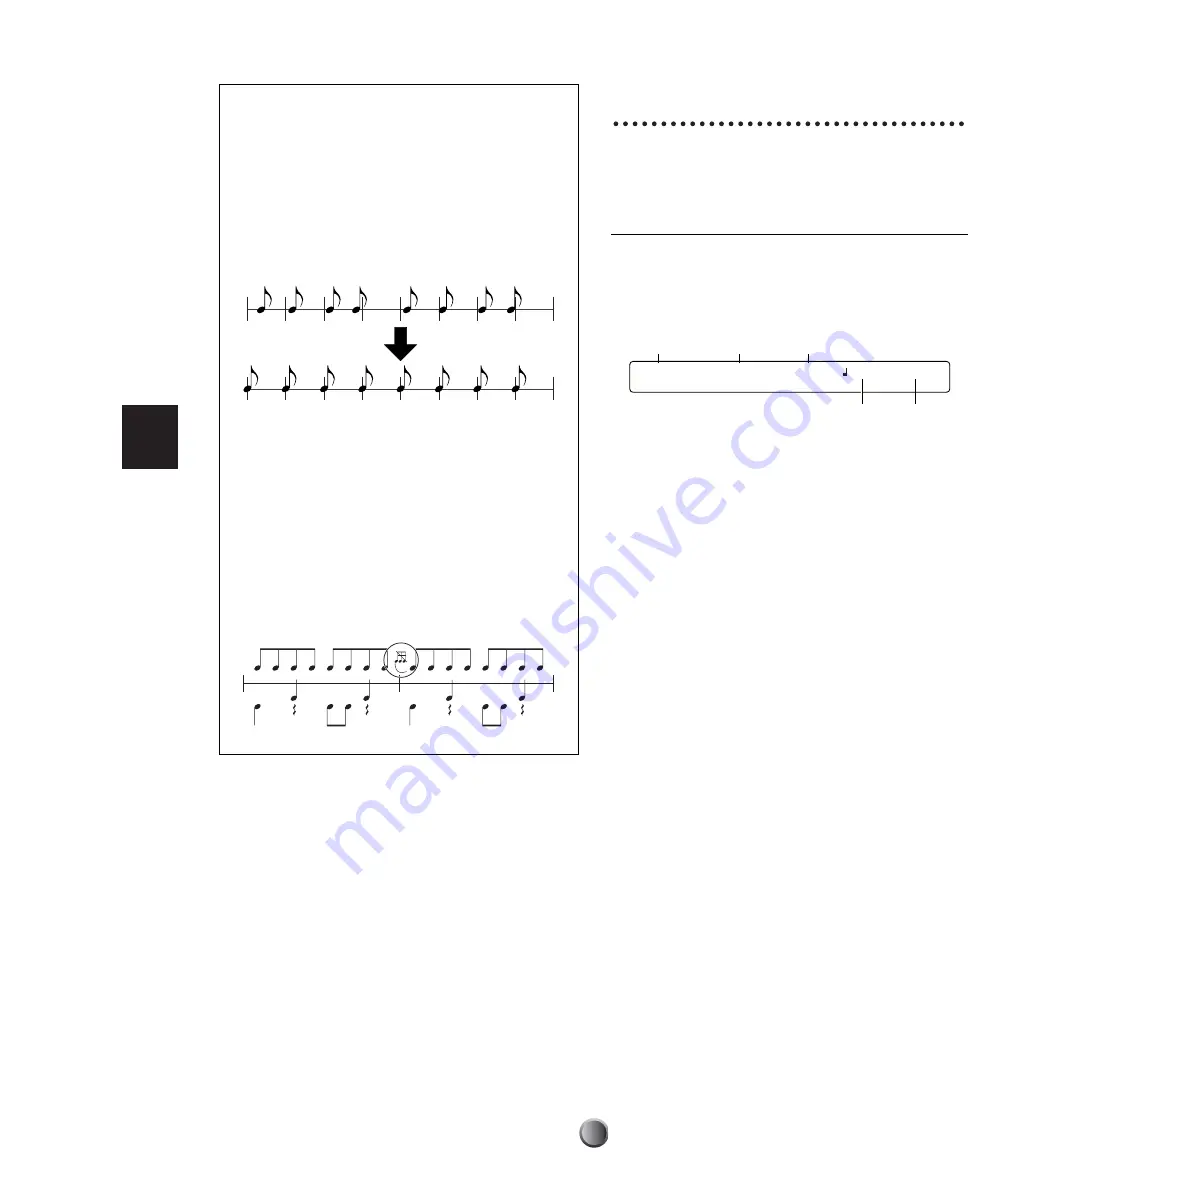
You can conveniently use the Quantize setting in step
recording. If you record (enter) an 8th-note phrase
with grace notes, you can first record only the main
phrase in the 8th-note resolution. Then, set an
appropriate resolution for the grace notes to ensure
their entries in correct positions.
Recording Operations
Now you can start recording according to the recording mode
specified (page 60).
Real-time Recording
1.
Press the Start/Stop button. Actual recording will begin
after a two-measure click count if it is enabled (page 82).
Your performance is recorded as MIDI data whenever you
hit pads or play a connected MIDI keyboard.
n
When recording in OverDub mode, you can delete all Note On
data associated to the pad by simultaneously holding down the
BASS/DELETE button and hitting the pad. Similarly, you can
delete Note On data from the MIDI keyboard by
simultaneously holding down the BASS/DELETE button and
pressing the corresponding keys, one at a time.
2.
Press the Start/Stop button again to end recording. You
can edit the recorded data using the song job features
(page 65) or switch to Step mode to manually correct or
edit the data.
n
If you switch the power off during recording, you may lose all
your User song data.
Original Data
Quantization
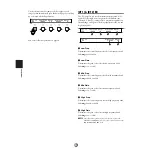
SONG=U1 no name M001-04 =100 4/4
Now Recording ...
Song number
Song name
Show current measure number/beat
Tempo Time signature


