Song Recording and Editing
63
Step Recording
1.
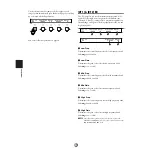
Press the Start/Stop button to call up the timeline display.
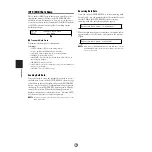
The following blank timeline appears if no MIDI data has
been recorded previously.
n
A dot (•) in the display indicates that MIDI data already exists
at the location.
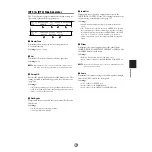
1
Measure/Beat/Clock
Shows the current entry (cursor) position.
2
Data Area
Each measure is separated by a vertical line, where entered
data is represented by a dot. The displayed resolution will
vary according to the specified Quantize setting.
3
Cursor
You can enter a MIDI event at the cursor position. You can
also edit or delete an existing event by moving the cursor to a
dot position.
4
Empty
This will be shown indicating there is no data at the current
position, instead of each MIDI event.
2.
Move the cursor to a position where you want to enter a
MIDI event or where there is a MIDI event you want to
edit. You can move the cursor in any of the following
manners:
• Leftmost knob: Moves the cursor in the specified
resolution (shortest note length).
• Forward button: Moves the cursor to the beginning of
the next measure.
• Rewind button: Moves the cursor to the beginning of
the previous measure.
• Reset button: Moves the cursor to the beginning of the
timeline (song).
n
If you move the cursor to a position where multiple MIDI
events exist, turning the knob will alternately show each event.
In this case, the cursor does not move to the next position until
the last event at the current position has been reached.
3.
Enter, add, change, or delete MIDI events as necessary
(see below).
4.
Press the Start/Stop button again to end recording.
Entering or Adding a MIDI Event
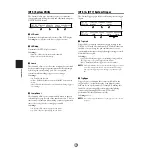
Press the RHYTHM/INSERT button. One of the MIDI
event options will flash at the current cursor position. Enter
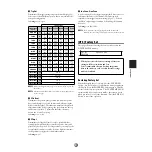
the desired event, referring to the section Available MIDI
Events in Step Recording below.
n
Use a song job feature (page 70) if you want to set a new beat (time
signature).
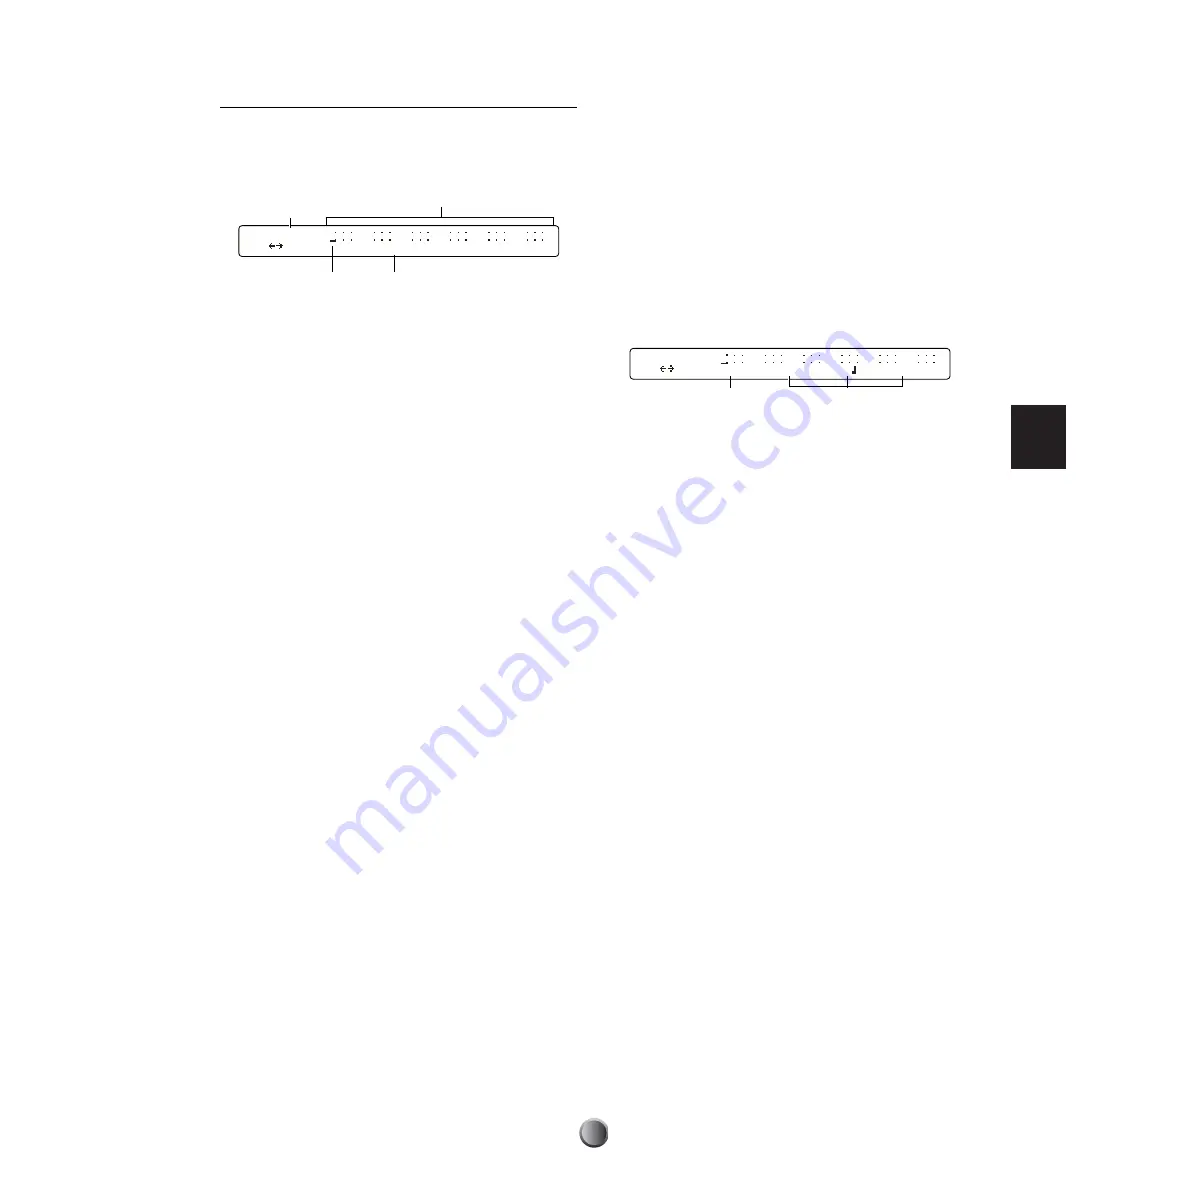
Specify a MIDI channel (1 to 16)
1
, event type, and other
parameters
2
for the MIDI event being entered, using the
corresponding knob. When you press the ENTER/YES
button to determine the event, it will be added to the current
cursor position and displayed as a dot (•) in the timeline.
Changing or Deleting a MIDI Event
To change parameter values for an existing event:
Move the cursor to display the target event. Change the value
using the corresponding knob. When the value flashes in the
display, press the ENTER/YES button to actually enter it (the
value stays lit).
To delete an existing event:
Move the cursor to display the target event. Press the BASS/
DELETE button to delete it.
n
You cannot change the event type of existing data to another type.
Instead, just delete it, and enter the desired event as a new one.
M001-01-16|----|----|----|----|----|----
Empty
1
3
2
4
M001-01-16|----|----|----|----|----|----
Ch=10 NoteOn ff C#4
1
2


