DVD-C961
9
Gear/L0
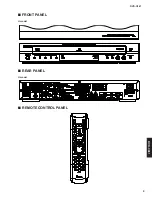
Front panel
Gear/L01
Marking
•
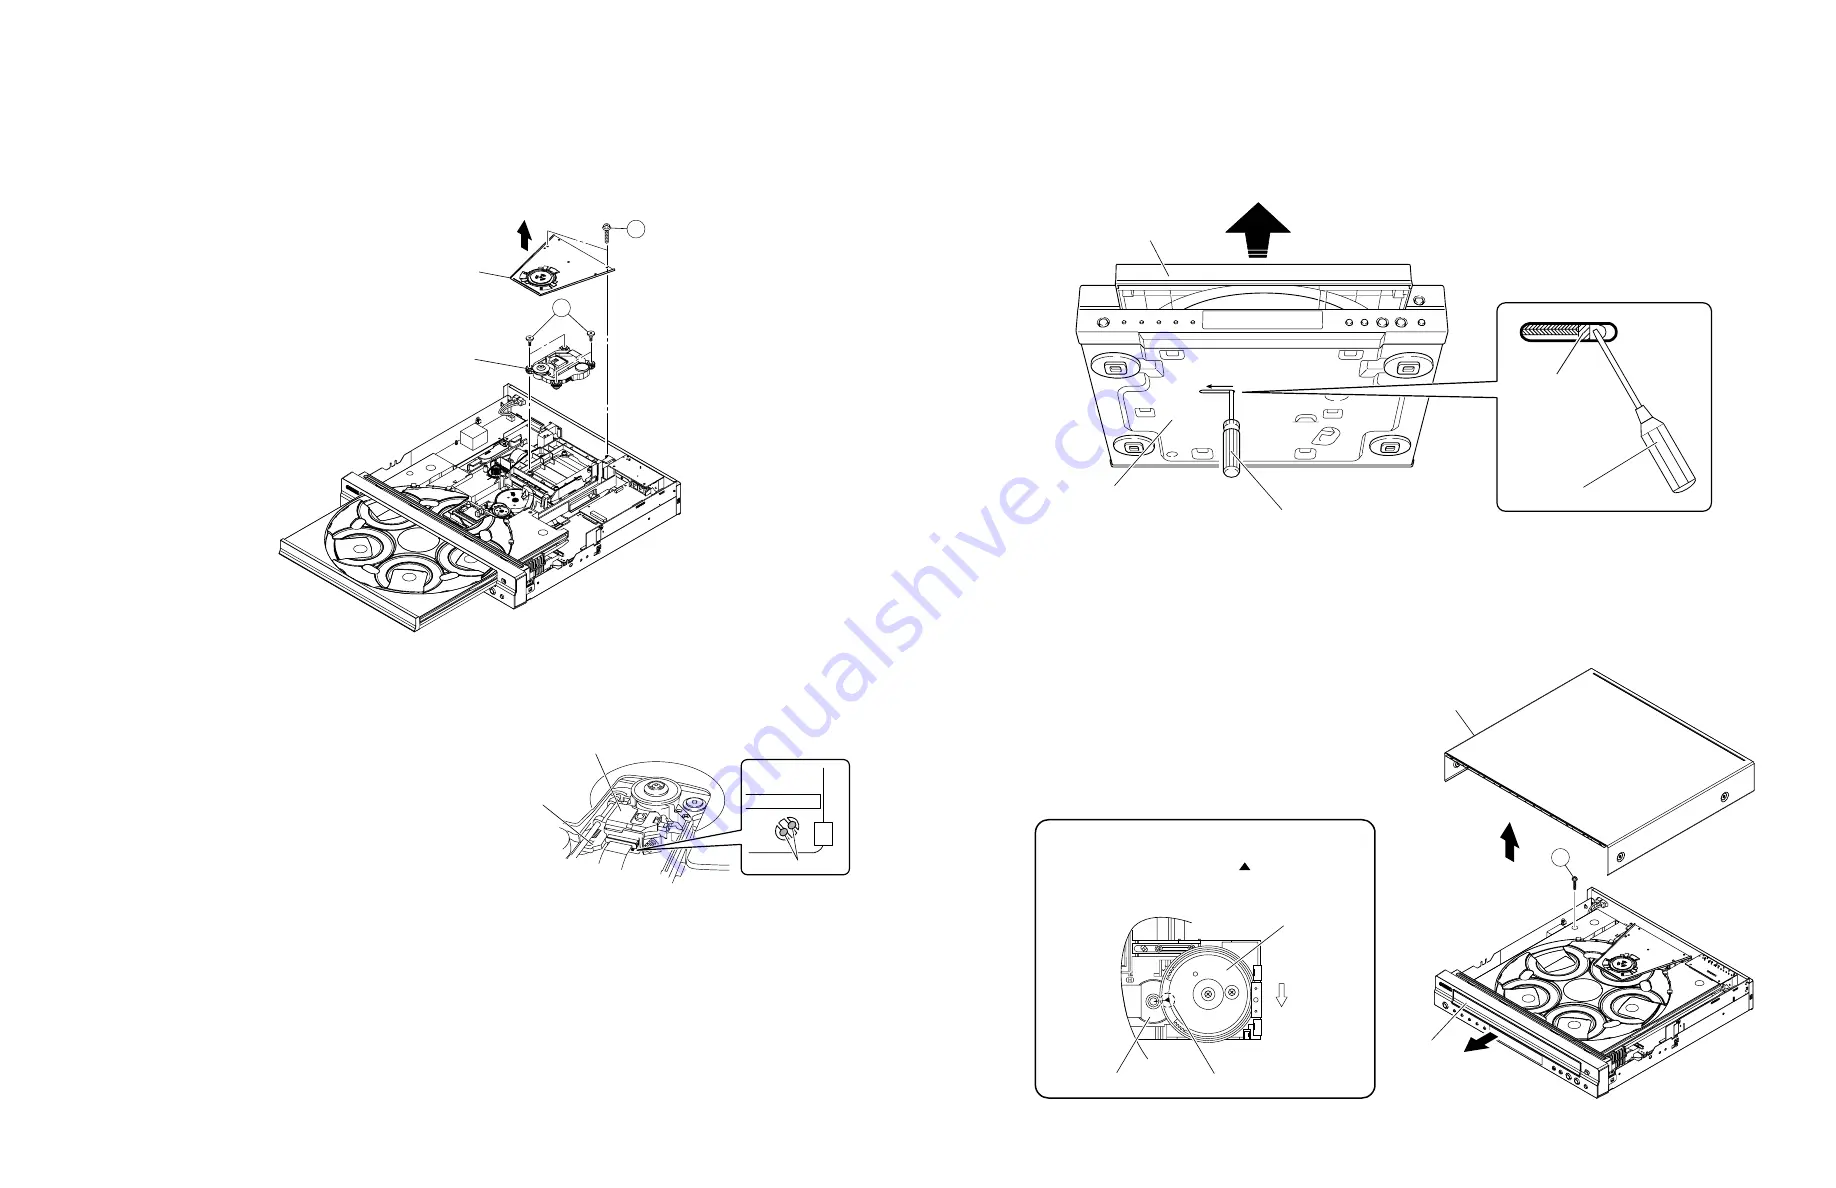
Precaution for installation of the tray ass'y.
On tray ass’y setting.
Check the direction of marking " " on gear according
to this drawing.
b. c.
Top cover
Tray ass'y
a.
3
•
Preventive measure for laser diode from electrostatic breakdown
When replacing the MONO P.C.B. or DVD 5-disc changer module, solder between lands of the optical pick up P.C.B. to
protect the laser diode against electrostatic breakdown.
*
Use the phillips screwdriver to remove screws (
2
). (Fig. 2)
Clamper ass'y
Traverse unit
1
2
*
Fig. 2
Optical pick up
Solder
Traverse unit
Fig. 3
Notes
•
Use an anti-static soldering iron to short-circuit and
unshort-circuit laser diode.
•
After you have finished repairing, remove the
solder from the short-circuit location.
•
When installing a new traverse unit, remove the
solder from the shorted point of P.C.B. using an
electrostatic shielding soldering iron.
•
How to manually open the tray ass’y
a. Move the slider in the direction indicated with a flatblade screwdriver until the tray is ejected.
b. Gently pull the tray ass’y out.
Tray ass'y
Flatblade screwdriver
Flatblade screwdriver
Bottom side
Slider
Fig. 4
•
Removal of tray ass’y
*
The tray ass’y cannot be supplied independently. The tray ass’y is contained in DVD 5-disc changer module and
supplied as a DVD 5-disc changer module.
a. Remove the top cover.
b. Open tray (see “How to manually open the tray
ass’y”).
c. Remove screw (
3
).
d. Remove the tray ass’y.
Fig. 5

