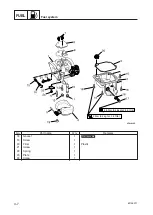
FUEL
4-9
6D45F11
Fuel system
6.
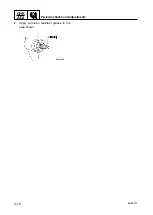
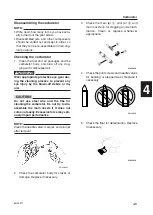
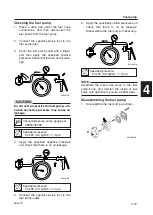
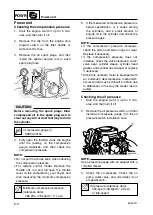
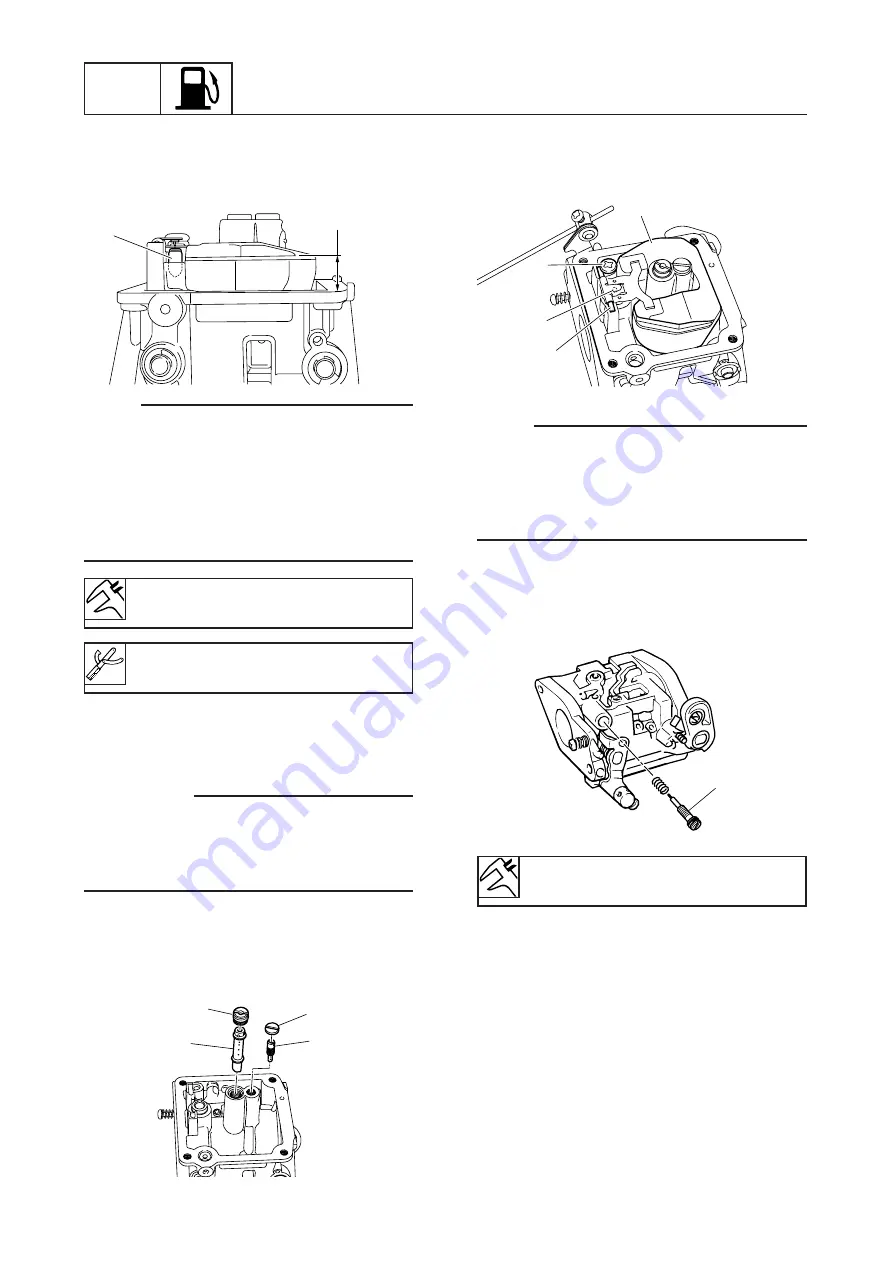
Measure the float height
a
. Replace the
float and needle valve, if out of specifica-
tion, as a set.
NOTE:
9
Measure the float height as shown.
9
The float should be resting on the needle
valve
4
, but not compressing it.
9
Take measurements at the top of the float
flange opposite its pivoted side.
9
Turn the carburetor upside-down to make
the measurement.
Assembling the carburetor
Refer to the following points when assem-
bling the carburetor.
c
C
9
Do not apply excessive force to push in
the needle valve.
9
Do not apply excessive force to screw in
the pilot screw.
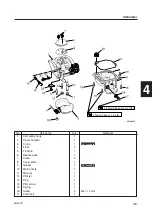
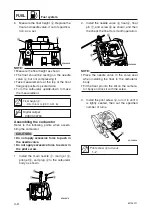
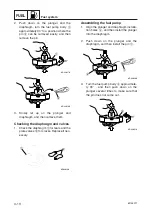
1.
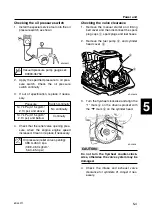
Install the main nozzle
1
, main jet
2
,
pilot jet
3
, and plug
4
to the carburetor
body as shown.
2.
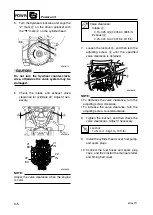
Install the needle valve
5
, float
6
, float
pin
7
, and screw
8
as shown, and then
the check the float for smooth operation.
NOTE:
9
Place the needle valve in the valve seat
when installing the float to the carburetor
body.
9
Fit the float pin into the slit on the carbure-
tor body and lock it with the screw.
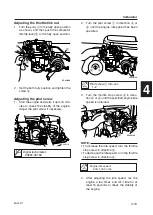
3.
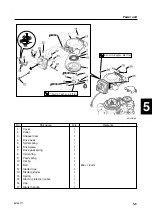
Install the pilot screw
9
, turn it in until it
is lightly seated, then out the specified
number of turns.
a
4
6D440060
6
8
5
7
6D440080
9
6D440090
2
4
3
1
6D440070
Float height
a
:
9.5–10.5 mm (0.37–0.41 in)
Pilot screw
9
turn-out:
1–2
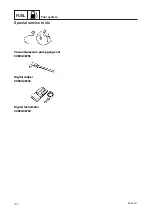
Digital caliper:
90890-06704
6D45F11-04_1 03.10.16 20:06 Page 10

