POWR
5-39
6D45F11
Power unit
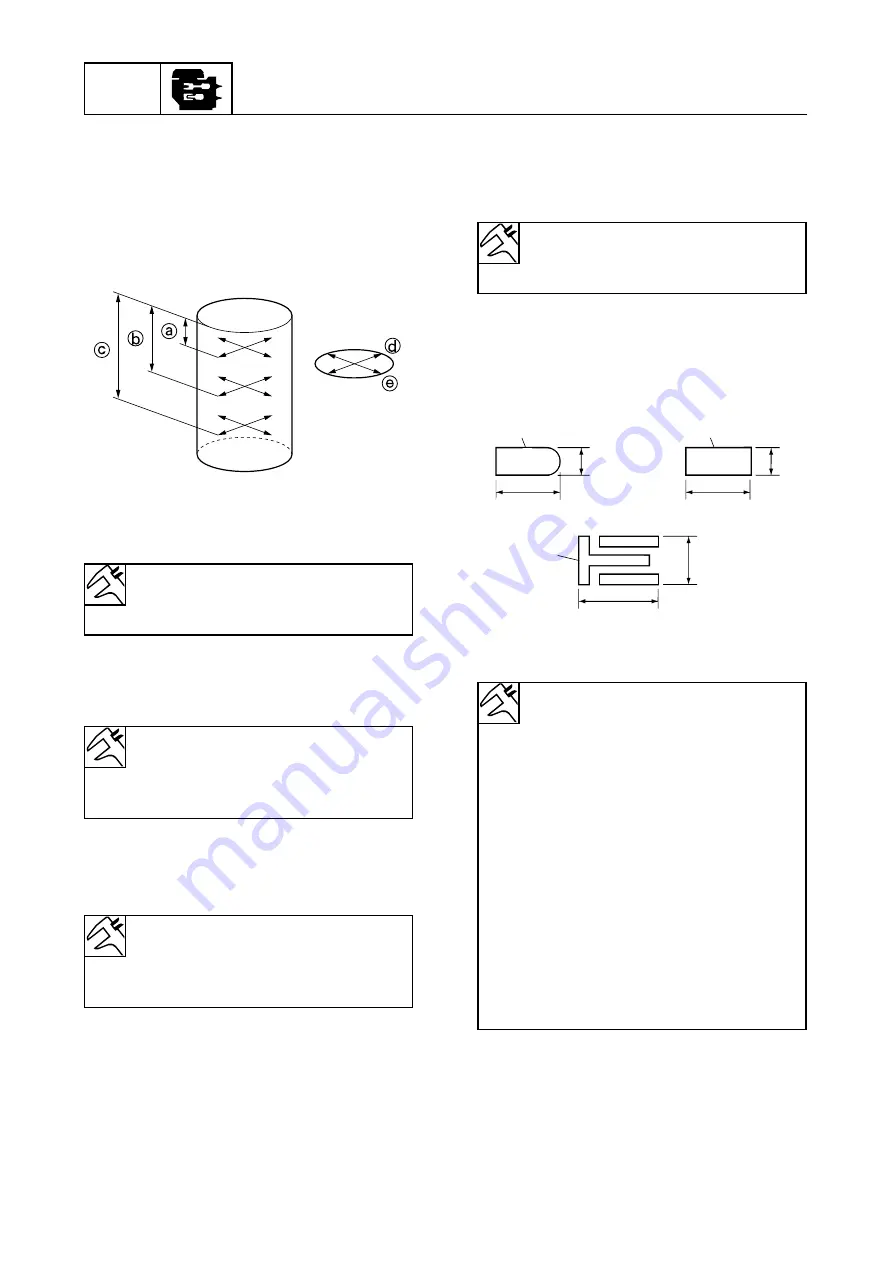
Checking the cylinder bore
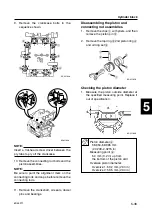
1.
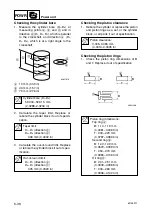
Measure the cylinder bore (D
1
–D
6
) at
measuring points
a
,
b
, and
c
, and in
direction
d
(D
1
, D
3
, D
5
), which is parallel
to the crankshaft, and direction
e
(D
2
,
D
4
, D
6
), which is at a right angle to the
crankshaft.
a
10 mm (0.39 in)
b
40 mm (1.57 in)
c
70 mm (2.76 in)
2.
Calculate the taper limit. Replace or
rebore the cylinder block if out of specifi-
cation.
3.
Calculate the out-of-round limit. Replace
or rebore the cylinder block if out of spec-
ification.
Checking the piston clearance
1.
Rebore the cylinder or replace the piston
and piston rings as a set, or the cylinder
block, or all parts if out of specification.
Checking the piston rings
1.
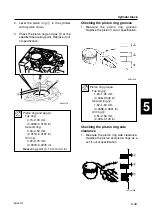
Check the piston ring dimensions of B
and T. Replace if out of specification.
Cylinder bore (D
1
–D
6
):
59.000–59.015 mm
(2.3288–2.3234 in)
Piston clearance:
0.035–0.065 mm
(0.0014–0.0026 in)
Taper limit:
D
1
–D
5
(direction
d
)
D
2
–D
6
(direction
e
)
0.08 mm (0.0032 in)
Out-of-round limit:
D
2
–D
1
(direction
a
)
D
6
–D
5
(direction
c
)
0.05 mm (0.0020 in)
6D451070
D
1
D
2
D
3
D
4
D
5
D
6
a
b
c
T
T
T
B
B
B
6D451200
Piston ring dimensions:
Top ring
a
:
B: 1.17–1.19 mm
(0.0461–0.0469 in)
T: 2.00–2.20 mm
(0.0787–0.0866 in)
Second ring
b
:
B: 1.47–1.49 mm
(0.0579–0.0590 in)
T: 2.50–2.70 mm
(0.0984–0.1063 in)
Oil ring
c
:
B: 2.31–2.51 mm
(0.0909–0.0988 in)
T: 2.30–2.60 mm
(0.0906–0.1024 in)
6D45F11-05 03.10.9 20:44 Page 42

