E
CRANKCASE, CRANKSHAFT AND CAMSHAFT
POWR
D
D
1
2
D
D and D
1
2
D and D
3
4
D and D
5
6
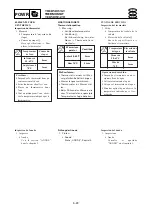
70 mm (2.8 in)
40 mm (1.6 in)
10 mm (0.4 in)
1
2
a
d
SERVICE POINTS
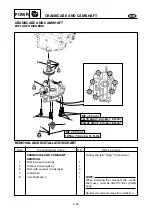
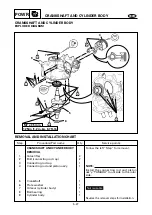
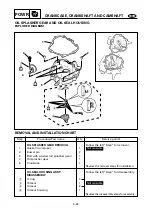
Crankcase removal
1. Remove:
9
Crankcase
1
9
Cylinder body
2
NOTE:
9
Position the crankcase up side down.
9
Insert a flat-head screwdriver between the
tabs on both side of the crankcase and
cylinder body and pry open the two parts.
c
C
Do not scratch the interface of the
crankcase and cylinder.
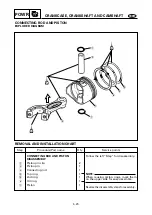
Piston inspection
1. Measure:
9
Piston diameter
Out of specification
®
Replace the
piston.
5-30
Standard
Wear limit
Cylinder
59.00 ~ 59.02 mm
bore “D” (2.323 ~ 2.324 in)
—
Taper
0.08 mm
limit “T”
—
(0.003 in)
Out of
0.05 mm
round limit
—
(0.002 in)
D=Maximum Dia. (D
1
~D
6
)
T=(maximum D
1
or D
2
) ~ (minimum D
5
or
D
6
)
Distance
Piston diameter
d
a
10 mm
58.950 ~ 58.965 mm
Standard
(0.39 in)
(2.3209 ~ 2.3215 in)
Cylinder inspection
1. Measure:
9
Cylinder bore
Out of specification
®
Rebore or
replace the cylinder.
NOTE:
Measure the cylinder bore in parallel and
at right angle to the crankshaft. Then, aver-
age the measurements.


