4
Replacement
4-10
9
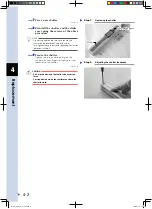
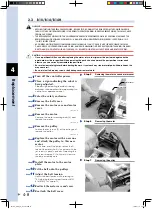
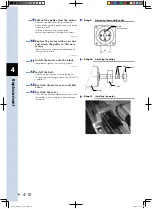
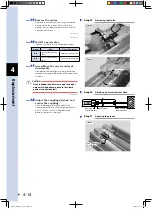
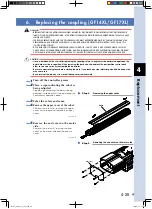
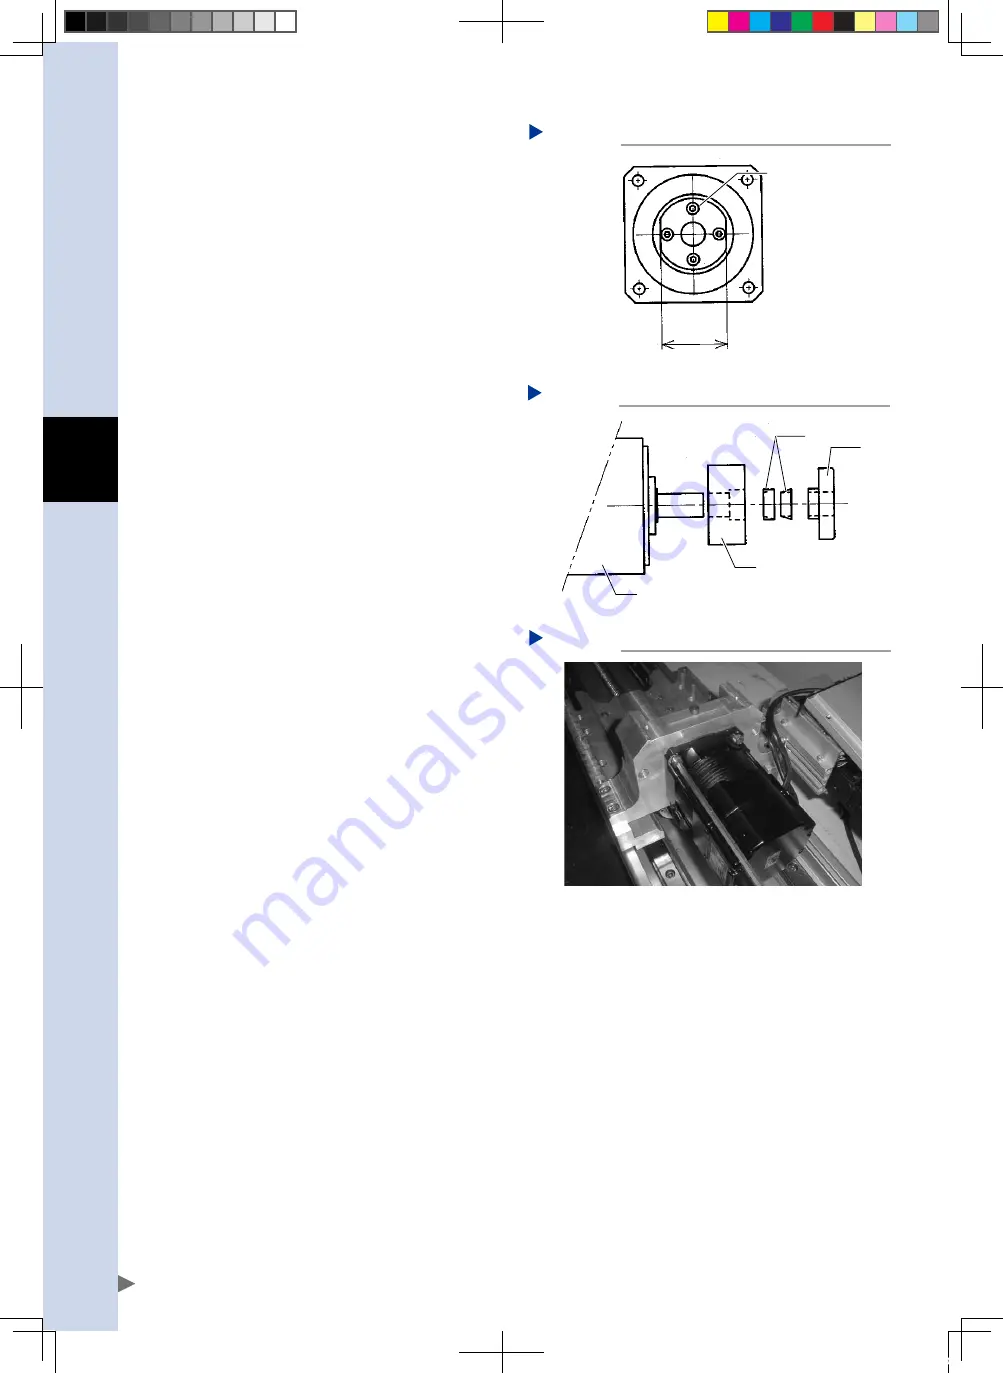
Pull out the pulley from the motor.
Remove the bolts (M6) (4) securing the
pulley fastening boss and pull out the pulley
from the motor.
Loosen the bolts while securing the
machined surface of the boss with pliers.
Removing the mounting bolts
Step 9
4-M6
Hexagon bolt
38
53404-A9-00
0
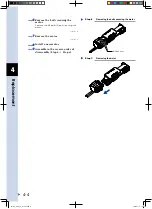
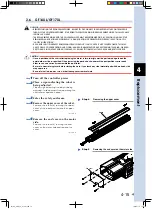
Replace the motor with a new one
and attach the pulley to this new
motor.
Take care to the orientation and order of
the rings at this time.
Installing the motor
Step 11
53405-A9-00
q
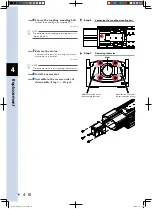
Install the motor onto the block.
Temporarily tighten the mounting bolts.
Attaching the pulley
Step 10
Boss
Pulley
Motor
Ring
53406-A9-00
w
Install the belt.
Adjust the belt tension while referring to
"3 Adjusting the timing belt tension (F20N)" in
Chapter 3.
e
Reattach the motor cover and belt
cover.
r
Reattach the cover.
Connect the motor cable connectors, store
the cables in the wiring box, and reattach
the cover.
FLIP-X_maint_E_V1.50.indb 10
18/05/15 15:01
Summary of Contents for FLIP-X Series
Page 2: ...FLIP X_maint_E_V1 50 indb 2 18 05 15 15 00...
Page 40: ...FLIP X_maint_E_V1 50 indb 2 18 05 15 15 01...
Page 41: ...Chapter 1 Overview Contents 1 Overview 1 1 FLIP X_maint_E_V1 50 indb 1 18 05 15 15 01...
Page 42: ...FLIP X_maint_E_V1 50 indb 2 18 05 15 15 01...
Page 44: ...FLIP X_maint_E_V1 50 indb 2 18 05 15 15 01...
Page 46: ...FLIP X_maint_E_V1 50 indb 2 18 05 15 15 01...
Page 60: ...FLIP X_maint_E_V1 50 indb 2 18 05 15 15 01...
Page 72: ...FLIP X_maint_E_V1 50 indb 12 18 05 15 15 01...
Page 74: ...FLIP X_maint_E_V1 50 indb 2 18 05 15 15 01...
Page 104: ...FLIP X_maint_E_V1 50 indb 2 18 05 15 15 01...

