3
Adjustment
3-8
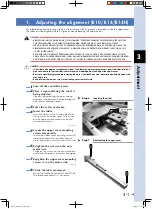
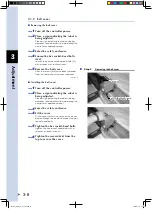
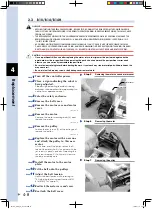
3.1.2 Belt cover
■
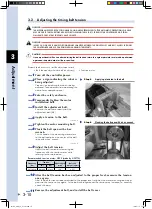
Removing the belt cover
1
Turn off the controller power.
2
Place a sign indicating the robot is
being adjusted.
Place a sign indicating the robot is being
adjusted, to keep others from operating the
controller or operation panel.
3
Enter the safety enclosure.
4
Loosen the hex socket-head bolts
(M4).
Loosen the hex socket-head bolts (M4) (2)
with a spanner or socket wrench.
5
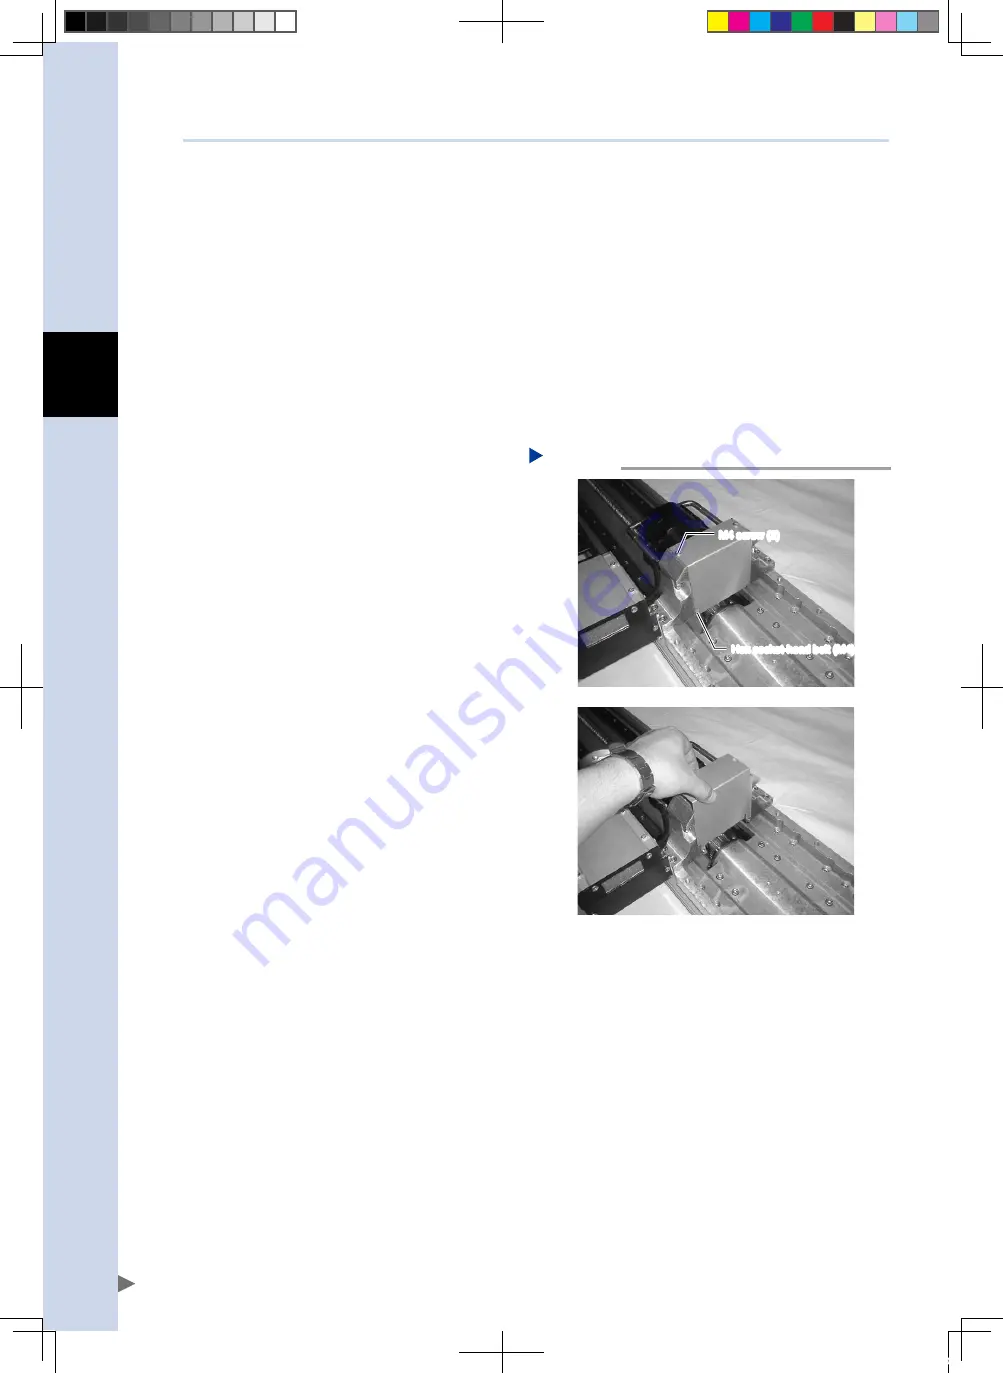
Remove the belt cover.
After the screws (M4) have been removed
from the top, pull out the cover upward.
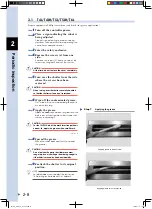
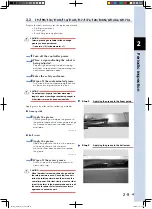
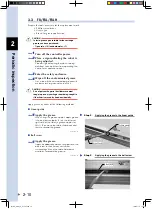
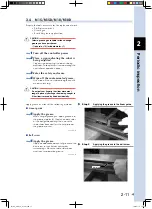
Removing the belt cover
Step 5
Hex socket-head bolt (M4) (2)
M4 screw (2)
53305-A9-00
■
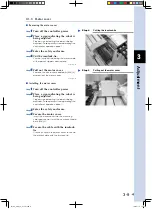
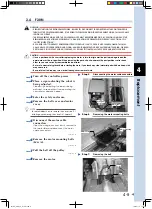
Installing the belt cover
1
Turn off the controller power.
2
Place a sign indicating the robot is
being adjusted.
Place a sign indicating the robot is being
adjusted, to keep others from operating the
controller or operation panel.
3
Enter the safety enclosure.
4
Fit the cover.
Fit the cover so that the notch of the cover
passes through the portion between the hex
socket-head bolts.
5
Tighten the hex socket-head bolts.
Tighten the hex socket-head bolts with a
spanner or socket wrench.
6
Tighten the screws (M4) from the
top to secure the cover.
FLIP-X_maint_E_V1.50.indb 8
18/05/15 15:01
Summary of Contents for FLIP-X Series
Page 2: ...FLIP X_maint_E_V1 50 indb 2 18 05 15 15 00...
Page 40: ...FLIP X_maint_E_V1 50 indb 2 18 05 15 15 01...
Page 41: ...Chapter 1 Overview Contents 1 Overview 1 1 FLIP X_maint_E_V1 50 indb 1 18 05 15 15 01...
Page 42: ...FLIP X_maint_E_V1 50 indb 2 18 05 15 15 01...
Page 44: ...FLIP X_maint_E_V1 50 indb 2 18 05 15 15 01...
Page 46: ...FLIP X_maint_E_V1 50 indb 2 18 05 15 15 01...
Page 60: ...FLIP X_maint_E_V1 50 indb 2 18 05 15 15 01...
Page 72: ...FLIP X_maint_E_V1 50 indb 12 18 05 15 15 01...
Page 74: ...FLIP X_maint_E_V1 50 indb 2 18 05 15 15 01...
Page 104: ...FLIP X_maint_E_V1 50 indb 2 18 05 15 15 01...

