E-9
English
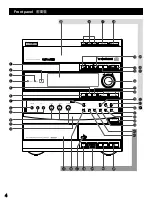
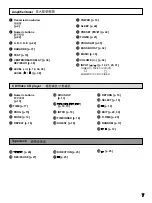
DISC
1
DISC
2
DISC
3
DOWN
UP
VOLUME
STANDBY/ON
PROGRAM
B.BOOST
MUSIC
INPUT
INPUT
MIN
PRESET/ TUNING/ BAND
A/B/C/D/E
DISC CHANGE
OPEN / CLOSE
AUTO/MANUAL
TIMER
MEMORY
TIME ADJ
REC/PAUSE
DOLBY NR
HOUR
RANDOM
REPEAT
TIME
DISPLAY
MODE
KARAOKE
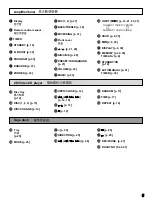
DISC
1
DISC
2
DISC
3
STANDBY
TIMER
DOWN
UP
VOLUME
STANDBY/ON
AUTO REVERSE CASSETTE DECK
DOLBY B NR
DIRECTION
PROGRAM
B.BOOST
MUSIC
INPUT
INPUT
PHONES
MIN
PRESET/ TUNING/ BAND
A/B/C/D/E
DISC CHANGE
OPEN / CLOSE
BASS
AUTO/MANUAL
TIMER
MEMORY
TIME ADJ
REC/PAUSE
DOLBY NR
HOUR
RANDOM
REPEAT
TIME
DISPLAY
MODE
TREBLE
MIC MIXING
MIN
MAX
1 MIC
2
KARAOKE
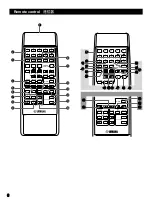
1
2
3
RANDOM
REPEAT
HOUR
MIN
DISPLAY
MEMORY
TIME ADJ
MEMORY
TIME ADJ
RANDOM
REPEAT
HOUR
MIN
3–DISC VCD CHANGER
1
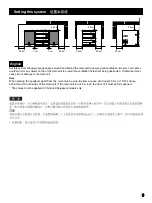
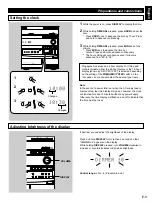
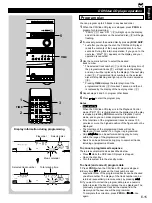
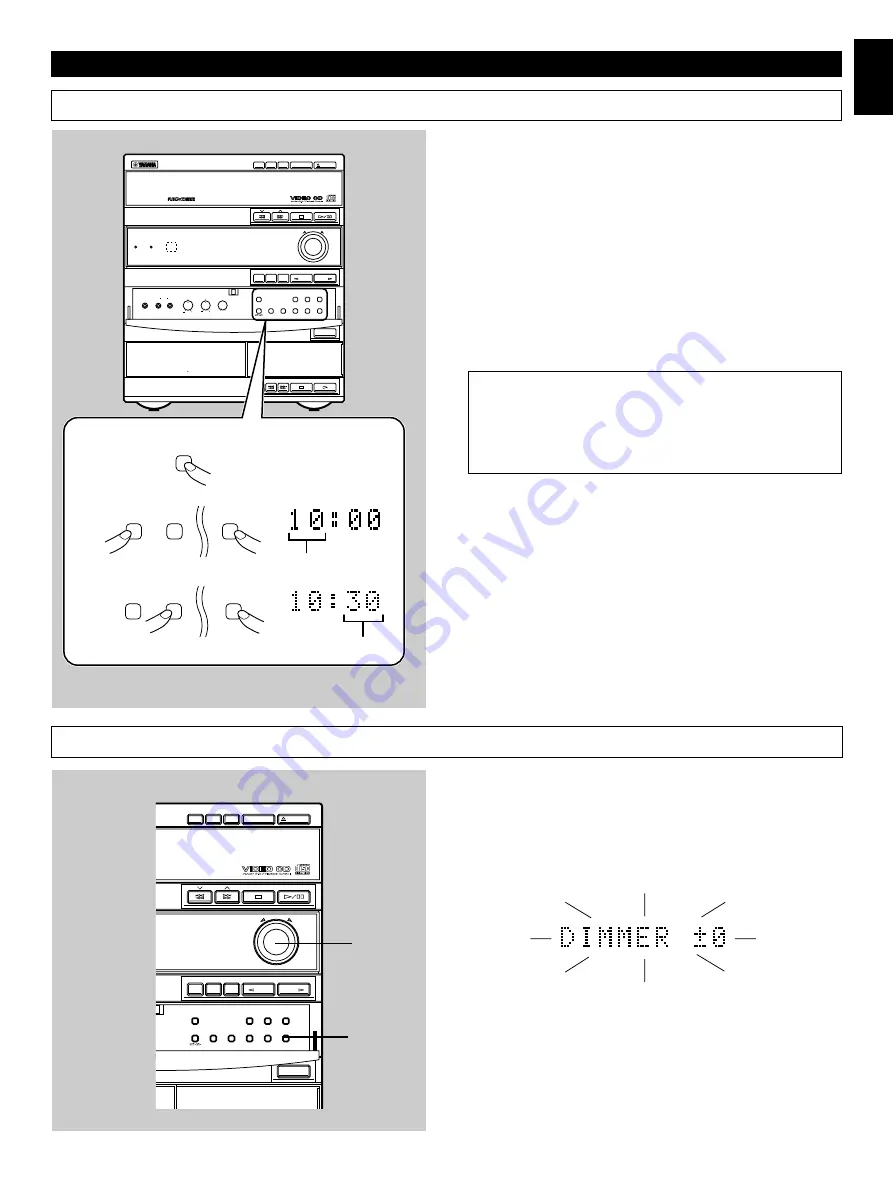
While the power is on, press DISPLAY to display the time.
2
While holding TIME ADJ pressed, press HOUR and set the
hour.
* Press HOUR once to advance the time by 1 hour. Press
and hold to advance continuously.
3
While holding TIME ADJ pressed, press MIN and set the
minute.
* Press MIN once to advance the time by 1
minute. Press and hold to advance continuously.
* The hour setting will not advance even if minute is
advanced from “59” to “00”.
Singapore model uses a 24-hour display. For China and
General models, either the 24-hour display or the 12-hour
display [shown by “AM (PM) 12:00”] is selected depending
on the setting of the FREQUENCY STEP switch on the
rear panel, so you cannot select the desired type freely.
Note
In the event of a power failure or when the AC supply lead is
disconnected, the time display will go out, however, the clock
will function for about 5 minutes without any power supply.
Otherwise, the time display will flash on and off to indicate that
the time must be reset.
If desired, you can adjust the brightness of the display.
Press and hold DISPLAY for more than 2 seconds so that
“DIMMER ±0” appears on the display.
While holding DISPLAY pressed, turn VOLUME clockwise to
increase or counterclockwise to decrease brightness.
Control range: ±0 to –6 (Preset value: ±0)
Setting the clock
Adjusting brightness of the display
Changes.
Changes.
Preparations and connections
VOLUME
DISPLAY
Summary of Contents for GX-700VCD
Page 52: ...V380830 ...

