STEP 8:
Upload the basemap to the ECU
Connect the Program/Setup Loop Connector to the patch harness to power up the ECU.
With the ECU powered up connect to the ECU using the Haltech Elite Software
Programmer (ESP).
When connected navigate through the software to file>upload map>yamaha
and select the basemap that suits your application.
ESP will now upload the selected basemap to your ECU.
When upload is complete it is now time to setup your MAP and add any auxiliary
functionality that your PWC may require.
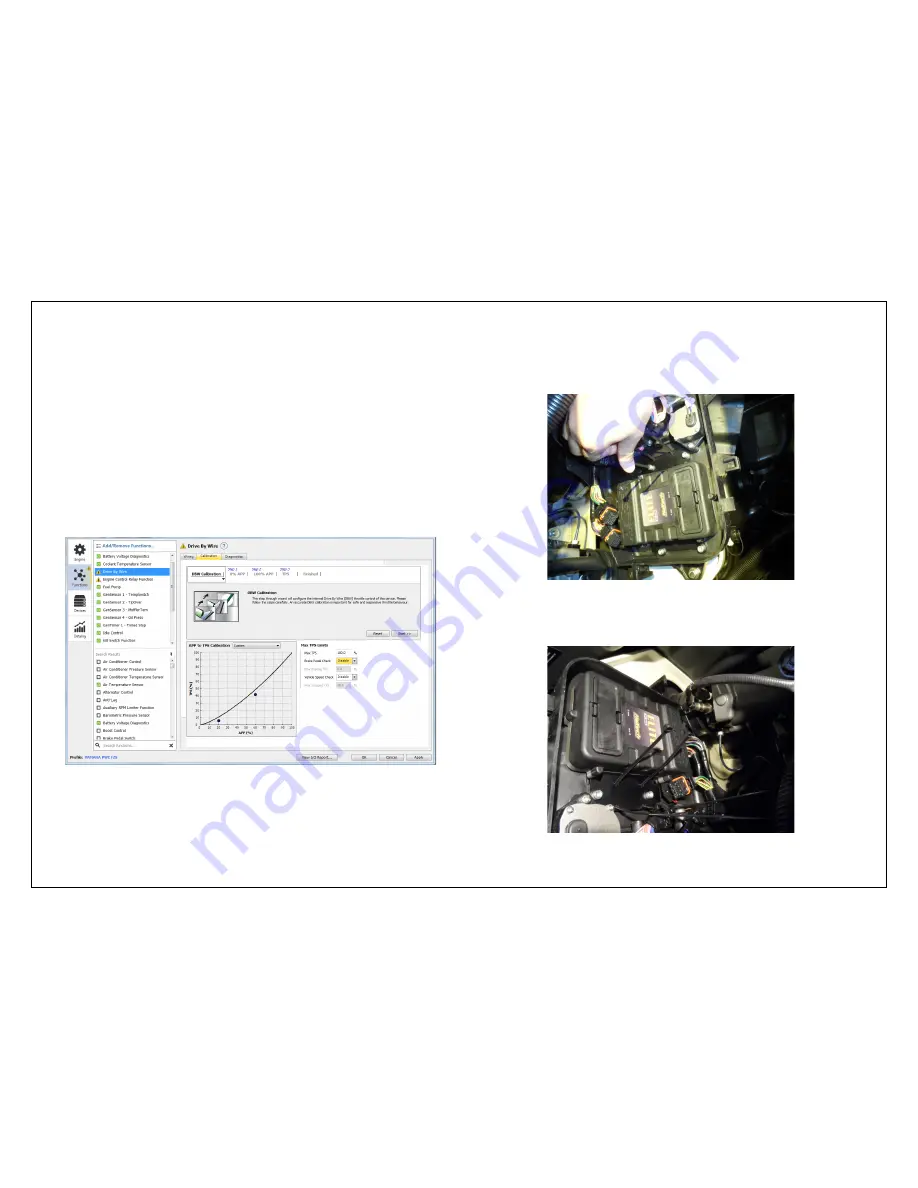
At this time it is important to calibrate your DBW throttle.
To do this please go to the Drive By Wire function in the setup page and follow the
prompts to calibrate the throttle.
Once complete and tested remove the Program/Setup Loop connector from the harness.
Your PWC will now be ready to start and tune.
Figure 11 – Calibration of the DBW throttle
STEP 3:
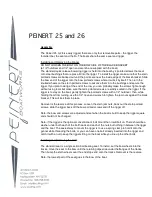
Install the Haltech ECU to the PWC in the OEM Location using the
4 x M6x12mm socket cap bolts and washers supplied with the kit.
A suitable thread locker compound can be applied to the threads of the mounting bolts
at this time to help resist against looseing due to vibration.
Figure 5 – Mounting Elite ECU to PWC
Figure 6 – Elite ECU Mounted in the OEM location.


