PERIODIC MAINTENANCE AND MINOR REPAIR
6-37
1
2
3
4
5
6
7
8
9
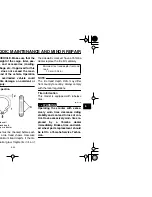
5. Remove the socket (together with
the bulb) by turning it counter-
clockwise.
6. To remove the defective turn sig-
nal light bulb, push it in and turn it
counterclockwise.
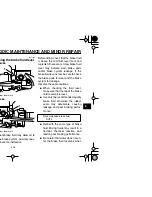
7. To insert a new turn signal light
bulb into the socket, push it in, and
then turn it clockwise until it stops.
8. Install the socket (together with the
bulb) by turning it clockwise.
9. Place the turn signal light unit in
the original position, and then in-
stall the screws.
10. Install the windshield by installing
the screws.
11. Install panel A.
EAU34260
Replacing a rear turn signal
light bulb
1. Place the scooter on the center-
stand.
2. Remove cowling C for replacing
the left turn signal light bulb or
cowling D for replacing the right
turn signal light bulb. (See
page 6-8.)
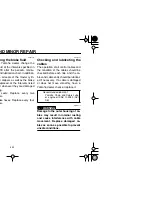
3. Remove the socket (together with
the turn signal light bulb) by turning
it counterclockwise.
4. Remove the defective bulb by
pushing it in and turning it counter-
clockwise.
1. Screw
2. Front turn signal light unit
1. Turn signal light bulb socket
1
2
1
1. Turn signal light bulb socket
1
Summary of Contents for MAJESTY 400
Page 1: ...5RU 28199 10 YP400T OWNER S MANUAL ...
Page 2: ......
Page 7: ...TABLE OF CONTENTS ...
Page 12: ...1 5 ...
Page 13: ...SAFETY INFORMATION 1 6 1 EAU10381 ly before operating this vehicle 2 1 3 5 6 7 4 ...
Page 15: ...SAFETY INFORMATION 1 8 1 ...
Page 17: ...DESCRIPTION 2 2 2 3 4 5 6 7 8 9 EAU10420 5 3 4 ...
Page 80: ...ND MINOR REPAIR 6 39 ...
Page 89: ...SPECIFICATIONS 8 3 2 3 4 5 6 7 8 9 tor fan fuse 0 A onic fuel injection fuse 0 A p fuse 0 A ...
Page 91: ...CONSUMER INFORMATION 9 2 2 3 4 5 6 7 8 9 ...
Page 94: ...9 5 Mileage Servicing dealer name and address Remarks ...
Page 95: ...CONSUMER INFORMATION 9 6 2 3 4 5 6 7 8 9 EAU26661 U S A STREET AND ENDURO MOTORCYCLE LIMITED ...
Page 96: ...9 7 ...
Page 98: ...9 9 benefits of y knowing after your maha with We ll be d ...
Page 100: ......
Page 101: ...YAMAHA MOTOR CO LTD PRINTED IN JAPAN 2004 7 1 7 1 E ...


