

USEFUL FUNCTIONS
20
En
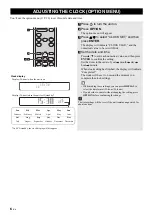
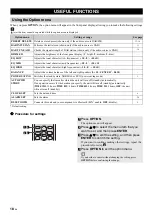
Setting the alarm time and alarm type (Option menu)
The alarm will not function when the unit is in ECO standby. To use the alarm function, set the Option menu item POWER SAVING to
NORMAL (
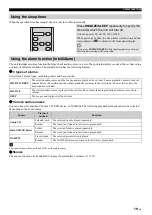
Setting the alarm
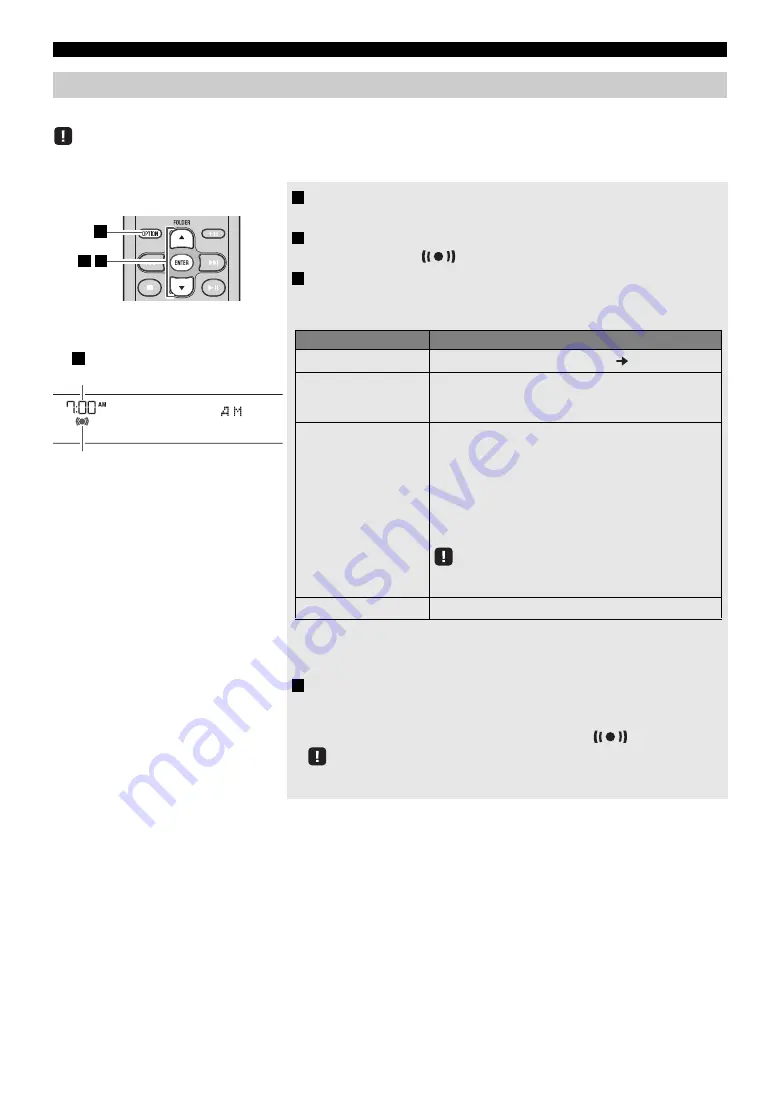
1
Press
OPTION
.
The option menu will appear.
2
Press
/
to select “ALARM SET”, and then press
ENTER
.
The alarm indicator (
) and numerical value you’re setting will blink.
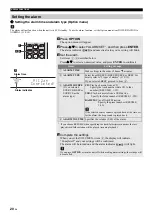
3
Set the alarm.
Set items
1
-
4
described below.
Press
/
to select a numerical value, and press
ENTER
to confirm it.
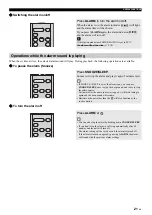
4
Complete the settings.
When you set the VOLUME for item
4
, the display will indicate
“Completed!” and your settings will be confirmed.
The alarm will be turned on and the alarm indicator (
) will light.
If you press
OPTION
or turn the unit off while making alarm settings, the settings will
be cancelled.
4
9 : 1 2
C o m p l e t e d !
Alarm time
Alarm indicator
3
1
2
*
If you choose RESUME when specifying the track/folder/preset number, the last-
played track/folder/station will be played (resume playback)
Items
Setting or range
1
ALARM TIME
Make settings in the order of hours minutes.
2
ALARM TYPE
Select from BEEP, SOURCE or BEEP. For
details, refer to “3 types of alarms” (
If you selected BEEP, proceed to item
4
.
3
ALARM SOURCE
(If you selected
BEEP or
SOURCE as the
alarm type)
CD:
Play back music from a CD.
Specify the track number (data CD: folder
number) (RESUME
*
, 1-99).
USB:
Play back music from a USB device.
Specify the folder number (RESUME, 1-999).
DAB/FM:
Play a DAB/FM station.
Specify the preset number (RESUME,
1-30).
If the selected source cannot be played back at the time set
for the alarm, the beep sound is played back.
4
ALARM VOLUME
Specifies the volume (5-60) of the alarm.


