8-58
ELECTRICAL COMPONENTS
3. Install:
• Coolant temperature sensor
Coolant temperature sensor
18 Nm (1.8 m·kg, 13 ft·lb)
EAS28230
CHECKING THE FUEL SENDER
This model is equipped with a self-diagnosis de-
vice for the fuel sender circuit. If the fuel sender
circuit is defective, the following cycle will be re-
peated until the malfunction is corrected.
• The fuel level warning light will flash four
times and then go off for 3.0 seconds if the fu-
el sender circuit is in short circuit.
• The fuel level warning light will flash eight
times and then go off for 3.0 seconds if the
fuel sender circuit is interrupted or the coupler
disconnected.
1. Remove:
• Fuel tank
2. Disconnect:
• Fuel pump coupler
• Fuel sender coupler
(from the wire harness)
3. Remove:
• Fuel pump
(from the fuel tank)
4. Check:
• Fuel sender resistance
Out of specification
→
Replace the fuel pump
assembly.
Fuel sender resistance
1.35–1.65 k
Ω
at 25 °C (77 °F)
b. Measure the fuel sender resistance.
▼▼▼▼▼▼▼▼▼▼▼▼▼▼▼▼▼▼▼▼▼▼▼▼▼▼▼▼▼▼▼▼
Output voltage reading cycle
0.6 V to 4.8 V to 0.6 V to 4.8 V
EAS28240
CHECKING THE SPEED SENSOR
1. Check:
• Speed sensor output voltage
Out of specification
→
Replace.
▼▼▼▼▼▼▼▼▼▼▼▼▼▼▼▼▼▼▼▼▼▼▼▼▼▼▼▼▼▼▼▼
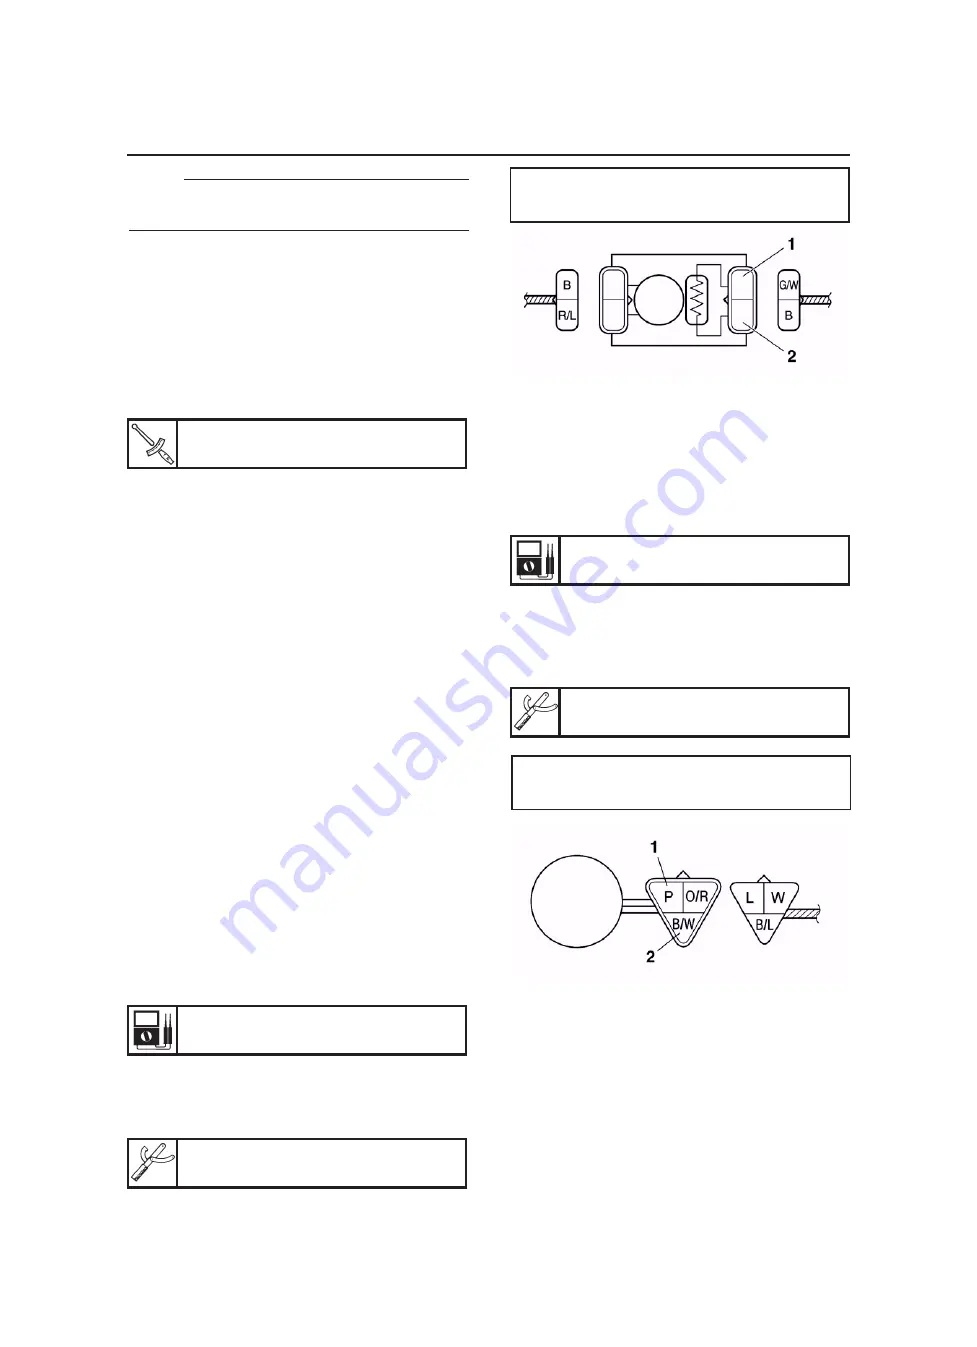
a. Connect the pocket tester (Ω x 1k) to the fu-
el sender terminal as shown.
Pocket tester
90890-03112
• Positive tester probe
→
green/white “1”
• Negative tester probe
→
black “2”
▼▼▼▼▼▼▼▼▼▼▼▼▼▼▼▼▼▼▼▼▼▼▼▼▼▼▼▼▼▼▼▼
a. Connect the pocket tester (DC 20 V) to the
speed sensor coupler (wire harness side) as
shown.
Pocket tester
90890-03112
• Positive tester probe
→
pink “1”
• Negative tester probe
→
black/white “2”
b. Turn the main switch to “ON”.
c. Elevate the rear wheel and slowly rotate it.
d. Measure the voltage (DC 5V) of pink and
black/white. With each full rotation of the
rear wheel, the voltage reading should cycle
from 0.6 V to 4.8 V to 0.6 V to 4.8 V.
▼▼▼▼▼▼▼▼▼▼▼▼▼▼▼▼▼▼▼▼▼▼▼▼▼▼▼▼▼▼▼▼
NOTE:
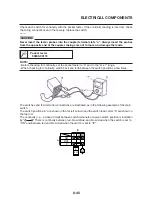
Make sure that the coolant temperature sensor
terminals do not get wet.
c. Place a thermometer “3” in the water.
d. Slowly heat the water, then let it cool down
to the specified temperature.
e. Measure the coolant temperature sensor re-
sistance.
▼▼▼▼▼▼▼▼▼▼▼▼▼▼▼▼▼▼▼▼▼▼▼▼▼▼▼▼▼▼▼▼
Summary of Contents for MT-03
Page 7: ......
Page 9: ......
Page 25: ......
Page 53: ...2 28 COOLING SYSTEM DIAGRAMS 1 2 3 4 5 6 7 8 9 5 10 11 A B C ...
Page 56: ...2 31 LUBRICATION CHART Pressure feed Splashed scavenge ...
Page 57: ...2 32 LUBRICATION DIAGRAMS LUBRICATION DIAGRAMS A A 1 3 2 2 4 A A A A ...
Page 59: ...2 34 LUBRICATION DIAGRAMS A A A A 3 1 2 3 4 ...
Page 60: ...2 35 LUBRICATION DIAGRAMS 1 Oil delivery pipe 2 2 Oil delivery pipe 1 3 Oil filter 4 Oil pump ...
Page 61: ...2 36 LUBRICATION DIAGRAMS 1 7 2 3 4 5 6 A ...
Page 63: ...2 38 LUBRICATION DIAGRAMS 1 6 5 4 3 2 ...
Page 65: ...2 40 CABLE ROUTING CABLE ROUTING ...
Page 67: ...2 42 CABLE ROUTING ...
Page 69: ...2 44 CABLE ROUTING ...
Page 71: ...2 46 CABLE ROUTING ...
Page 73: ...2 48 CABLE ROUTING ...
Page 75: ...2 50 CABLE ROUTING ...
Page 77: ...2 52 CABLE ROUTING ...
Page 79: ...2 54 CABLE ROUTING ...
Page 81: ...2 56 CABLE ROUTING ...
Page 83: ...2 58 CABLE ROUTING ...
Page 85: ...2 60 CABLE ROUTING ...
Page 87: ......
Page 121: ......
Page 177: ...4 54 FRONT FORK WARNING Make sure the brake hoses are routed prop erly ...
Page 271: ......
Page 273: ......
Page 287: ......
Page 325: ......
Page 339: ...8 12 CHARGING SYSTEM 2 A C magneto 5 Rectifier regulator 7 Battery 8 Main fuse ...
Page 341: ...8 14 CHARGING SYSTEM ...
Page 355: ...8 28 COOLING SYSTEM ...
Page 365: ...8 38 IMMOBILIZER SYSTEM ...
Page 366: ...8 39 ELECTRICAL COMPONENTS EAS27970 ELECTRICAL COMPONENTS ...
Page 368: ...8 41 ELECTRICAL COMPONENTS ...
Page 370: ...8 43 ELECTRICAL COMPONENTS EAS27980 CHECKING THE SWITCHES ...
Page 389: ......
Page 391: ......
Page 397: ...COLOR CODE ...
Page 398: ......
Page 399: ...YAMAHA MOTOR ITALIA S P A ...
Page 400: ...MT 03 2006 WIRING DIAGRAM ...


