Perio
d
ic maintenance an
d
a
d
justment
6-40
6
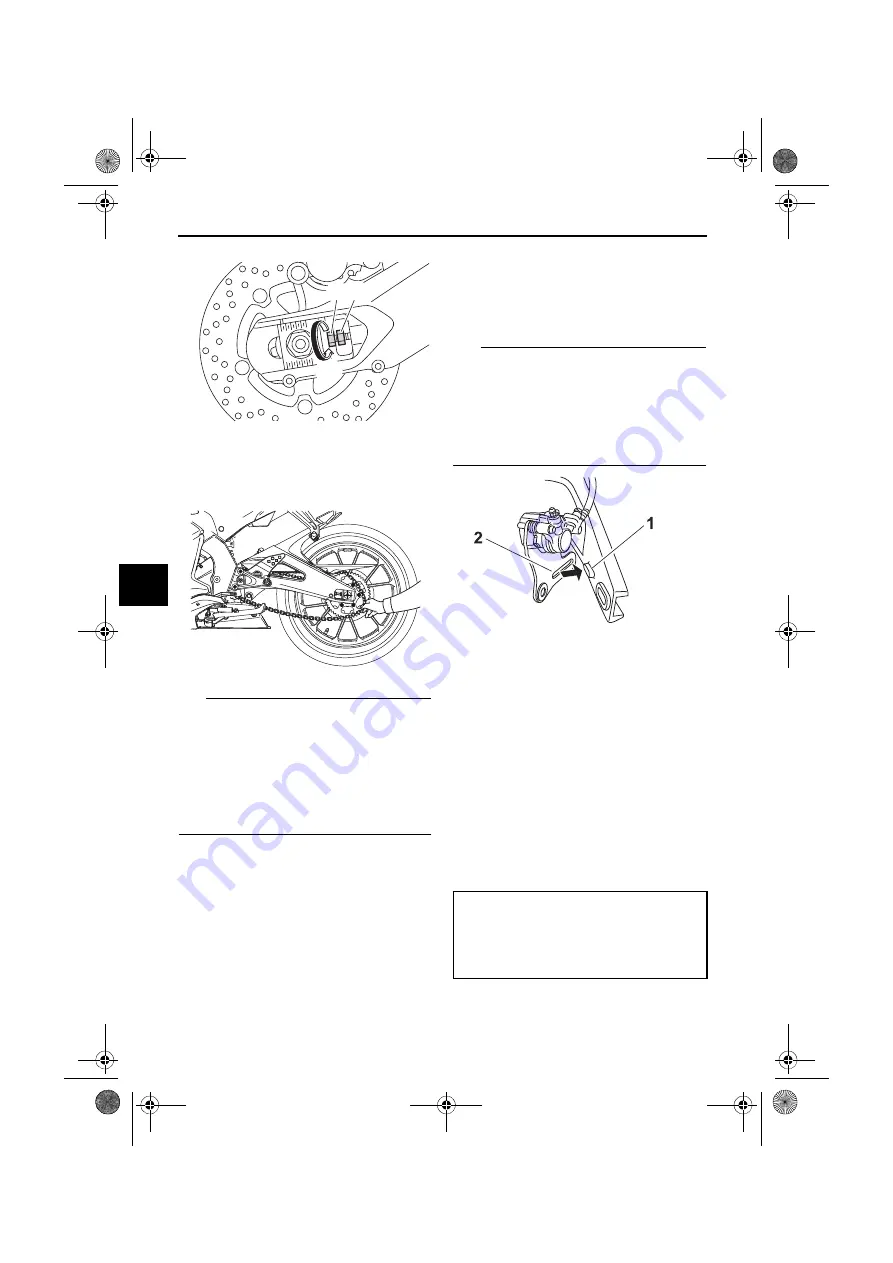
6. Remove the drive chain from the
rear sprocket.
TIP
If the drive chain is difficult to re-
move, remove the wheel axle first,
and then lift the wheel upward
enough to remove the drive chain
from the rear sprocket.
The drive chain cannot be disas-
sembled.
7. While supporting the brake caliper
bracket, pull the wheel axle out,
and then remove the wheel.
NOTICE:
Do not apply the
b
rake
after the wheel an
d
b
rake
d
isc
have
b
een remove
d
, otherwise
the
b
rake pa
d
s will
b
e force
d
shut.
[ECA11073]
To install the rear wheel
1. Install the wheel and the brake cal-
iper bracket by inserting the wheel
axle from the left-hand side.
TIP
Make sure that the slot in the
brake caliper bracket is fit over the
retainer on the swingarm.
Make sure that there is enough
space between the brake pads
before installing the wheel.
2. Install the drive chain onto the rear
sprocket.
3. Install the axle nut.
4. Lower the rear wheel so that it is
on the ground, and then put the
sidestand down.
5. Adjust the drive chain slack. (See
6. Tighten the axle nut, and then
tighten the locknuts to the speci-
fied torques.
1. Drive chain slack adjusting bolt
2. Locknut
(a)
1 2
ZAUM1194
1. Retainer
2. Slot
Ti
g
htenin
g
torques:
Axle nut:
85 Nm (8.5 m·kgf, 61 ft·lbf)
Locknut:
16 Nm (1.6 m·kgf, 12 ft·lbf)
UBR3E0E0.book Page 40 Friday, June 19, 2015 1:19 PM


