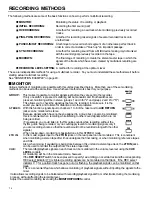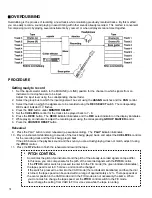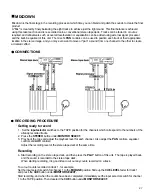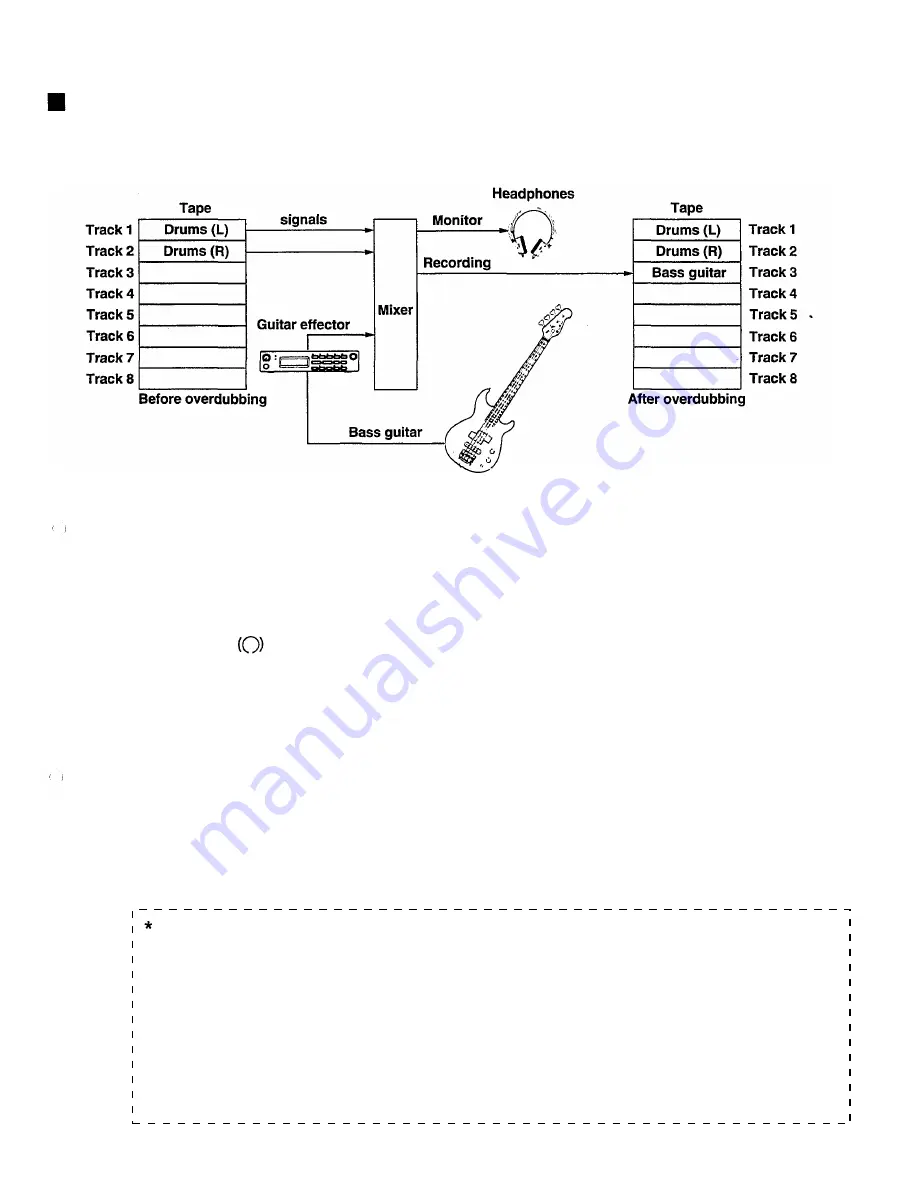
OVERDUBBING
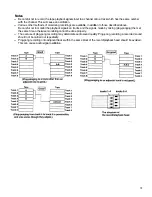
Overdubbing is the process of recording a new track/s while monitoring previously recorded tracks. By this method,
you can easily record a sound playing in exact timing with other sounds already-recorded. This method is convenient
for composing music by playing several instruments by yourself, or when all players cannot meet together.
PROCEDURE
Getting ready to record
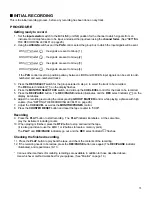
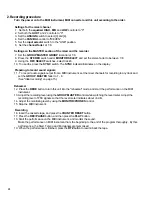
1. Set the input selector switch to the MIC/LINE (or LINE) position for the channel to which signals from an
instrument or microphone are to be input.
Adjust the input level using the corresponding channel fader.
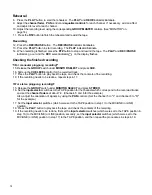
2. Select the group bus to which the input signals will be sent using the ASSIGN switches and the PAN control.
3. Select the track on which the signals are to be recorded using the REC SELECT switch. The corresponding
REC select indicator flashes.
4. Press the CUE button under MONITOR SELECT.
5. Set the CUE LEVEL control for the tracks to be played back to 7 - 8.
6. Press the REHE button. The REHE indicator illuminates and the REC select indicator on the display illuminates.
7. While playing an instrument, adjust the recording level using the corresponding GROUP MASTER control.
8. Press the COUNTER RESET button.
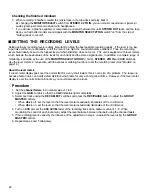
Rehearsal
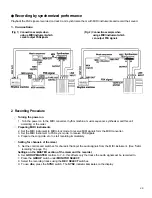
9. Press the PLAY button to start rehearsal (a pseudo-recording). The PLAY indicator illuminates.
10 . Play an instrument while listening to sounds of the track being played back, and adjust the CUE LEVEL controls
for the recording track and the track being played back.
If the pitch between the playback sound and the sound you are actually playing does not match, adjust it using
the PITCH control.
1 1. Press the RTZ button to finish the rehearsal and rewind the tape.
PITCH CONTROL
16
Sometimes the pitch of an instrument and the pitch of the already-recorded signals on tape differ.
In this case, you can compensate for the pitch of the recorded signals with the PITCH control.
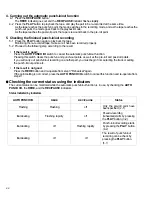
If the PITCH control switch is pressed to enter into the FIX mode (the green indicator illuminates),
the tape speed is set to 9.5 cm/sec. and cannot be changed.
If the switch is pressed to enter into the VARl mode (the red indicator illuminates) and then the dial
is turned, the tape speed can be varied within a range of approximately ±12%. The tape speeds at
the center position in the VARl mode and in the FIX mode are not necessarily the same. When
you do not wish to change the tape speed, set the PITCH control switch to the FIX mode.
Never change the setting from VARl to FIX or vice versa while the tape is running.
Summary of Contents for MT8X
Page 1: ...YAMAHA AUTHORIZED PRODUCT MANUAL MULTITRACKCASSETTERECORDER ...
Page 2: ...YAMAHA MULTITRACK CASSETTE RECORDER OPERATION MANUAL ...
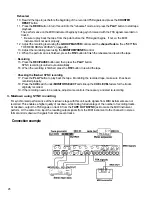
Page 41: ...CONNECTION EXAMPLE 40 ...
Page 46: ......
Page 47: ...TRACK SHEET TITLE ARTIST ENGINEER DATE COMPOSER ARRANGER ...
Page 48: ...YAMAHA R0 1 93 08 2500 YAMAHA CORPORATION RO Box1 Hamamatsu Japan VQ02780 ...

