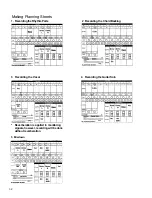
4. Punch-in/out using the automatic punch-in/out function
The automatic punch-in/out function differs from the three punch-in/out methods described in the previous section in
that, once the punch-in and punch-out points have been specified, punch-in and punch-out are then carried out
automatically.
1 . Selecting the track.
Select the track on which the punch-in/out is to be carried out using the REC SELECT switch.
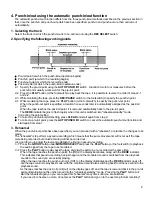
2. Specifying the following working points
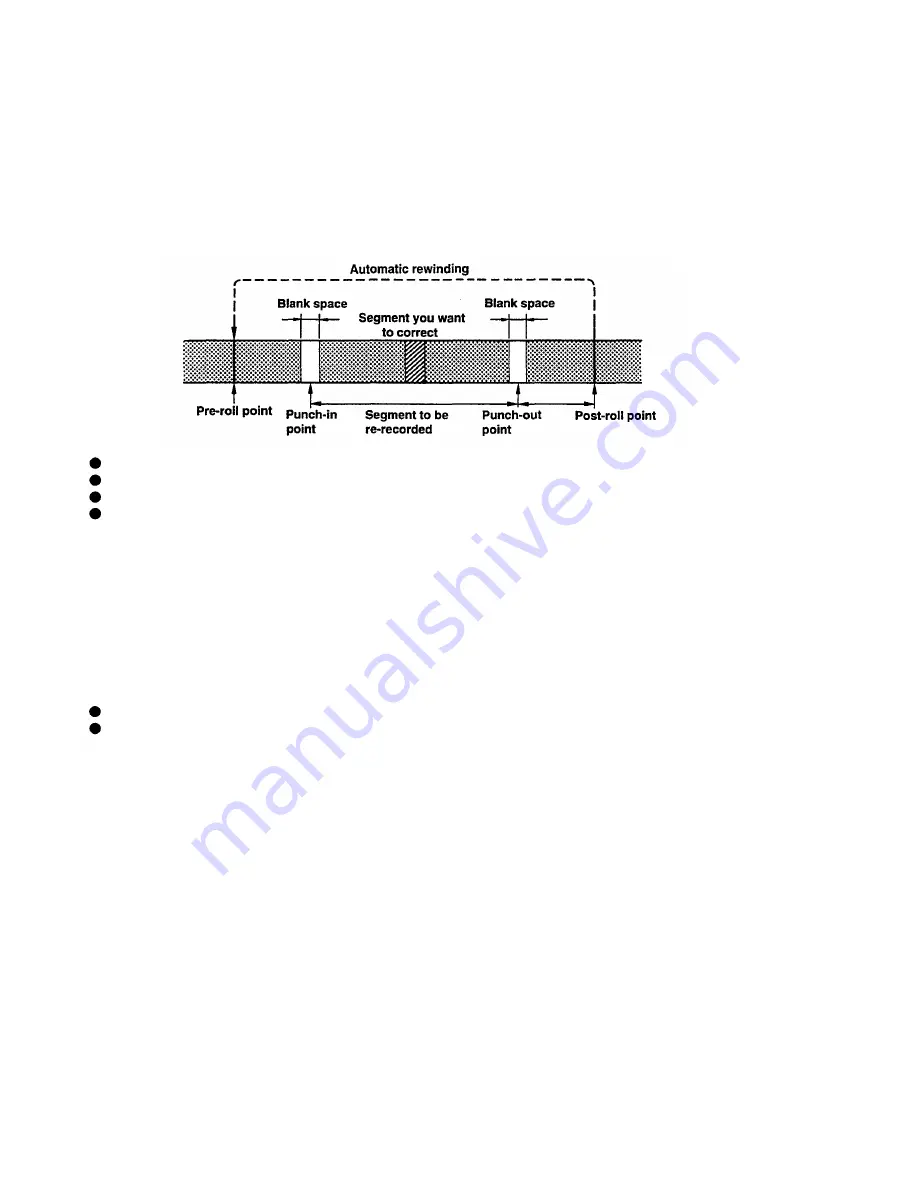
Pre-roll point (at which the punch-in/out operation begins)
Punch-in point (at which the recording begins)
Punch-out point (at which the recording ends)
Post-roll point (at which the punch-in/out operation ends)
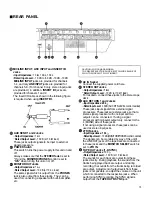
2-1 Specify the pre-roll point using the AUTO PUNCH I/O switch. A location two to four measures before the
punch-in point usually works well for the pre-roll point.
2-2 Press the PLAY button (or the footswitch) to play back the tape. It is possible to reverse the order of steps 2-1
and 2-2.
2-3 While monitoring the tape, press the REC/PAUSE switch (or the footswitch) to specify the punch-in point.
2-4 While monitoring the tape, press the PLAY button (or the footswitch) to specify the punch-out point.
When the punch-out point is specified, a location five seconds later is automatically assigned as the post-roll
point.
When the tape reaches the post-roll point, it is rewound automatically back to the pre-roll point.
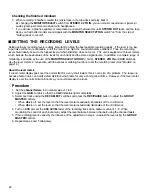
The REHE indicator begins to flash rapidly when this unit is switched into "rehearsal-standby" mode.
* Correcting the point setting
To correct a punch-in/out point setting, press CLEAR and start again from step 2.
To correct a pre-roll point, press the AUTO PUNCH I/O switch to cancel the automatic punch-in/out function and
start again from step 1 .
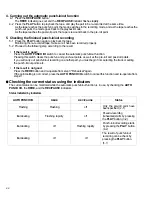
3. Rehearsal
When the punch-in/out points have been specified, you can proceed with a "rehearsal", or practice the changes to be
made.
The "rehearsal" is to perform a pseudo-recording, which means that the same movements will occur as if the tape
were being recorded, but actual recording will not be carried out.
It is good for you to adjust the level and establish the timing in pseudo-recording.
3-1 Press the GROUP button under MONITOR SELECT and press the PLAY button (or the footswitch) to playback
the audio signal from the tape to be monitored.
3-2 Press the PLAY button to play back the tape, and play the part to be re-recorded at the same time.
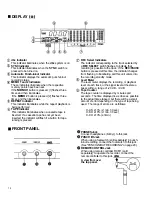
When the tape reaches the punch-in point, the [IN] on the display illuminates, along with the REHE indicator.
This indicates that pseudo-recording has just begun, and the monitored sound is switched from the playback
sounds to the sound you are actually playing.
When the tape reaches the punch-out point, [OUT] on the display illuminates and the REHE indicator goes off,
and the tape returns to playback mode, with the monitored sound also switching back from the live sound to the
playback sound.
As the tape reaches the post-roll point [out] on the display goes off, and the tape is rewound back to the pre-roll
point automatically and this unit is turned into the "rehearsal-standby" mode. Pressing the PLAY button will
start the rehearsal again, so you can repeat this "rehearsal" many times until you are satisfied.
If you need to rehearse no more, do not press the PLAY button and go on to the next step "actual recording".
21
Summary of Contents for MT8X
Page 1: ...YAMAHA AUTHORIZED PRODUCT MANUAL MULTITRACKCASSETTERECORDER ...
Page 2: ...YAMAHA MULTITRACK CASSETTE RECORDER OPERATION MANUAL ...
Page 41: ...CONNECTION EXAMPLE 40 ...
Page 46: ......
Page 47: ...TRACK SHEET TITLE ARTIST ENGINEER DATE COMPOSER ARRANGER ...
Page 48: ...YAMAHA R0 1 93 08 2500 YAMAHA CORPORATION RO Box1 Hamamatsu Japan VQ02780 ...

