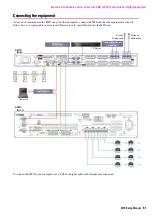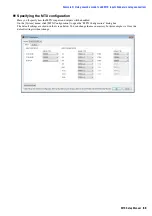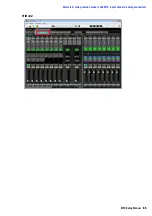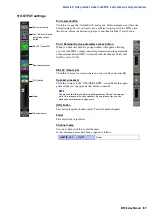
Example 2) High audio quality system with XMV and YDIF connections (digital connections)
MTX Setup Manual
52
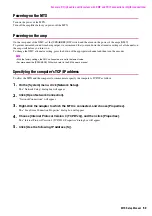
Powering-on the MTX
Turn on the power of the MTX.
Turn off the amplifier before you power-off the MTX.
Powering-on the amp
On the rear panel of the XMV, set the [SPEAKERS] DIP switch, and then turn on the power of the amps (XMV).
To prevent unwanted sound from being output, we recommend that you turn down the attenuator settings of all channels on
the amp itself before you turn it on.
To change the XMV attenuator setting, press the button of the appropriate channel and then turn the encoder.
Specifying the computer’s TCP/IP address
To allow the MTX and the computer to communicate, specify the computer’s TCP/IP as follows.
1.
On the [System] menu, click [Network Setup].
The “Network Setup” dialog box will appear.
2.
Click [Open Network Connection].
“Network Connections” will appear.
3.
Right-click the adapter to which the MTX is connected, and choose [Properties].
The “Local Area Connection Properties” dialog box will appear.
4.
Choose [Internet Protocol Version 4 (TCP/IPv4)], and then click [Properties].
The “Internet Protocol Version 4 (TCP/IPv4) Properties” dialog box will appear.
5.
Click [Use the following IP address (S)].
NOTE
• With the factory settings, the XMV’s attenuators are set to the lowest value.
• For more about the [SPEAKERS] DIP switch, refer to the XMV owner’s manual.

