


86
11
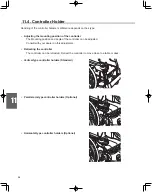
11. Wheelchair Disassembly and Adjustment
The NAVIGO has a variety of features to improve its controllability. Use these features according to your
purposes. For information on the wheelchair frame to which NAVIGO is attached, see the owner’s manual
from the frame manufacturer.
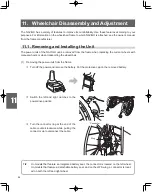
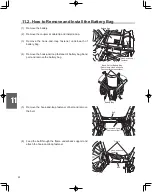
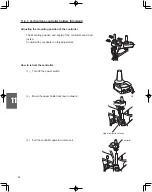
11.1. Removing and Installing the Unit
The power units of the NAVIGO can be removed from the frame when replacing the current wheels with
manual wheels or when transporting the wheelchair.
(1) Removing the power units from the frame
Turn off the power and remove the battery. Put the protective cap on the removed battery.
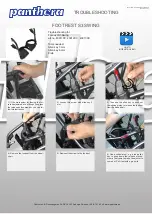
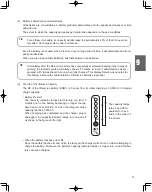
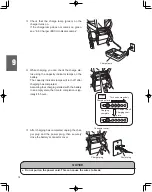
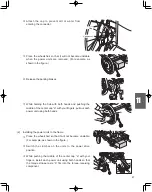
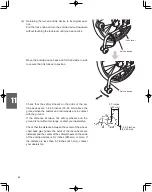
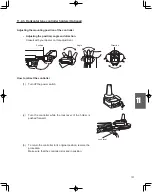
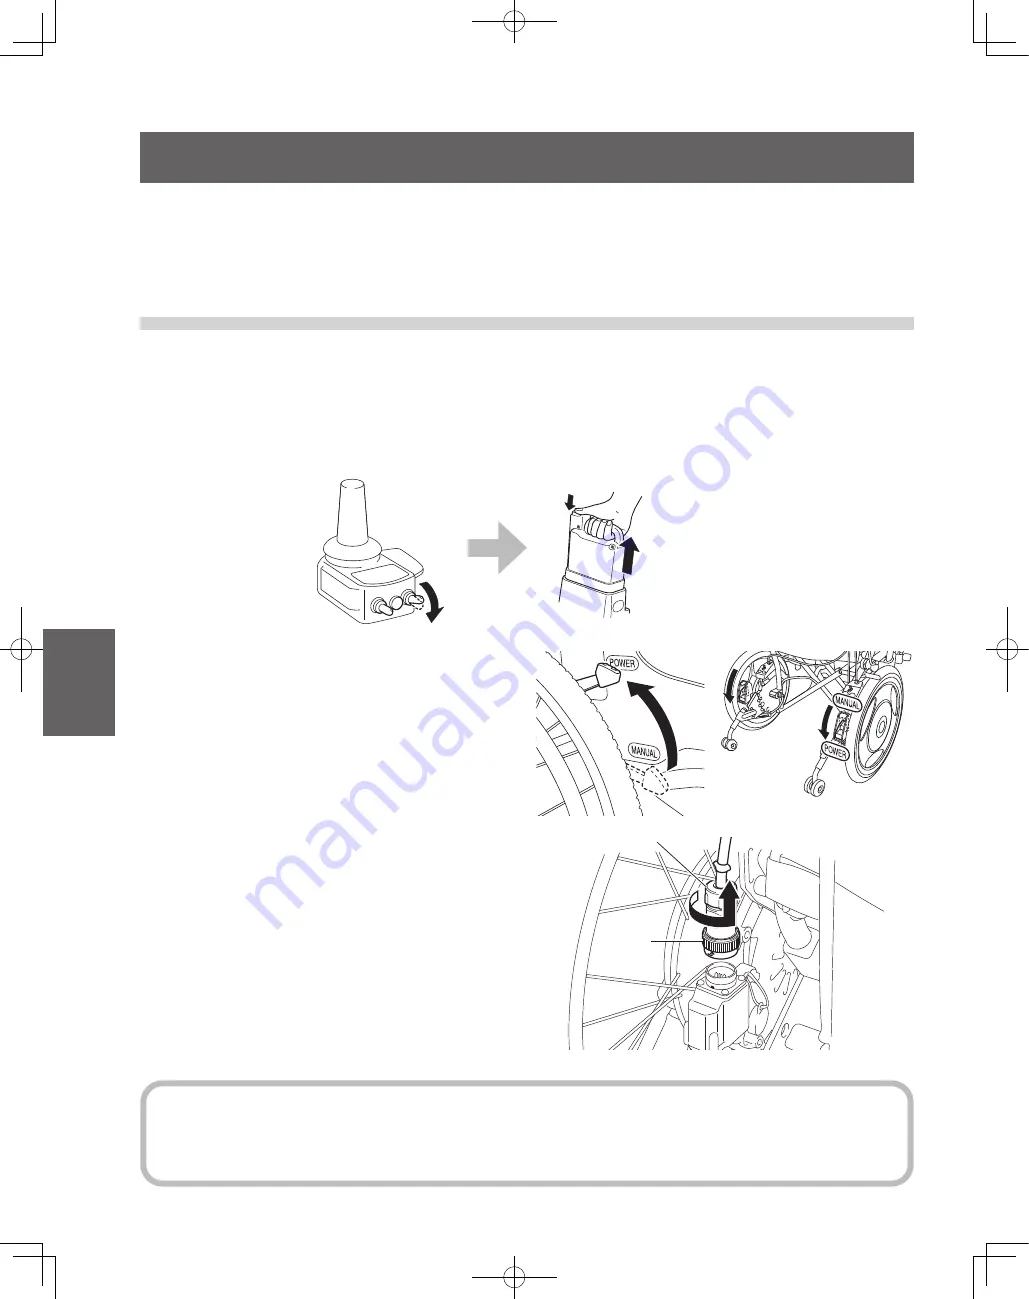
Switch the left and right clutches to the
power drive position.
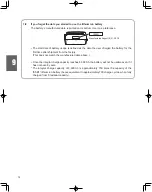
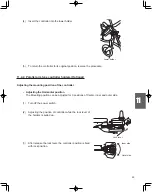
Ring
Connector
Turn the connector ring at the end of the
cable counterclockwise while pulling the
connector up to disconnect the cable.
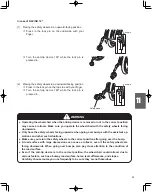
On models that feature an integrated battery seat, the connector is located on the left wheel.
On models that feature a detachable battery seat, and on the JW Swing, a connector is locat
-
ed on both the left and right wheel.
TIP
Summary of Contents for NAVIGO
Page 28: ...1 22 1 6 Warning Label Location Diagram Power Unit and Controller NAVIGO 16 FRONT BACK ...
Page 29: ...1 23 NAVIGO 24 FRONT BACK ...
Page 30: ...1 24 Lithium Ion Battery Nickel Metal Hydride Battery Back side ...
Page 31: ...1 25 Charger for Lithium Ion and Nickel Metal Hydride Battery ESC3 ...