32
Chapter 4: Auxiliaries and Effects
ProMix 01 User’s Guide
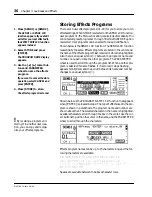
1. Press [SEND1] or [SEND2].
The SEND1 or SEND2 LCD
function appears. If you didn’t
exit after your last effect edit,
the EFFECT EDIT LCD function
appears instead.
The channel faders are now
controlling channel-to-send
levels and the RTN/SEND
fader, the corresponding
return (RTN1 or RTN2).
2. Raise the channel fader.
0dB is a good fader position
to start with. You can always
readjust later.
For post-fader sends you must
set the normal fader too.
The LCD meters display the
stereo effects return levels.
3. Raise the RTN/SEND fader.
The processed signal is fed
back into the stereo mix.
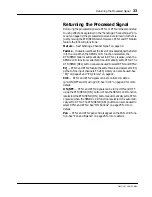
Effects returns can be EQ’d
and panned. See “Returning
the Processed Signal” on
page 33.
Sending a Channel Signal
Sending a channel signal via SEND1 or SEND2 is the first step to using
effects. There are no master send level controls, so you only need to
set the channel send levels.
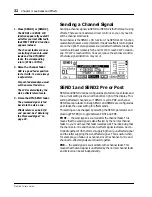
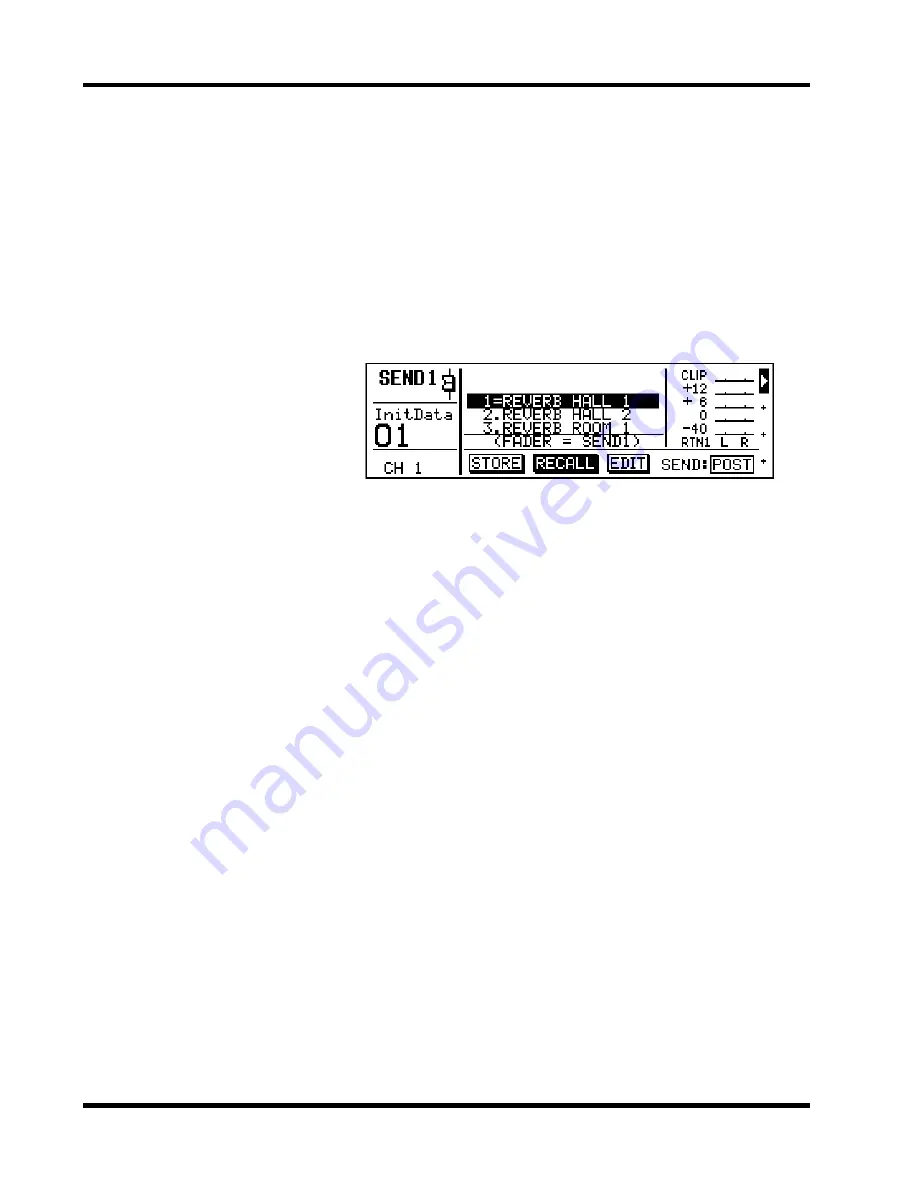
Shown below is the SEND1 LCD function. The SEND2 LCD function
is essentially the same. Level meters for the stereo effects return signals
are on the right. Meter signals are sourced after the effects. Ideally the
level should be set relatively high and it’s OK to reach CLIP occasion-
ally. If CLIP is reached often, however, reduce the send level a little,
otherwise signal distortion may occur.
SEND1 and SEND2 Pre or Post
SEND1 and SEND2 can be configured as pre-fader or post-fader, and
the current setting is shown at the bottom right of the display. This
setting affects all channels, so if SEND1 is set to PRE, all channel
SEND1s are pre-fader. Initially, SEND1 and SEND2 are configured as
post-fader, the usual setting for effects sends.
This setting can be changed by selecting the SEND: parameter and
pressing [ENTER] to toggle between POST and PRE.
POST
— the send signal is sourced after the channel fader. This
means that the send signal is also affected by the normal channel
fader. So you must have that fader raised as well. The idea being that
the channel-to-mix and channel-to-effects signal levels can be con-
trolled together. With the former supplying the dry, unaffected signal
and the latter suppling the wet, affected signal. This is useful when,
for example, you fade-out a channel, since the channel-to-mix and
channel-to-effects signals are reduced together.
PRE
— the send signal is sourced before the channel fader. This
means that the send signal is unaffected by the normal channel fader
and its level can be set independently.
Summary of Contents for Programmable Mixer 01
Page 4: ...ii ProMix 01 User s Guide...
Page 18: ...10 Chapter 1 Touring ProMix 01 ProMix 01 User s Guide...
Page 24: ...16 Chapter 2 User Interface ProMix 01 User s Guide...
Page 36: ...28 Chapter 3 Mixer Functions ProMix 01 User s Guide...
Page 68: ...60 Chapter 6 Groups and Pairs ProMix 01 User s Guide...
Page 74: ...66 Chapter 7 Scene Memories ProMix 01 User s Guide...
Page 96: ...88 Chapter 9 MIDI ProMix 01 User s Guide...
Page 102: ...94 Troubleshooting ProMix 01 User s Guide...
Page 116: ...108 Appendix ProMix 01 User s Guide...
Page 154: ...YAMAHA CORPORATION VS17170 IP 95 01 5000 AP Printed in Japan P O Box 1 Hamamatsu Japan...


