8-23
1
2
3
4
5
6
7
8
9
10
11
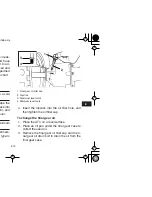
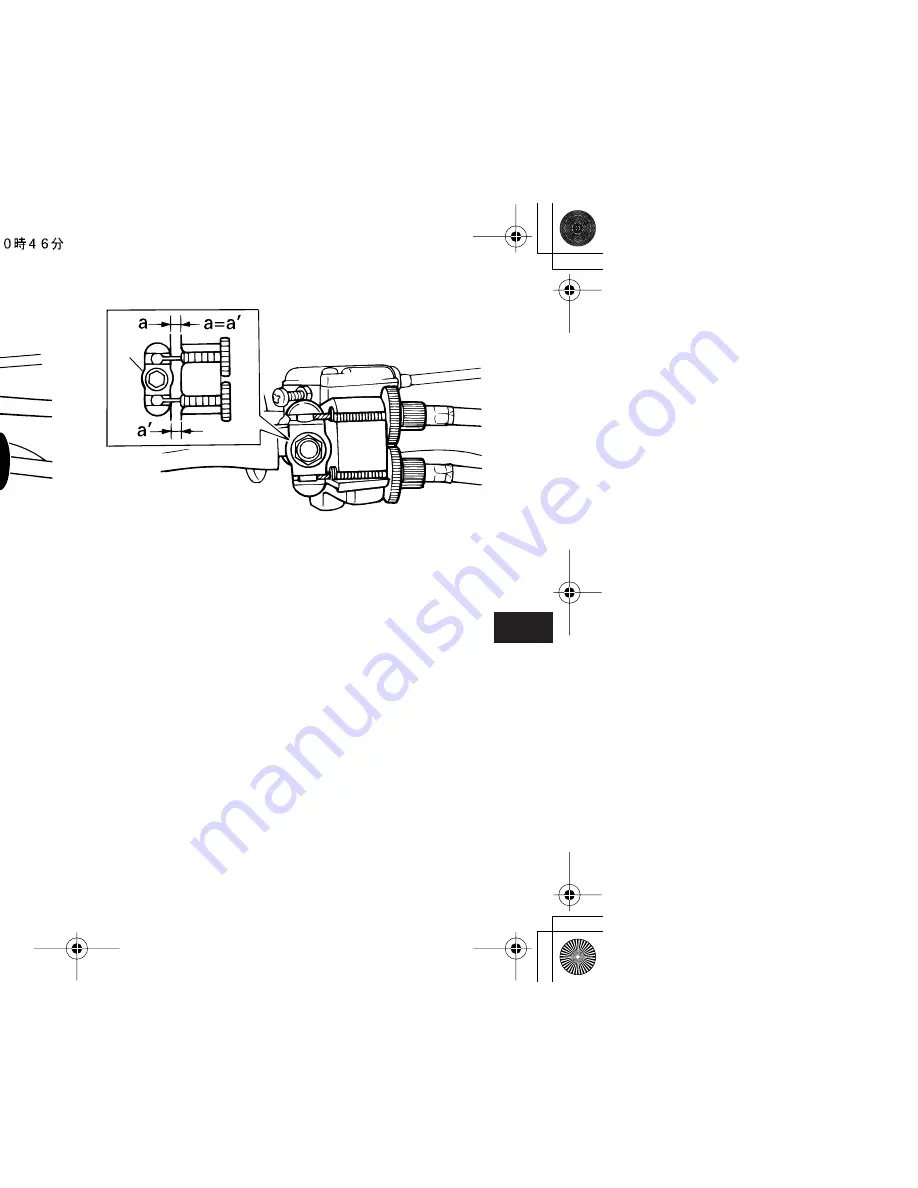
4. Tighten the lower locknut.
5. While applying the front brake, turn out the up-
per adjusting bolt until the upper and lower ca-
ble lengths are equal. The cable joint will
become vertical.
6. Tighten the upper locknut.
1. Upper locknut
2. Upper adjusting bolt
3. Lower locknut
4. Lower adjusting bolt
1 2
4
3
(a)
(b)
(a)
(b)
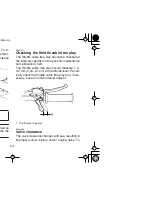
1. Cable joint
1
Summary of Contents for RAPTOR YFM50RW
Page 2: ......
Page 9: ... 9 2 10 1 11 1 11 1 11 3 11 3 11 5 11 7 ...
Page 17: ...2 1 1 2 3 4 5 6 7 8 9 10 11 RNING AND SPECIFICATION LABELS ...
Page 22: ...3 2 slightly from the figures shown in this manual 4 ...
Page 36: ...4 14 esult in ...
Page 43: ...5 7 1 2 3 4 5 6 7 8 9 10 11 re prop ches are distilled ...
Page 52: ...7 1 DING YOUR ATV ...
Page 93: ...8 15 1 2 3 4 5 6 7 8 9 10 11 ving the 1 Panel 2 Bolt 1 2 2 ...
Page 110: ...8 32 e stand s arrow n of the wheel Front 1 Arrow mark 1 ...
Page 112: ...8 34 ng or ere in l sys mes or s from ...
Page 120: ...10 4 ...
Page 122: ...11 2 o identi n the il abel in e need ha deal 1 Model label 1 ...
Page 124: ...11 4 MILEAGE SERVICING DEALER NAME AND ADDRESS REMARKS ...
Page 129: ...11 9 1 2 3 4 5 6 7 8 9 10 11 ...

