6
2. Press and hold the green
ACCENT
key and then press the instrument key corresponding
to the instrument whose Accent level you wish to change.
3. Use the
–1 NO
or
+1 YES
key to change the Accent level. RANGE: ±31.
4. Press
LEVEL
again to return to the mode the RX17 was in before the Accent Level
operation.
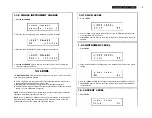
NOTE:
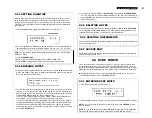
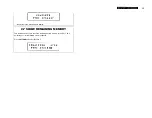
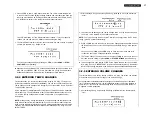
If you have set a plus Accent level and an exclamation mark appears on the
LCD (as in the above example) it means that the combined Accent level plus Instrument
level is above 31 (the maximum possible Instrument Level). In this case, the Accent will
not have as much effect as you intended. For example, if the level of a voice is 24, the
maximum possible Accent level is 31 minus 24 = 7, so an Accent level of, say +10 is
impossible.
If you have set a minus Accent level and the exclamation mark appears, it means that
the combined Accent Level plus Instrument level is zero or less, and the voice will not
sound when accented.
1.5 ACCENTS
Pressing any instrument key while holding the green
ACCENT
key causes that instrument
to sound at its accented level. This applies whether the RX17 is being played in real
time, or programmed in either the Real Time Write or Step Write Modes. Accents allow
you to add natural dynamics to your drum patterns. You can even enter negative Accent
values, which will reduce the level of the instrument. See 1.4.3 ACCENT LEVEL.
1.6 PAN
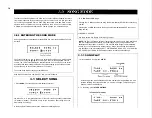
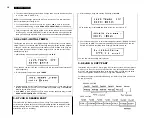
If you are using both the RX17’s stereo outputs, you will find that the instruments are
heard at different positions in the stereo sound image. You can easily alter the stereo
position of individual instruments.
NOTE 1:
This operation can be carried out at any time except during a cassette
operation or MIDI Bulk (operations 5.6 and 5.7).
NOTE 2:
15 Pan positions are possible, from Left to Right. These correspond to positions
1/15 thru 15/1 on an RX15 Digital Rhythm programmer.
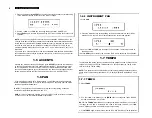
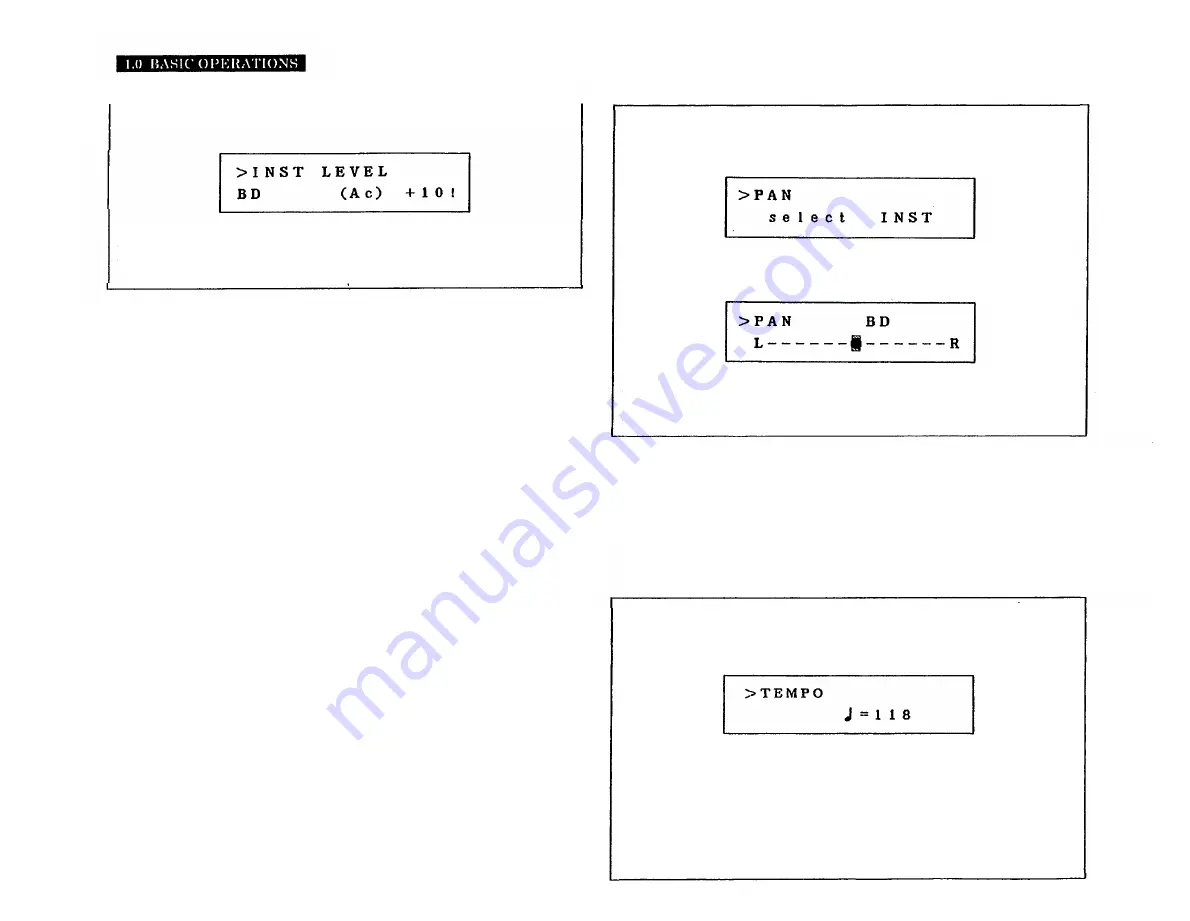
1. Press
PAN
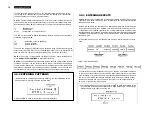
2. Press the instrument key corresponding to the instrument that is to have its Pan
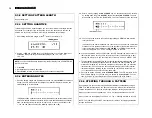
position set. On the LCD the cursor will flash at the current pan position.
3 . Use the
–1 NO
or
+1 YES
key to change the Pan position. The cursor will move to
the new position.
4. Press
PAN
again to return to the mode the RX17 was in before the Pan operation.
1.7 TEMPO
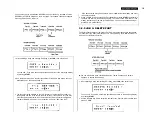
The playback and writing speed of Patterns and the playback speed of Songs can be
varied at any time by moving the TEMPO slider. You can also display the Tempo on the
LCD, for precise Tempo setting.
NOTE:
This operation can be carried out at any time except during a cassette operation,
during Initial Tempo setting (operation 3.2.7) or during MIDI Bulk (operations 5.6 and
5.7).
1.7.1 TEMPO
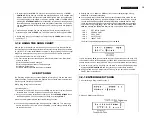
1. Press
TEMPO
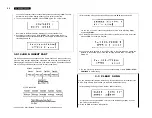
2. Use the
–1 NO
or
+1 YES
key, or the
TEMPO
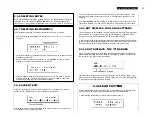
slider, to change the Tempo. RANGE:
40–250 quarter-notes per minute.
NOTE:
The
TEMPO
slider allows you to change the tempo in increments of 3 units in
the range 40–166, and in increments of 4 units in the range 166–250. The
–1 NO
and
+1 YES
keys should be used for exact tempo setting.
3. Press
TEMPO
again to return to the mode the RX17 was in before the Tempo operation.
1.6.1 INSTRUMENT PAN
Summary of Contents for RX-17
Page 1: ...DIGITAL RHYTHM PROGRAMMER YAMAHA AUTHORIZED PRODUCT MANUAL ...
Page 2: ...YAMAHA DIGITAL RHYTHM PROGRAMMER OWNER S MANUAL ...
Page 7: ...2 ...
Page 41: ...36 ...
Page 43: ...38 ...
Page 44: ...39 ...
Page 46: ...SINCE 1887 YAMAHA ...


