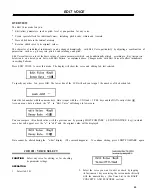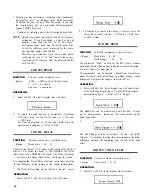
3. Input (write) the desired voices by tapping the Instrument
keys with the correct timing. Notes/instruments can be
added as the Pattern recycles, thus building up the Pattern
in layers.
a) You can input one instrument at a time or several sim-
ultaneously.
*
If you want to use voices currently not assigned to any
instrument keys, use KEY ASSIGN JOB #0l prior to
writing.
b) Adjust the Quantize rate depending on the instrument
part if this makes precise writing easier.
c) To accent beats, hold down one of the green ACCENT
keys while tapping an Instrument key.
d) Mistakes can be erased as you go along by holding the
CLEAR key and tapping the respective Instrument key
in time with the note you want to delete.
*
The chapter below on PATTERN/VOICE CLEAR tells
you how to erase whole instrument passages or Patterns.
e )
As already shown in GETTING ACQUAINTED, ac-
cents can be overdubbed.
4. To stop recording, press STOP/CONTINUE.
The RUN LED will go out, Pattern Selection mode is
entered and you can now play your Pattern by pressing
START. To add or delete notes, stop playback and
re-enter Real Time Write (or Step Write) mode.
•
Writing with a MIDI Keyboard
Programming is basically the same, with the added advantages
of being able to input
a ) subtle dynamics (expressive volume changes) in real time
(if the keyboard is velocity sensitive),
b) a larger variety of voices than is possible with a single
Instrument key layout
c)
melodic lines and chords more easily than with the RX7
Instrument keys.
First, you must use MIDI Jobs #02 and #04 to assign the
RX7 voices to the connected MIDI keyboard as desired.
Then all you have to do is play during Real Time Write.
*
Both the RX7 Instrument keys and several MIDI key-
boards can be used simultaneously for programming and
playing.
n
n
DAMP
Using this key during Real Time Write can add particular
realism by damping sustained sounds such as cymbals. This
function is especially easy to operate from a MIDI keyboard.
When writing with the Instrument keys, DAMP can only
be used AFTER a Pattern has been programmed. Select the
respective Pattern, then enter Real Time Write mode and
press DAMP. (The DAMP LED lights up.) You can now
damp any recorded voice by pressing its Instrument key ex-
actly when you want the sound to STOP.
If you have a MIDI keyboard available, damping is possible
DURING the initial Real Time programming of Patterns.
Just press DAMP, causing the DAMP LED to light. Any
sounds played on the MIDI keyboard will now sound only
as long as the key is pressed. As soon as you release the key,
the sound will be damped immediately.
*
As long as the DAMP LED is lit, all RX7 Instrument keys
are damped and cannot be used to play any voices.
*
Since the damping point is always moved to the nearest
Quantize division, the effect of the Damp function is in-
fluenced by the Quantize rate. (In some cases, there will
be no damping effect at all.) Quantize is therefore best
turned off when using the Damp function.
n
n
QUANTIZE EXAMPLE
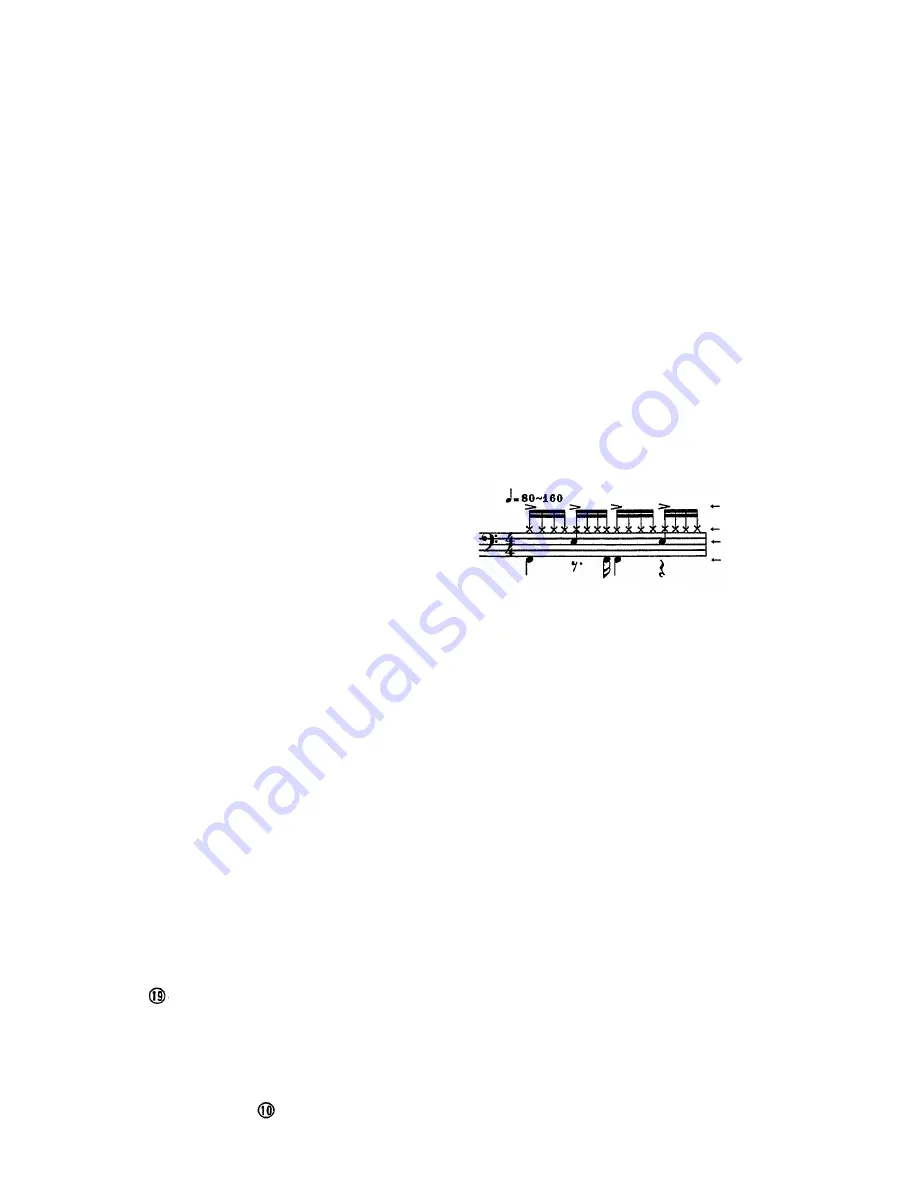
Try programming the following popular rock pattern in Real
Time Write with Quantize set to 1/16.
A c c e n t
Hi Hat
SD (Snare Drum)
BD (Bass Drum)
If the result is satisfactory, there is no need to use any other
Quantize rate, but if you find writing too difficult, try the
following method.
1.
Set Quantize to 1/16 and input the closed hi-hat notes,
ignoring the accents for the time being.
As in our first writing example in GETTING AC-
QUAINTED, there is NO WAY you can make a mistake
(except by leaving out notes, which can be input the next
time around).
2. When all hi-hat notes have been written, set Quantize
to 1/4 and input the hi-hat accents on each Click beat
(by holding down ACCENT 2 and tapping the HI HAT
Instrument key). Again, there is NO WAY you can go
wrong. Due to the 1/4 Quantize rate, the accents will
be precisely in time, no matter when you tap the HI
HAT key.
3. Leaving the Quantize rate as it is, tap the snare drum
(SD) Instrument key on every second Click. This is the
first time you can make a mistake. If you do and write
too many SD notes, delete the unnecessary ones by
holding down the CLEAR button while tapping SD.
4. Finally for the most difficult part - the bass drum (BD)
line. Set the Quantize rate back to 1/16 and perhaps lower
the tempo even further. If you don’t trust your sense
of rhythm (or can’t imagine what the Pattern should
sound like by looking at the notation), try counting the
hi-hat notes to know when to tap the BD key (namely
on the lst, 4th, 7th, 9th and 16th hi-hat notes).
11


