Optimizing the speaker setting for your listening room (YPAO)
49
En
Prepara
tion
8
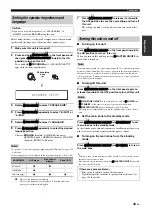
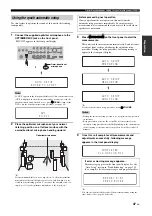
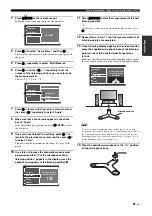
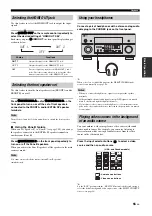
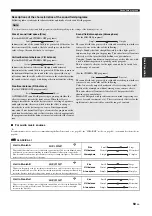
Once all measurement items are set successfully,
following display appears in the menu screen.
In this menu, you can perform the following operations:
• Press
9
n
and select “Setup” to set the measured values.
• Press
9
k
and select “Retry” to retry the automatic setup
procedure. This unit starts the automatic setup procedure
immediately again.
• Press
9
h
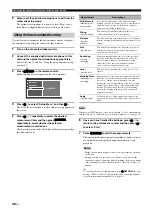
and select “Detail” to view information about
measurement results and warning messages. In the
information display, press
9
k
/
n
repeatedly to toggle
between the parameters. See page 50 for details.
• Press
9
l
to cancel the measurement results and exit from
the automatic setup menu.
9
Press
I
MENU
to turn off the GUI menu.
• After you have completed the automatic setup procedure, be sure to
disconnect the optimizer microphone.
• The optimizer microphone is sensitive to heat. Keep it away from direct
sunlight and do not place it on top of this unit.
■
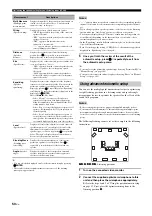
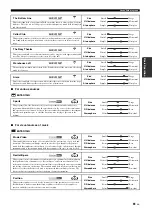
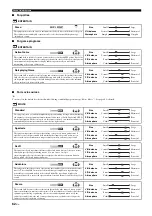
Reviewing the result of the automatic setup
Use this feature to review the result of the automatic setup.
1
Set the operation mode selector to
F
AMP
and then
press
I
MENU
to turn on the GUI screen.
2
Press
9
k
/
n
repeatedly and then
9
h
to select
3
Press
9
k
to select “Information”.
4
Press
9
h
and then
9
k
/
n
repeatedly to select the
desired check items.
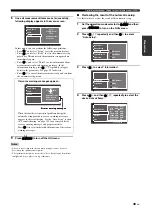
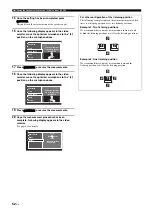
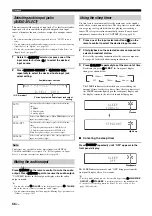
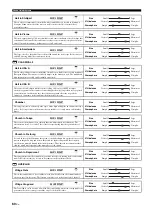
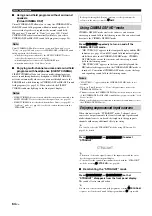
If error or warning messages appear...
When this unit detects potential problems during the
automatic setup procedure, error or warning messages
appears in the result display. See the “Auto Setup” section
in “Troubleshooting” on page 152 for a complete list of
error or warning messages and proper remedies.
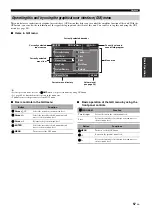
Press
9
l
to view the detailed information of the error or
warning messages.
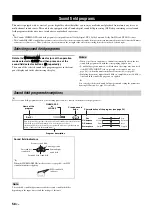
Notes
Measurement Over
W1:Out of Phase
W3:Level Error
Error or warning messages
Error or warning messages
F.PRNS NRM NRM
R.PRNS NRM NRM
SubWfr DET
Reload:ENTER

