94
SET MENU
■
Volume Trim
D)VOLUME TRIM
Use this feature to adjust the level of the signal input at
each jack. This is useful if you want to balance the level of
each input source to avoid sudden changes in volume
when switching between input sources.
Choices: PHONO, CD, MD/CD-R, TUNER, DVD,
DTV/CBL, V-AUX, VCR, DVR
Control range: –6.0 to +6.0 dB
Control step: 0.5 dB
Initial setting: 0.0 dB
Use this menu to adjust the optional system parameters.
■
Display settings
A)DISPLAY SET
Dimmer
DIMMER
Use this feature to adjust the brightness of the front panel
display.
Control range: –
4 to
0
Control step: 1
• Press
j
to make the front panel display dimmer.
• Press
i
to make the front panel display brighter.
Video conversion
VIDEO CONV.
Use this feature to set whether to convert the video signals
input at the VIDEO and S VIDEO jacks.
Choices:
ON
, OFF
• Select “ON” to convert composite and S-video signals
interchangeably and up-convert composite and S-video
signals to component video signals.
• Select “OFF” not to convert any signals.
• The converted video signals are only output at the MONITOR
OUT jacks. When recording a video source, you must make the
same type of video connections between each component.
• When composite video or S-video signals from a VCR are
converted to component video signals, the picture quality may
suffer depending on your VCR.
• You must set “VIDEO CONV.” to “ON” to display the OSD.
• Unconventional signals input at the composite video or S-video
jacks cannot be converted or may be output abnormally. In such
cases, set “VIDEO CONV.” to “OFF”.
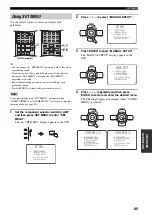
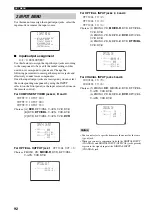
DVD->0.0dB
[<]/[>]:Adjust
[RETURN]:Exit
D)VOLUME TRIM
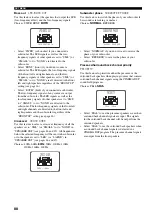
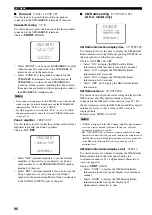
3 OPTION MENU
Notes
.
A)DISPLAYSET
B)MEMORYGUARD
C)PARAM.INI
D)MULTI ZONESET
[]/[]:Up/Down
[ENTER]:Enter
3
OPTION
MENU 1/2
p
p
.
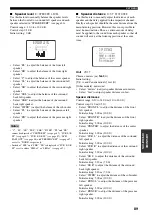
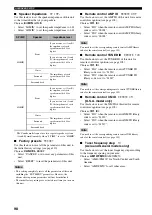
E)XM RADIO SET
[]/[]:Up/Down
[ENTER]:Enter
3
OPTION
MENU 2/2
p
p
.
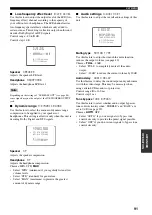
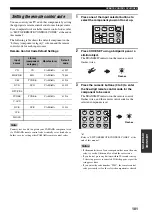
DIMMER
;;;;;;;;;
0
VIDEOCONV.
;;;
ON
OSD
SHIFT
;;;;;;
0
GRAY
BACK
;;;
AUTO
[]/[]:Up/Down
[<]/[>]:Select
A)DISPLAY
SET
p
p


