50
Basics Section
Quick Guide
Refer
ence
Appendix
Saving the Settings (Store)
Saving the Settings (Store)
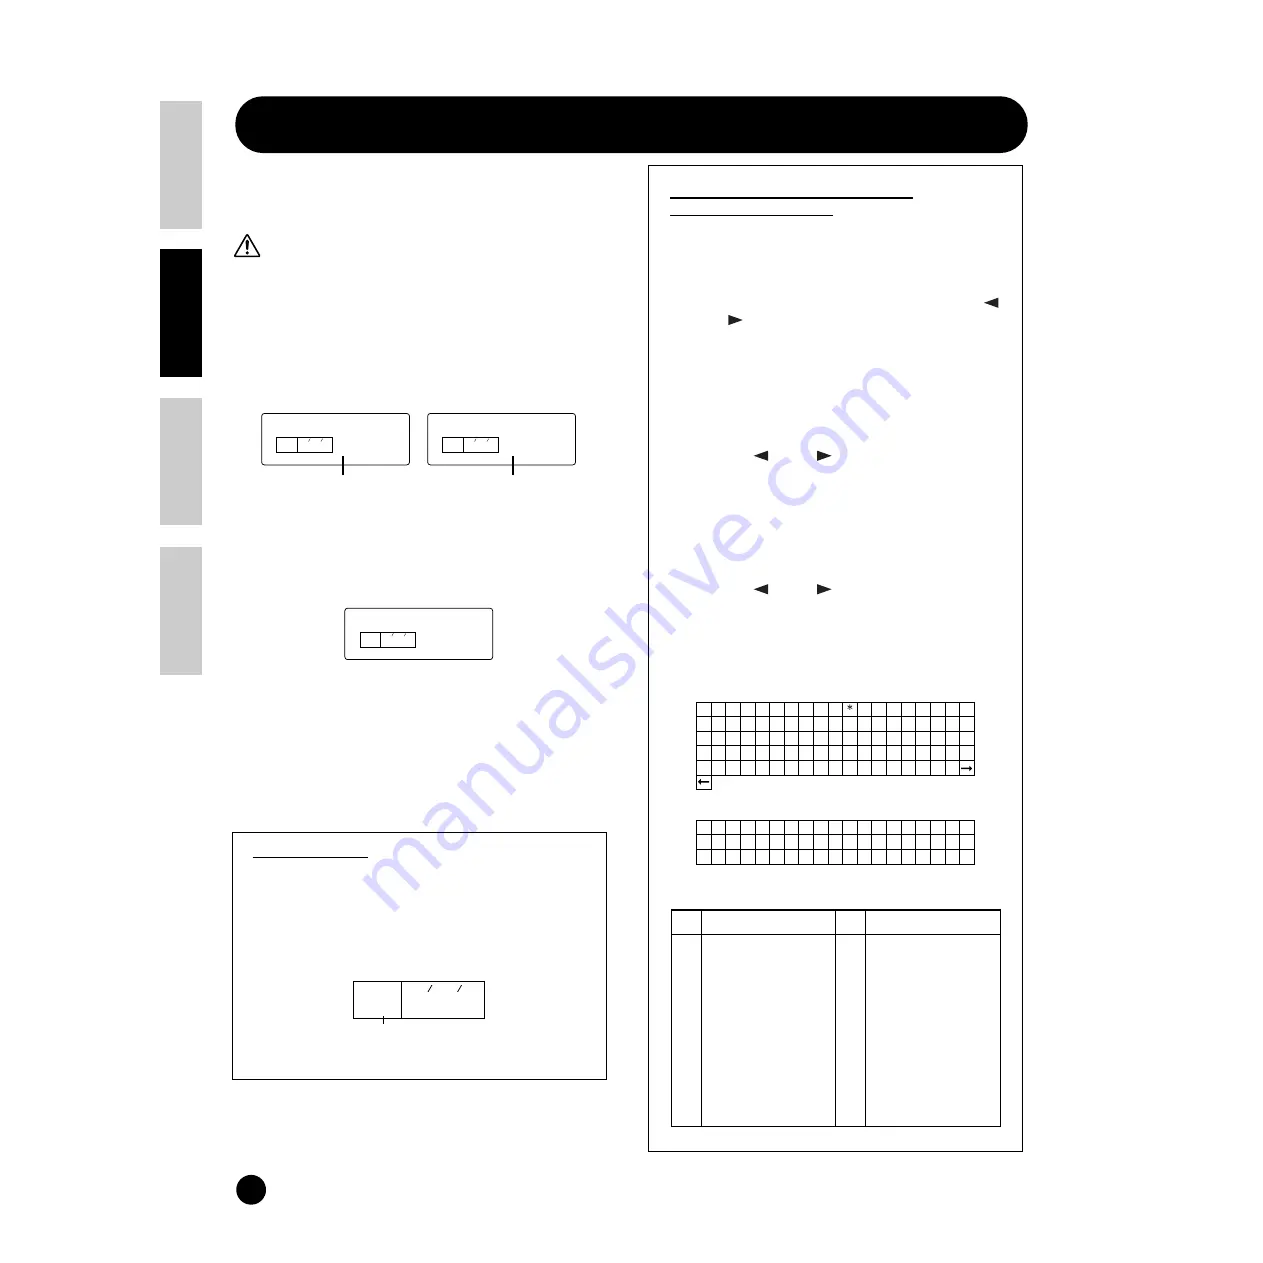
You can store (save) your original parameter settings
for up to 128 Normal Voices, 2 Drum Voices and 32
Multis to User Memory. The procedure is as follows.
When you perform this, the settings for the destination
Voice will be overwritten. Important data should always
be backed up to computer, Yamaha MIDI Data Filer
MDF3 or some other storage device.
n
When changing the Voice/Multi Name, refer to the
explanation below.
1
Press the [STORE] button after editing a Voice/
Multi. The Store screen appears.
2
Use [DEC/NO] and [INC/YES] buttons to select the
destination Voice/Multi Number.
3
When you press the [ENTER] button, you will be
prompted for confirmation.
4
Press the [INC/YES] button to confirm. The
message “Executing” will be displayed while the job
is being processed. When it has been completed, a
“Completed” message appears, and operation
returns to the Play mode.
n
You can press the [DEC/NO] button to cancel the Job.
This will return you to the original screen.
The E Indicator
If you alter any parameters in Edit mode, the E
(Edit) indicator will be displayed in the PAGE
column of the screen after exiting from the Edit
mode. This gives a quick indication that the current
Voice/Multi has been modified but not yet stored
.
Voice/Multi/File Name Settings
(Entering Characters)
The instructions that follow show you how to enter
characters in the Name screen (Voice/Multi Edit
mode) and the Save/Rename screen (Card mode).
1
(When entering Voice/Multi name) Use the [
]
and [
] buttons to move the cursor to the
position of the next character. By assigning a
Category Name, it will be easier to identify the
Voice/Multi later. The Category Search function
(page 31) can also be used to search for it. If no
Category Name is set, the Category will be shown
as two hyphens.
2
Use the [
] and [
] buttons to move the
cursor to the position of the first character. The
selected character will flash.
3
Use the [DEC/NO] and [INC/YES] buttons to
enter an alphabetic character/symbol or use the
numeric keypad to enter a numeric character.
4
Use the [
] and [
] buttons to move the
cursor to the position of the next character.
5
Repeat Steps
3
and
4
until all the characters
have been set for your Name.
Available numbers and letters (Voice/Multi)
Available numbers and letters (File)
Category List
Store
KEY
ELEM
PART
PAGE
US001
Store
KEY
ELEM
PART
PAGE
MLT01
Voice (ex. Normal Voice)
Multi
Destination Voice Number
Destination Multi Number
Store
KEY
ELEM
PART
PAGE
Sure?
KEY
ELEM
PART
PAGE
E P 1
Edit Indicator
3 4 5 6 7 8 9 : ; < = > ? @
B C D E
A
F G H I J K L M N O P Q R S T U V W X
Y Z
g h i j k
[ · ] ^ _ ‘ a b c d e f
t u v w x y z
l m n o p q r s
{ | }
! " # $ % & ’ ( )
+ , - . /
1 2
0
9 @ 6 7 8 9 A B C D E F G
I J K L
H
N O P Q R S T U V W X Y Z ^ _ ‘ { } ~
! # $ % & ’ ( ) -
1
0
2 3 4 5
7 8
6
M
LCD
––
PF
OR
GT
BA
ST
BR
RP
LD
PD
Category
Unassigned
Piano
Organ
Guitar
Bass
Strings/Orchestral
Brass
Reed/Pipe
Synth Lead
Synth Pad
LCD
SC
CP
DR
SE
ME
CO
(OTHER)
Category
Synth Comping
Chromatic Percussion
Drums
Sound Effects
Musical Effects
Combination
Musical Effects/Combination


