Reference Manual
Reference
131
Audio Record/Play Mode
In the Audio Record/Play mode, your keyboard performance can be recorded and will be saved as an audio file to the
root directory of the external USB storage device or the internal flash memory and you can play back the audio file on
the specified storage device.
This section explains how to record your keyboard performance as a Wave file at 44.1 kHz/16-bit. Your keyboard
performance can be recorded for up to 74 minutes at a fixed recording level.
NOTE:
The recordable time differs depending on the USB storage device. Up to 18 minutes of your performance can be recorded to
internal flash memory.
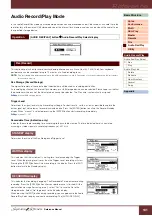
Rec Storage (Record Storage)
The highest directory of the volume label selected here will be used as recording destination.
As recording destination, the internal flash memory or a USB storage device can be selected. Please keep in mind that
the directories within each of the Volume Labels cannot be selected. The File name is automatically assigned.
Settings:
internal, USB storage device
Trigger Level
Determines the signal level at which recording will begin. For best results, set this as low as possible to capture the
entire signal, but not so low as to record unwanted noise. Press the [ENTER] button to call up the Record Standby
display. When “manual” is selected, pressing the [ENTER] button starts recording immediately.
Settings:
manual, 1 – 127
Recordable Time (Indication only)
Indicates the available recording time according to the available memory. The time indicated here is calculated
assuming a stereo signal at a recording frequency of 44.1 kHz.
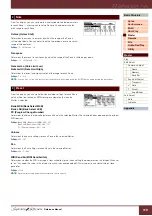
Determines the value of the Rec Storage and Trigger Level.
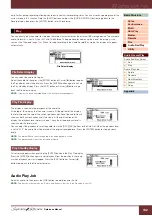
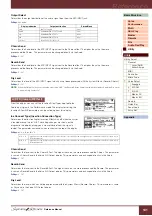
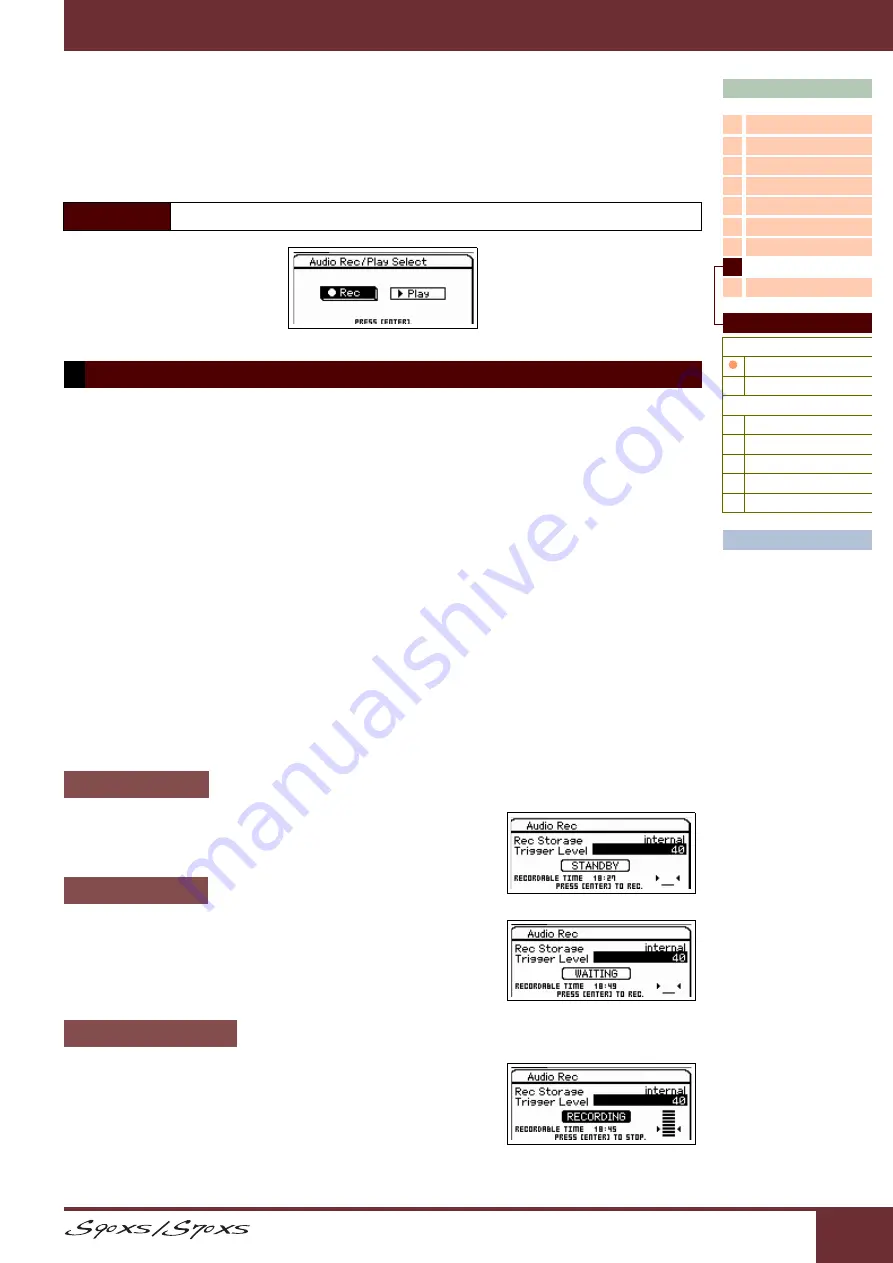
This indicates that the instrument is waiting for a level exceeding the Trigger
Level. When the playing level is over than the Trigger Level, recording will start.
Pressing the [ENTER] button will start recording in this display. Press the [EXIT]
button to return to the Standby display.
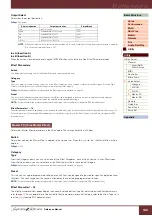
This indicates that recording is ongoing. The Recordable Time decreases during
recording. Press the [ENTER] button after your performance is finished. At the
confirmation message (for saving or not), select “Yes” to save the file to the
storage device. Select “No” to go back to the Standby display.
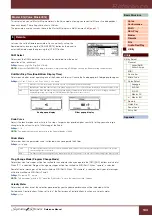
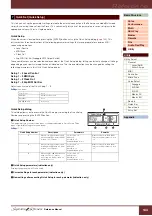
When pressing the [EXIT] button during recording, you can go back to the Audio
Record/Play Select display and continue recording. The [AUDIO REC/PLAY]
Operation
[AUDIO REC/PLAY] button
Audio Record/Play Select display
Rec (Record)
STANDBY display
WAITING display
RECORDING display

