For Service Engineer
Service Information
SI1705004E-00=SIGMA-G5SII Service Manual
104/273
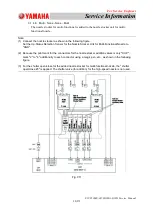
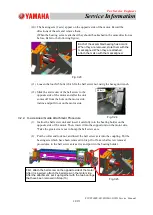
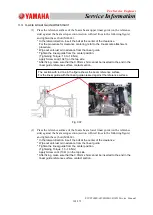
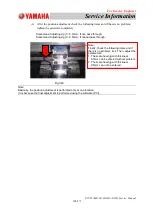
Fig.C38
(3)
Attach the beam setup jig in the X-axis beam and set it up on the surface plate.
(4)
Attach the head plate assembly onto the guide temporarily.
* Fix it temporarily, because the adjustment operation is required.
(5)
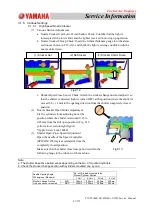
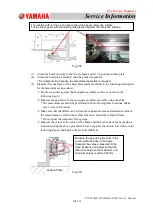
Measure the squareness of the head plate assembly (Refer to the following description
for the measurement procedure).
①
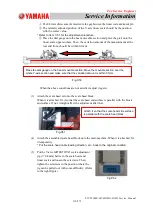
Put the set-square against the head plate assembly surface as shown in the
following figure.
②
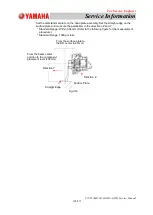
Measure the gap between the set-square and plate assembly using the shim.
* The measurement should be performed in the following three locations. Make
sure to record the results.
③
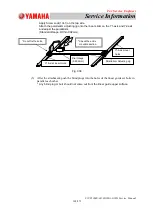
Make sure that the difference between the maximum value and minimum value in
the measurement results in these three locations, should be within 0.03mm.
* If not, repeat the temporary fixing steps.
④
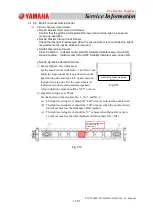
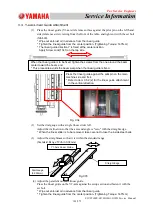
Measure the values at the center of the beam and the both ends of the beam (three
locations) using the above procedure. Press it (against the section in red lines in the
following figure) and tighten the set bolts (M4L14).
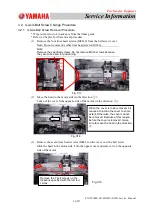
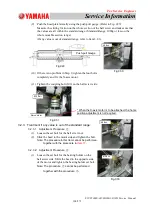
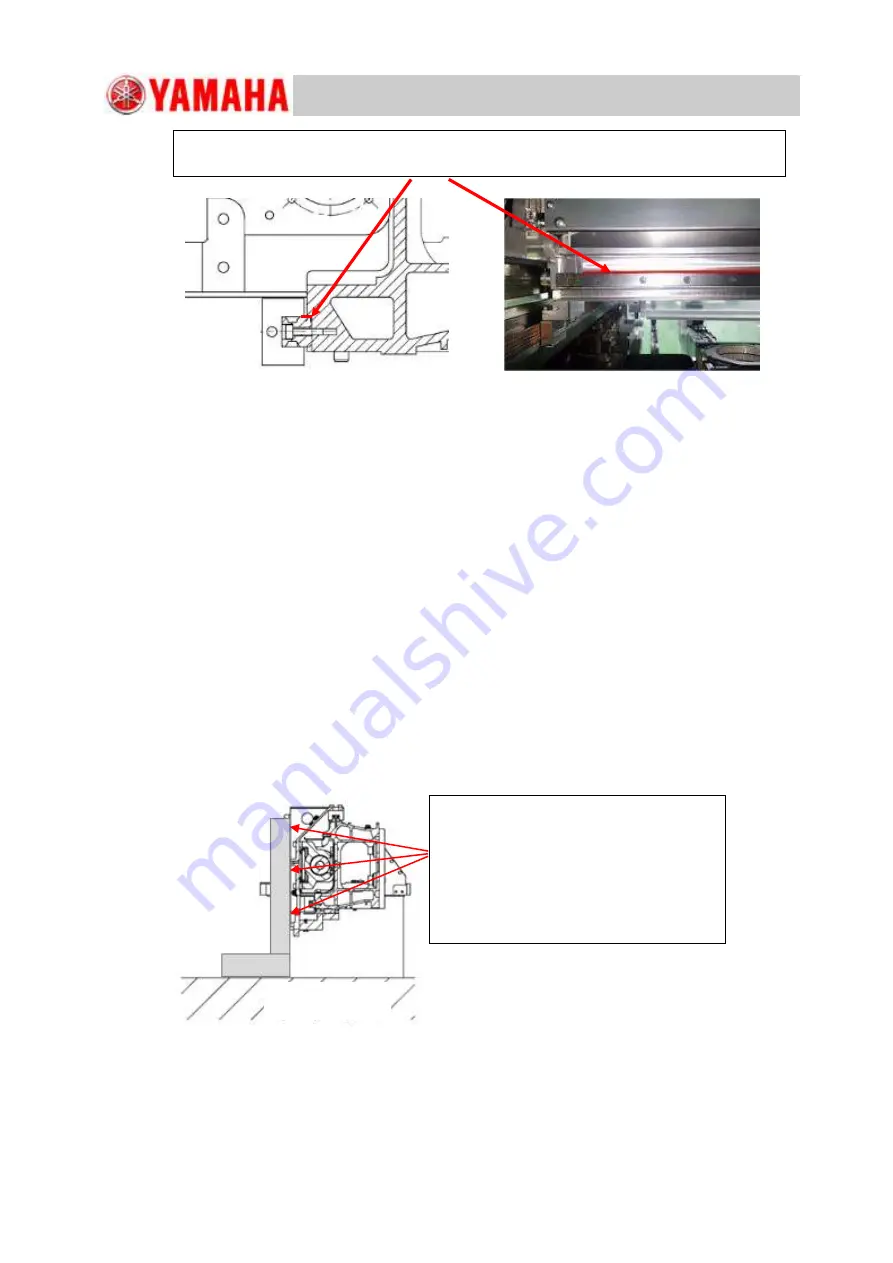
Fig.C39
Measure the gap using the shim in the
section with red lines in the figure.
Compare the values measured in the
three locations and adjust so that the
difference between the maximum and
minimum values is within 0.03mm.
Surface Plate
The section with red line in the figure shows the beam reference surface.
Fix the linear guide with the linear guide pressed against the reference surface.

