For Service Engineer
Service Information
SI1705004E-00=SIGMA-G5SII Service Manual
57/273
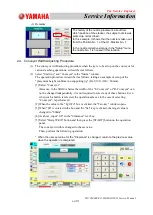
Fig. A54
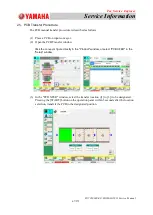
(12) Final Result Check
After the automatic adjustment, the adjustment result is displayed.
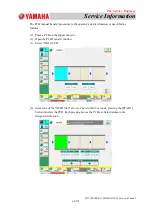
When the PCB where components have been actually placed, is set on the CPK
measuring instrument, CPK measurement is available using the procedure as
usual. Perform it as necessary.
Fig. A55
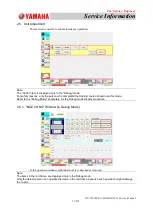
Note:
It has been designed that the results of the CPK measurement of a board in the machine, cannot be
output to NT-100.
When the measurement result data is required, the measurement using BARON is needed.


