For Service Engineer
Service Information
SI1705004E-00=SIGMA-G5SII Service Manual
113/273
3.7.2. Adjusting Procedure
(1)
Reconfirm that the power to the machine
is shut down.
(2)
Remove the feeder cart, etc., for each
work.
(3)
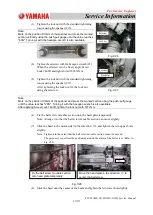
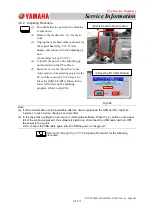
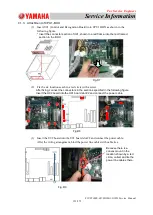
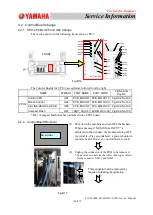
Unplug the scale head cable connector for
the subject head (Fig. C56: Head Upper
Rear Side), and connect it to the adjusting
jig unit.
(In the frame in Fig. C54-*2 and Fig.
C55-(1)).
(4)
Start up the PC software.
(5)
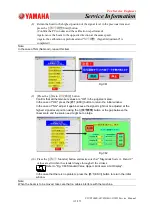
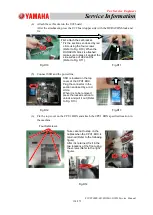
Match the No. for the "Serial Port" in the
initial window of the adjusting program in
the PC, with the connected PC's USB port
No.
Press the [START]] button in the
lower left to start up the adjusting
program.
Note:
(a) If the communication is still a navailable after the above operation, the USB port No. might be
incorrect. In such a case, change it and reconfirm.
(b) (b) In the case that a software error occurs, re-start up the software. When the [
→
] button on the
upper left of the window is pressed, the software is started up. Disconnect the USB cable and turn
OFF the power to the jig unit.
Then, connect the USB
cable
again and turn ON the power to the jig unit.
(6)
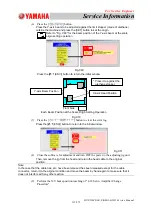
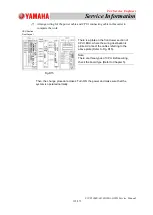
Adjust the scale head to be attached.
Basically, adjust it from No.
①
in the
Fig. C57 in the order.
The adjustment procedure is described as
follows.
④
Adjusting PC Initial Window
Fig.C56
Fig.C57
③
Scale Head Cable Connector

