English
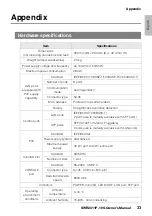
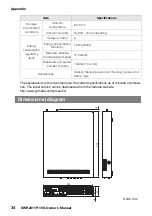
Installation on a wall or ceiling
SWR2311P-10G Owner’s Manual
23
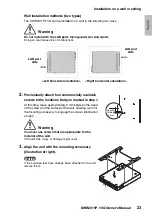
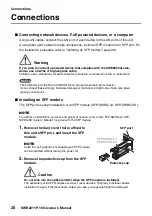
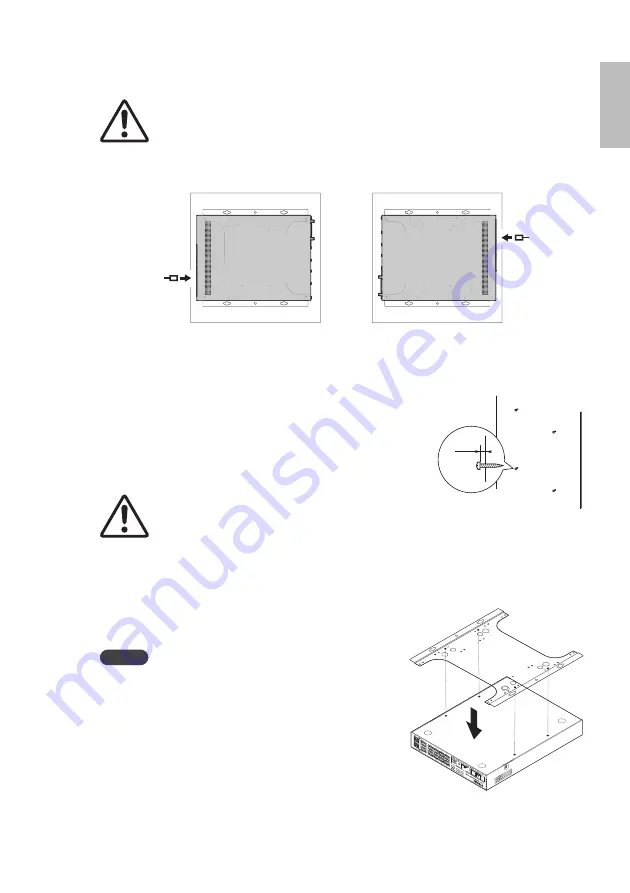
Wall installation methods (two types)
The SWR2311P-10G can be installed on a wall in the following two ways.
Warning
Do not install with the LAN ports facing upward or downward.
Doing so could cause fire or malfunctions.
2.
Provisionally attach four commercially available
screws to the locations that you marked in step 1.
At this time, leave approximately 2 mm between the head
of the screw and the surface of the wall, allowing room for
the mounting accessory to engage the screws. (illustration
at right)
Warning
You must use screws that are appropriate for the
material of the wall.
If the unit falls, injury or damage might occur.
3.
Align the unit with the mounting accessory
(illustration at right).
Notice
If the supplied feet have already been attached to the unit,
remove them.
<Left horizontal orientation>
<Right horizontal orientation>
LAN port
side
LAN port
side
Approx-
imately
2 mm

