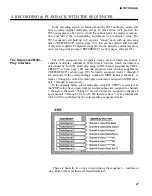
TUTORIALS
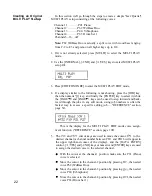
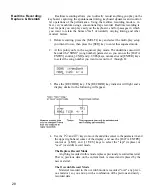
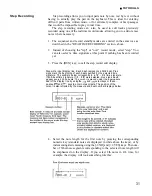
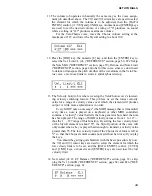
5. If necessary, the tempo, measure, and time signature parameters can also
be set at this time. The time signature can only be set if nothing has been
recorded in the current song. You can start recording from any measure
number within the range of already-recorded measures by setting the
measure parameter accordingly. The tempo can be set before recording
any track. This is useful because you might want to record complex
passages at a slower tempo to minimize mistakes.
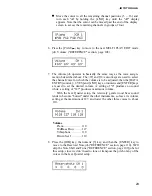
Time Signatures
When setting the time signature, the cursor can be moved to the time
signature numerator or denominator so that these two values can be set
separately. Available time signature ranges are: 1/4 ... 4/4, 1/8 ... 8/8, and
1/16 ... 16/16.
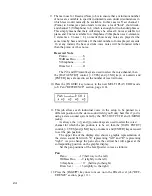
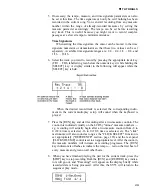
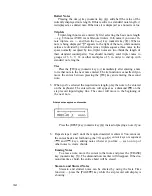
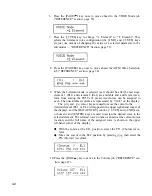
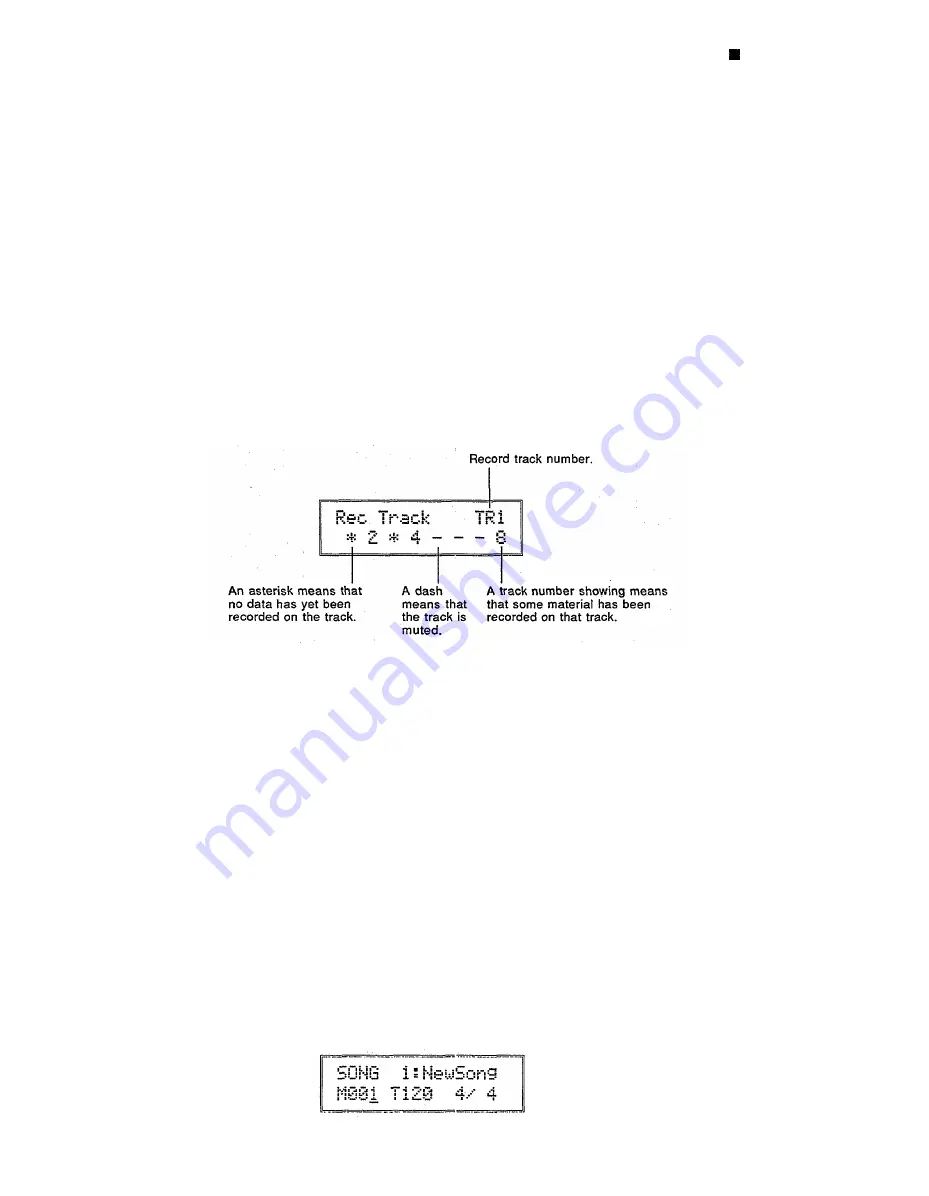
6. Select the track you want to record by pressing the appropriate track key
(TR1 ... TR8, labelled in green below the numeric keys) while holding the
[SELECT] key. A display similar to the following will appear while the
[SELECT] key is held.
When the desired record track is selected, the corresponding instru-
ment in the current multi-play setup will sound when the keyboard is
played.
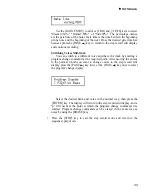
7. Press the [RUN] key and start recording after a two-measure count-in. The
count-in is indicated visually on the LCD by "minus" measure numbers —
e.g. recording will actually begin after a two-measure count-in from -8 to
0 if 4/4 time is selected, -16 to 0 if 8/8 time is selected, etc. The "click"
metronome will also sound as long as the "CLICK SELECT" function is
set appropriately ("REFERENCE" section, page 118) and the rear-panel
[CLICK VOLUME] control is set to an appropriate level. After the count-in,
the measure numbers will increase as recording progresses. The [RUN]
key indicator also flashes to indicate the tempo — red on the first beat of
every measure and green on all other beats.
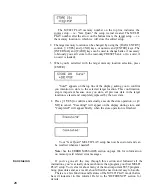
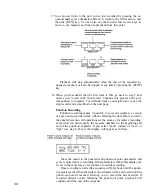
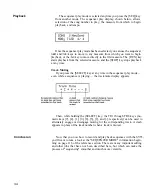
8. When you have finished playing the part for the current track, press the
[STOP] key to stop recording. Both the [RUN] and [RECORD] key indica-
tors will go out, and "Executing!" will appear on the display briefly while
recorded data is being processed. After this, the SY55 will return to the
sequencer play mode.
29
Summary of Contents for SY55
Page 1: ...YAMAHA AUTHORIZED PRODUCT MANUAL MUSIC SYNTHESIZER ...
Page 2: ...YAMAHA MUSIC SYNTHESIZER ...
Page 4: ...SY55 Music Synthesizer Operating Manual ...
Page 12: ...TUTORIALS SECTION ...
Page 42: ...TUTORIALS SY55 Voice Parameter Chart Voice Name 39 ...
Page 43: ...SY55 Voice Parameter Chart Voice Name VeloChorus 40 ...
Page 51: ...REFERENCE SECTION ...
Page 59: ...VOICE EDIT MODE 57 ...
Page 105: ...DRUM EDIT MODE 103 ...
Page 117: ...MULTI EDIT MODE 115 ...
Page 131: ...SEQUENCER MODE 129 ...
Page 145: ...UTILITY MODE 143 ...
Page 156: ...YAMAHA ...
Page 159: ...SEQUENCER REFERENCE BASIC RECORDING PROCEDURE FLOW ...
Page 161: ...YAMAHA MUSIC SYNTHESIZER MIDI DATA FORMAT ...
Page 193: ...32 ...
Page 196: ...YAMAHA YAMAHA CORPORATION P O Box1 Hamamatsu Japan Printed in Japan ...


