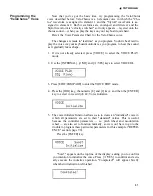
TUTORIALS
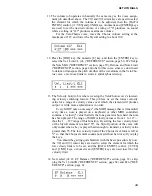
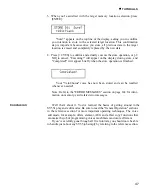
11. The volume job operates in basically the same way as the voice assign-
ment job described above. The and cursor keys are used to select
the element for which the volume is to be adjusted, then the [DATA
ENTRY] control, [+1/YES] and [-1/NO] keys, or numeric and [ENTER] keys
are used to set the desired volume. A setting of "0" produces no sound
while a setting of "127" produces maximum volume.
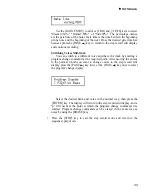
For the VeloChorus voice, leave the Chorus volume setting at the
maximum of 127, and lower the Styroll setting to about 100.
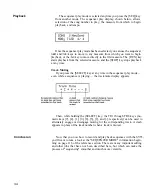
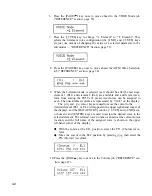
12. Press the [JOB] key, the numeric [8] key, and then the [ENTER] key to
select the Vel. Limit/L job ("REFERENCE" section, page 61). We'll skip
the Note Shift ("REFERENCE" section, page 59), Detune, and Note Limit
("REFERENCE" section, page 60) jobs for this voice, since we don't need
to detune or transpose the pitch of either of the waveforms in the VeloCho-
rus voice, or set note limits to create a split keyboard setup.
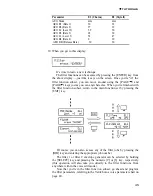
13. The Velocity Limit job is where we setup the VeloChorus voice's interest-
ing velocity switching feature. This job lets us set the lowest velocity
value for a range of velocity values over which the element will produce
output. A little more explanation is in order:
Every MIDI "note on message" (the MIDI message that is transmitted
every time a note is played on a keyboard or other MIDI controller)
contains a "velocity" value that tells the tone generator how hard the note
has been played. The range of MIDI velocity values is from 1 to 127 —
thus the 1 ... 127 range of this function. By setting the low velocity limit
of the Styroll element to about "55", the Styroll portion of the voice will
only sound when a key is played hard enough to transmit a velocity value
greater than 55. The low velocity limit of the Chorus waveform is left at
"1" so that the Chorus element sounds no matter how hard or soft you play
the keys.
You should be getting quite familiar with the basic procedure by now:
the and cursor keys are used to select the element for which the
low velocity limit is to be set, and the [DATA ENTRY] control, [+1/YES]
and [-1/NO] keys, or numeric and [ENTER] keys are used to set the low
velocity limit.
14. Next select job 11: EF Balance ("REFERENCE" section, page 63), skip-
ping the Vel. Limit/H ("REFERENCE" section, page 62) and Pan ("REF-
ERENCE" section, page 62.
43
Summary of Contents for SY55
Page 1: ...YAMAHA AUTHORIZED PRODUCT MANUAL MUSIC SYNTHESIZER ...
Page 2: ...YAMAHA MUSIC SYNTHESIZER ...
Page 4: ...SY55 Music Synthesizer Operating Manual ...
Page 12: ...TUTORIALS SECTION ...
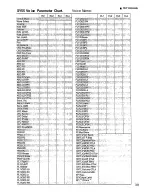
Page 42: ...TUTORIALS SY55 Voice Parameter Chart Voice Name 39 ...
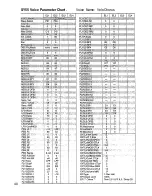
Page 43: ...SY55 Voice Parameter Chart Voice Name VeloChorus 40 ...
Page 51: ...REFERENCE SECTION ...
Page 59: ...VOICE EDIT MODE 57 ...
Page 105: ...DRUM EDIT MODE 103 ...
Page 117: ...MULTI EDIT MODE 115 ...
Page 131: ...SEQUENCER MODE 129 ...
Page 145: ...UTILITY MODE 143 ...
Page 156: ...YAMAHA ...
Page 159: ...SEQUENCER REFERENCE BASIC RECORDING PROCEDURE FLOW ...
Page 161: ...YAMAHA MUSIC SYNTHESIZER MIDI DATA FORMAT ...
Page 193: ...32 ...
Page 196: ...YAMAHA YAMAHA CORPORATION P O Box1 Hamamatsu Japan Printed in Japan ...

