4-20
VALVE AND VALVE SPRING
ENG
NOTE:
NOTE:
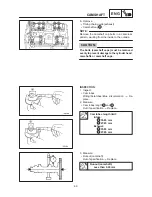
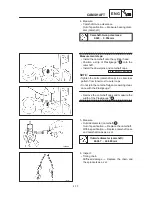
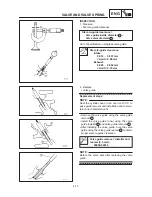
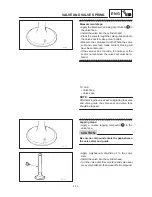
To obtain the best lapping result, lightly tap the
valve seat while rotating the valve back and forth
between your hand.
Apply a fine lapping compound to the valve face
and repeat the above steps.
Be sure to clean off all compound from the valve
face and valve seat after every lapping operation.
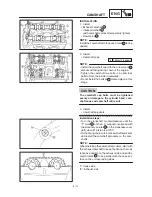
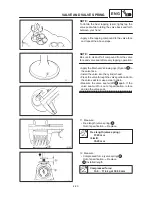
Apply the Mechanic’s blueing dye (Dykem) b to
the valve face.
Install the valve into the cylinder head.
Press the valve through the valve guide and onto
the valve seat to make a clear pattern.
Measure the valve seat width c again. If the
valve seat width is out of specification, reface
and lap the valve seat.
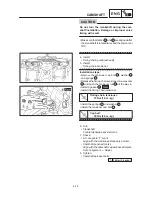
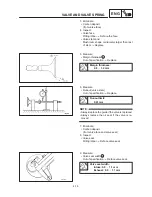
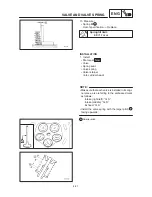
11. Measure:
Free length (valve spring) a
Out of specification
Replace.
Free length (valve spring):
37.29 mm
<Limit>
35.20 mm
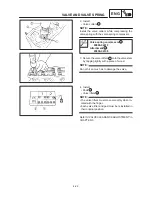
12. Measure:
Compressed force (valve spring) a
Out of specification
Replace.
b Installed length
Compressed force:
10.0
X
11.6 kg at 30.39 mm
Summary of Contents for TDM850 1996
Page 1: ......
Page 2: ......
Page 8: ......
Page 9: ...GEN INFO 1 ...
Page 11: ...GEN INFO ...
Page 20: ...SPEC 2 ...
Page 22: ...SPEC ...
Page 45: ...2 23 LUBRICATION DIAGRAMS SPEC 1 Cylinder head 2 Rear balancer 3 Crankshaft 4 Drain bolt ...
Page 46: ...2 24 LUBRICATION DIAGRAMS SPEC 1 Main axle 2 Drive axle ...
Page 56: ...SPEC ...
Page 57: ...INSP ADJ 3 ...
Page 121: ...INSP ADJ ...
Page 122: ...ENG 4 ...
Page 192: ...ENG ...
Page 193: ...COOL 5 ...
Page 195: ...COOL ...
Page 204: ...CARB 6 ...
Page 206: ...CARB ...
Page 214: ...CARB ...
Page 215: ...CHAS 7 ...
Page 273: ...CHAS ...
Page 274: ...ELEC 8 ...
Page 276: ...ELEC ...
Page 306: ...8 30 LIGHTING SYSTEM ELEC ...
Page 307: ...8 31 SIGNAL SYSTEM ELEC SIGNAL SYSTEM CIRCUIT DIAGRAM ...
Page 322: ...ELEC ...
Page 323: ...TRBL SHTG 9 ...
Page 325: ...TRBL SHTG ...

