6
PERIODIC MAINTENANCE AND MINOR REPAIR
6-28
EC000105
Do not touch the glass part of the
headlight bulb to keep it free from
oil, otherwise the transparency of
the glass, the luminosity of the bulb,
and the bulb life will be adversely
affected. Thoroughly clean off any
dirt and fingerprints on the headlight
bulb using a cloth moistened with
alcohol or thinner.
CAUTION:
1
1
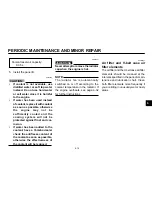
ZAUM0067
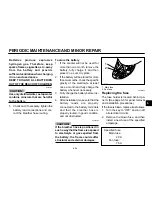
1. Bulb
6. Connect the headlight connector
and install the cowling C.
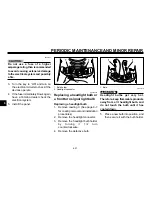
Replacing a front turn signal light
bulb
1. Remove cowling C (See page 6-7
for cowling removal and installation
procedures).
2. Remove the headlight connector.
3. Remove the socket (together with
the turn signal light bulb) by turning
it counterclockwise.
4. Remove the defective bulb.
5. Place a new bulb into position.
6. Install the socket (together with the
bulb) by turning it clockwise.
7. Connect the headlight connector
and install the cowling C.
1
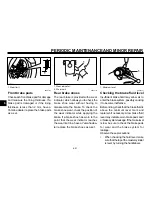
ZAUM0068
1. Bulb
EAUM0036
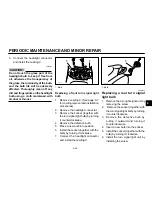
Replacing a rear turn signal
light bulb
1. Remove the turn light signal unit by
removing the screw.
2. Remove the socket (together with
the turn signal light bulb) by turning
it counterclockwise.
3. Remove the defective bulb by
pulling it outward and turning it
counterclockwise.
4. Insert a new bulb into the socket.
5. Install the socket (together with the
bulb) by turning it clockwise.
6. Install the turn signal light unit by
installing the screw.
Summary of Contents for TEO'S XN125
Page 1: ...5MF F8199 E0 XN125 OWNER S MANUAL ...
Page 7: ......
Page 11: ......
Page 12: ...2 DESCRIPTION Left view 2 1 Right view 2 2 Controls and instruments 2 3 ...
Page 27: ......
Page 28: ...4 PRE OPERATION CHECKS Pre operation check list 4 1 ...
Page 31: ......
Page 37: ......
Page 71: ......
Page 72: ...7 SCOOTER CARE AND STORAGE Care 7 1 Storage 7 3 ...
Page 77: ......
Page 78: ...8 SPECIFICATIONS Specifications 8 1 How to use the conversion table 8 4 ...
Page 83: ......
Page 89: ......
Page 90: ...YAMAHA MOTOR CO LTD PRINTED IN FRANCE 00 04 E ...

