4 - 11
ENG
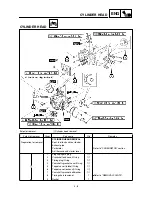
CYLINDER HEAD
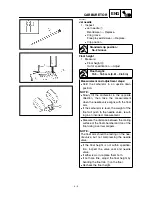
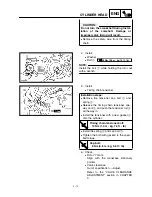
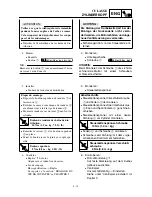
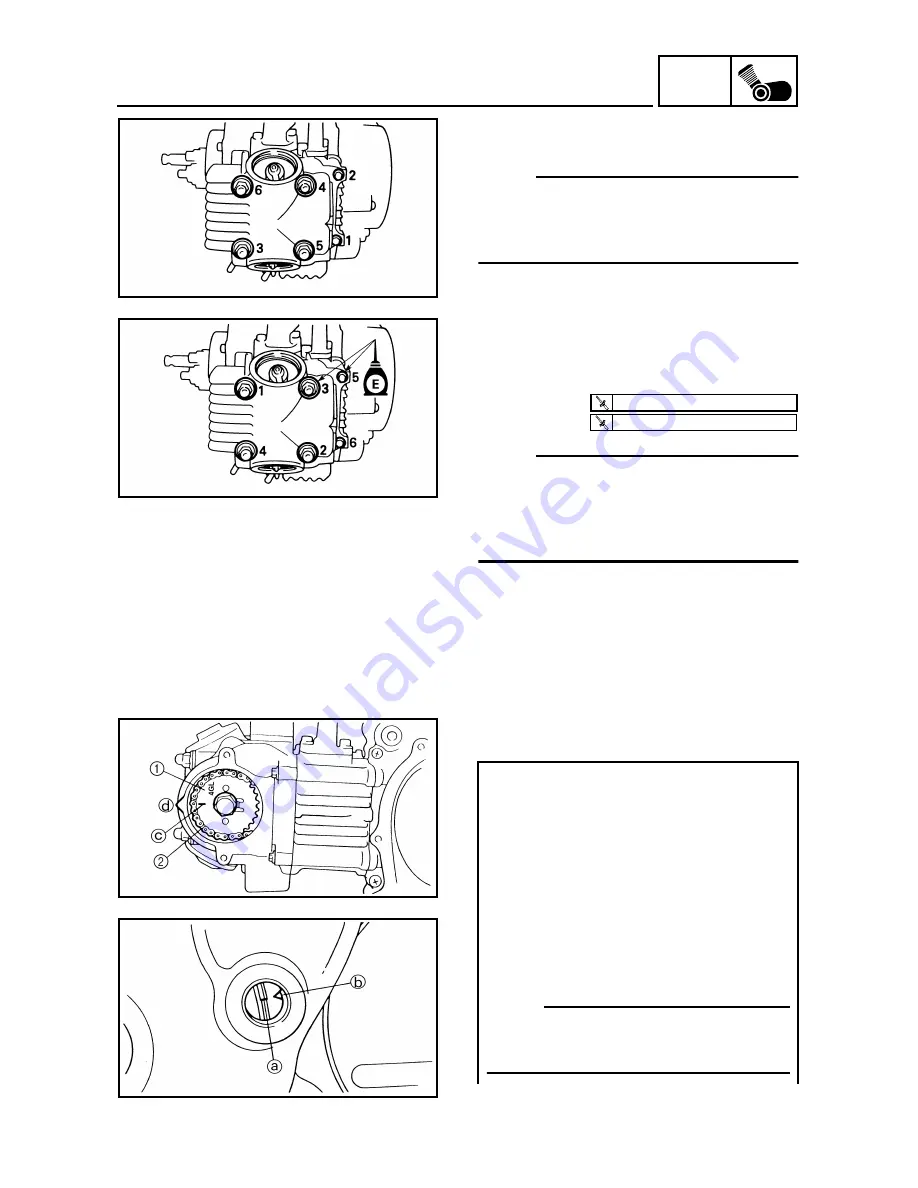
4. Remove:
●
Cylinder head
NOTE:
●
Loosen the bolts and nuts in their proper
loosening sequence.
●
Start by loosening each bolt and nut 1/2 turn
until all are loose.
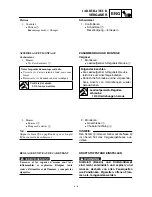
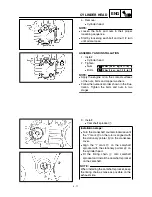
ASSEMBLY AND INSTALLATION
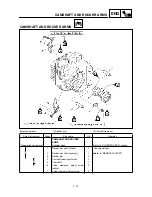
1. Install:
●
Cylinder head
2. Tighten:
●
Nuts
●
Bolts
NOTE:
●
Apply the engine oil on the contact surfaces
of the nuts, bolts and copper washers.
●
Follow the numerical order shown in the illus-
tration. Tighten the bolts and nuts in two
stages.
T
R
.
.
22 Nm (2.2 m · kg, 16 ft · lb)
T
R
.
.
10 Nm (1.0 m · kg, 7.2 ft · lb)
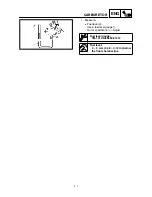
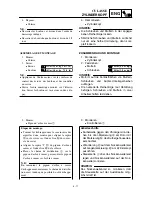
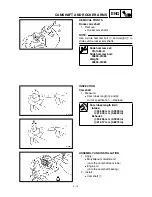
3. Install:
●
Camshaft sprocket
1
Installation steps:
●
Turn the crankshaft counterclockwise until
the “I” mark
a
on the rotor is aligned with
the stationary pointer
b
on the crankcase
cover.
●
Align the “I” mark
c
on the camshaft
sprocket with the stationary pointer
d
on
the cylinder head.
●
Fit the timing chain
2
onto camshaft
sprocket and install the camshaft sprocket
on the camshaft.
NOTE:
When installing the camshaft sprocket, keep
the timing chain as tense as possible on the
exhaust side.
Summary of Contents for TT-R90(R)
Page 45: ...GEN INFO MEMO...
Page 55: ...GEN INFO MEMO...
Page 101: ...SPEC MEMO...
Page 269: ...ELEC MEMO...
Page 279: ...ELEC MEMO...
Page 287: ......


