4-18
VALVES AND VALVE SPRINGS
ENG
NOTE:
NOTE:
NOTE:
EAS00238
REMOVING THE VALVES
The following procedure applies to all of the
valves and related components.
Before removing the internal parts of the cylin-
der head (e.g., valves, valve springs, valve
seats), make sure that the valves properly seal.
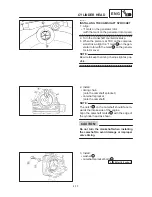
1. Check:
valve sealing
Leakage at the valve seat
Check the valve
face, valve seat, and valve seat width.
Refer to “CHECKING THE VALVE SEATS”.
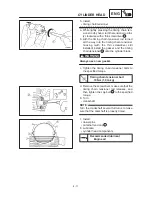
a. Pour a clean solvent
a
into the intake and
exhaust ports.
b. Check that the valves properly seal.
There should be no leakage at the valve seat
1
.
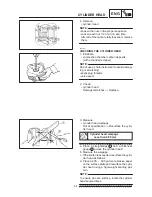
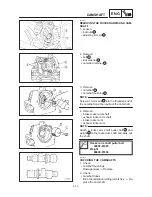
2. Remove:
valve cotters
1
Remove the valve cotters by compressing the
valve springs with the valve spring compressor
2
and attachment
3
.
Valve spring compressor
90890-04019
Attachment
90890-04108
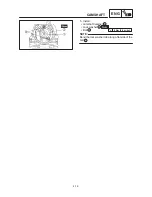
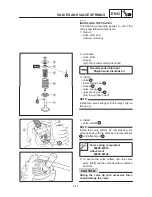
3. Remove:
upper spring seat
1
valve springs
2
oil seal
3
lower spring seat
4
valve
5
Identify the position of each part very carefully
so that it can be reinstalled in its original place.
Summary of Contents for TW125 1999
Page 1: ......
Page 2: ......
Page 8: ......
Page 9: ...GEN INFO 1 ...
Page 11: ......
Page 19: ...GEN INFO ...
Page 20: ...SPEC 2 ...
Page 22: ......
Page 47: ...CHK ADJ 3 ...
Page 49: ......
Page 89: ...CHK ADJ ...
Page 90: ...ENG 4 ...
Page 94: ......
Page 162: ...ENG ...
Page 163: ...CARB 5 ...
Page 165: ......
Page 174: ...CHAS 6 ...
Page 236: ...CHAS ...
Page 237: ...ELEC 7 ...
Page 239: ......
Page 274: ...TRBL SHTG 8 ...
Page 276: ......
Page 282: ...TRBL SHTG ...


