2 - 2
BASICS
Chapter 2
Trying It Out
First Try
Now that you have connected up the VP1 as described in Chapter 1, you are ready to try it out.
Checking the Sound Output
First, let’s check that the VP1 correctly generates sound.
Procedure
1.
Press the POWER switch on the rear panel.
▼
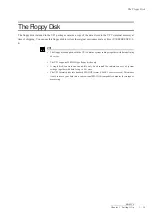
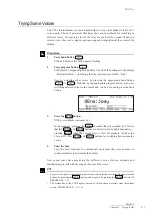
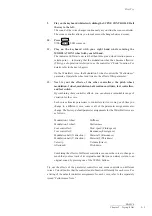
The power comes on. The LCD briefly displays a greeting, then switches to
the screen illustrated below.
2.
Switch on the power to the amplifiers.
▼
The power-indicator LEDs on the amplifiers come on.
3.
Adjust the amplifier volume.
4.
Raise the VOLUME slider on the VP1.
5.
Check that the LED above the
PLAY
button is on.
If the LED is off, press the
PLAY
button once: the LED should come on.
6.
Play some notes on the keyboard.
▼
You should hear the sound of the notes.
If you do not hear anything, refer back to Chapter 1 and recheck the
connections. If the connections appear to be correct, refer to the
Troubleshooting section. (
➝
REFERENCE: App-5)
FYI
•
For some voices, the initial display includes a “Notes” window containing a comment about
the voice. You can close the window by pressing the
EXIT
button.
First Try
Summary of Contents for VP1
Page 1: ......
Page 12: ...BASICS PART...
Page 69: ...REFERENCE PART...
Page 151: ...App 1 REFERENCE Appendix Appendix...
Page 171: ...Index 1 VP1 OWNER S MANUAL Index...


