19
)
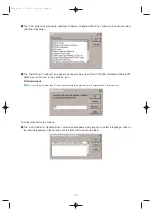
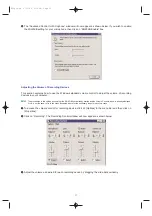
If the “Driver Exists” window appears as shown below, click the [New] button to overwrite the existing
driver.
!
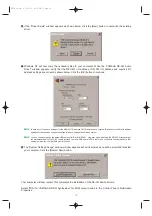
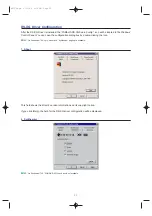
Windows NT will now copy the necessary files to your computer. When the “YAMAHA DS-XG Audio
Driver” window appears, verify that the MPU401 I/O address, IRQ, FM I/O address and Joystick I/O
address settings are correct as shown below. Click the [OK] button to continue.
n
In case any of the above settings (for the MPU401 I/O address, FM I/O address and Joystick I/O address) conflict with address
settings of other devices, change the values for above settings to avoid any conflict.
n
You don’t need to change the default IRQ setting (INTA#) for MPU401. However, when attaching the WF192XG soundcard to
the motherboard using the PC/PCI cable provided, to play a DOS game in DOS real mode, you should change the above IRQ
setting to match the one that DOS game requires.
@
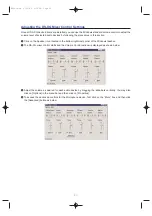
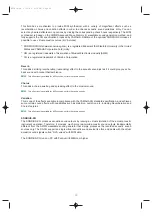
The “System Setting Change” window will now appear as shown below and you will be prompted to restart
your computer. Click the [Restart Now] button.
Your computer will now restart. This completes the installation of the DS-XG device drivers.
Select “MIDI for YAMAHA DS-XG Synthesizer” for MIDI output device in the Control Panel’s Multimedia
Properties.
WF192e.qx 5/21/98 9:16 PM Page 19


