ENGINE
3-11
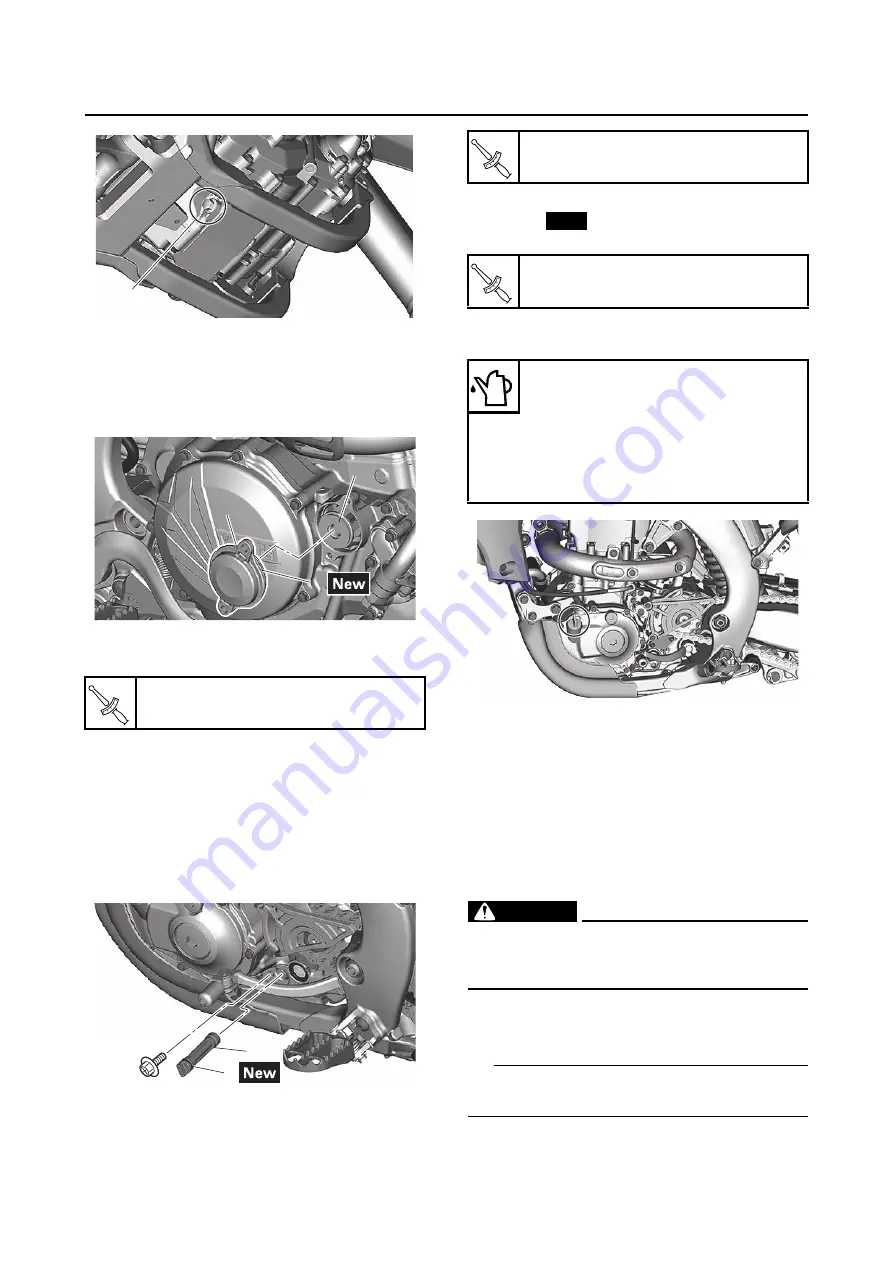
4. If the oil filter element is also to be replaced,
perform the following procedure.
a. Remove the oil filter element cover “1” and
oil filter element “2”.
b. Replace the new O-ring “3”.
c. Install the new oil filter element and the oil
filter element cover.
5. To check the oil strainer, perform the follow-
ing procedure.
a. Remove the oil strainer “1”.
b. Check the oil strainer.
Damage
Replace.
Clogging due to dirt
Wash with kero-
sene.
c. Replace the new O-ring “2”.
d. Install the oil strainer.
6. Install:
•
Gasket
•
Drain bolt
7. Pour the specified amount of engine oil into
the oil filler cap hole.
8. Install:
•
Oil filler cap
9. Check:
•
Oil level
Refer to “CHECKING THE ENGINE OIL
LEVEL” on page 3-10.
10.Check:
•
Engine oil pressure
a. Start the engine.
WARNING
EWA19130
Always keep the engine idling speed during
the checkup without increasing the engine
speed.
b. Look at the oil level check window “1”, and
then make sure that the engine oil flows
and that the engine oil level decreases.
TIP
Check the engine oil level while the engine is at
idling speed.
Oil filter element cover bolt
10 N·m (1.0 kgf·m, 7.4 lb·ft)
3
1
1
3
3
2
2
T
R
.
.
1
2
Oil strainer bolt
10 N·m (1.0 kgf·m, 7.4 lb·ft)
Drain bolt
20 N·m (2.0 kgf·m, 15 lb·ft)
Engine oil quantity
Oil change
0.63 L (0.67 US qt, 0.55 Imp.qt)
With oil filter removal
0.65 L (0.69 US qt, 0.57 Imp.qt)
Quantity (disassembled)
0.90 L (0.95 US qt, 0.79 Imp.qt)
T
R
.
.
New
T
R
.
.
Summary of Contents for WR450F 2022
Page 8: ......
Page 15: ...LOCATION OF IMPORTANT LABELS 1 5...
Page 16: ...LOCATION OF IMPORTANT LABELS 1 6 AUS NZL ZAF EUR...
Page 90: ...ELECTRICAL SYSTEM 3 32...
Page 134: ...CLUTCH 5 7...
Page 138: ...FUEL TANK 6 3...
Page 146: ...ELECTRICAL COMPONENTS 7 7...
Page 160: ...SELF DIAGNOSTIC FUNCTION AND DIAGNOSTIC CODE TABLE 8 13...
Page 170: ...CHASSIS 9 9...
Page 172: ...PRINTED IN JAPAN E...


