CHECKING THE CONNECTIONS
1-4
EAS20250
CHECKING THE CONNECTIONS
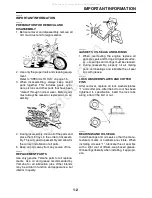
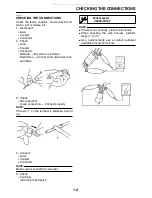
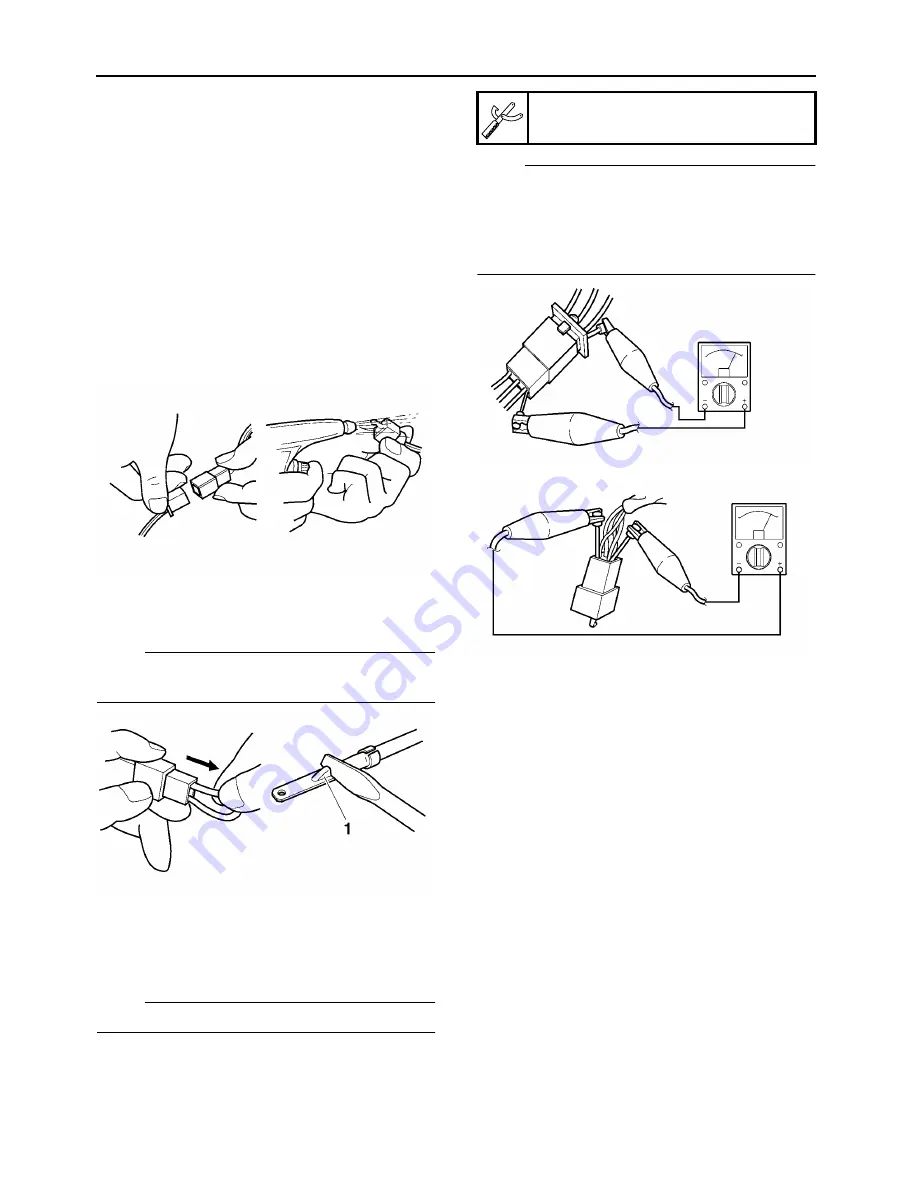
Check the leads, couplers, and connectors for
stains, rust, moisture, etc.
1. Disconnect:
●
Lead
●
Coupler
●
Connector
2. Check:
●
Lead
●
Coupler
●
Connector
Moisture
→
Dry with an air blower.
Rust/stains
→
Connect and disconnect sev-
eral times.
3. Check:
●
All connections
Loose connection
→
Connect properly.
NOTE:
If the pin “1” on the terminal is flattened, bend it
up.
4. Connect:
●
Lead
●
Coupler
●
Connector
NOTE:
Make sure all connections are tight.
5. Check:
●
Continuity
(with the pocket tester)
NOTE:
●
If there is no continuity, clean the terminals.
●
When checking the wire harness, perform
steps (1) to (3).
●
As a quick remedy, use a contact revitalizer
available at most part stores.
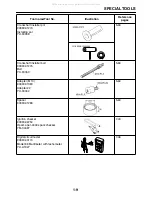
Pocket tester
90890-03132
All manuals and user guides at all-guides.com
Summary of Contents for XT250X 2008
Page 2: ...All manuals and user guides at all guides com...
Page 8: ...All manuals and user guides at all guides com...
Page 54: ...CABLE ROUTING 2 35 All manuals and user guides at all guides com...
Page 82: ...ELECTRICAL SYSTEM 3 27 a b All manuals and user guides at all guides com...
Page 170: ...VALVES AND VALVE SPRINGS 5 24 All manuals and user guides at all guides com...
Page 224: ...AIR INDUCTION SYSTEM 6 13 All manuals and user guides at all guides com...
Page 239: ...CHARGING SYSTEM 7 14 All manuals and user guides at all guides com...
Page 243: ...LIGHTING SYSTEM 7 18 All manuals and user guides at all guides com...
Page 249: ...SIGNALING SYSTEM 7 24 All manuals and user guides at all guides com...
Page 253: ...CARBURETOR HEATING SYSTEM 7 28 All manuals and user guides at all guides com...
Page 279: ...All manuals and user guides at all guides com...


