UNREGISTERED VI
UNREGISTERED VERSION OF PICTURED
Frame, suspension and final drive 6*29
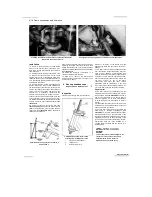
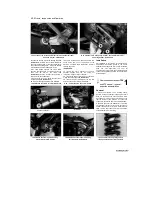
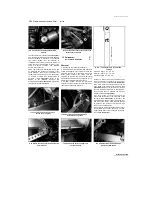
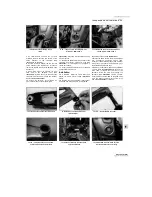
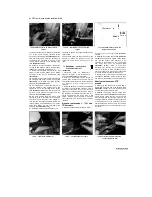
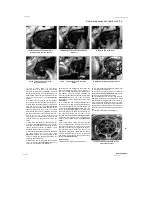
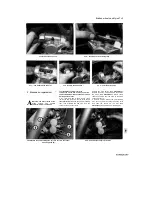
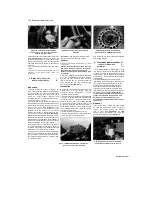
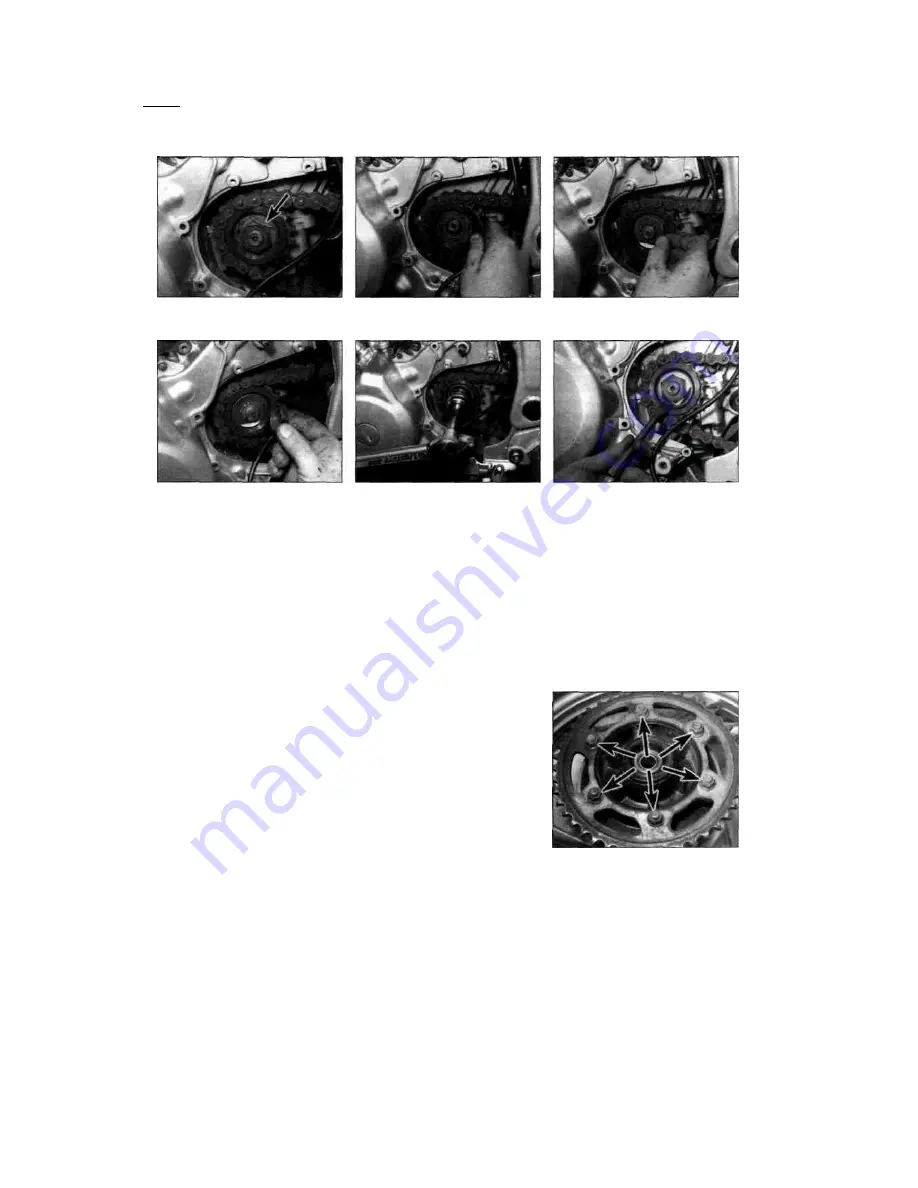
16.7 Bend back the lockwasher tab(s)
(arrowed), then unscrew the nut
16.8 Slide the sprocket off the shaft and
remove it
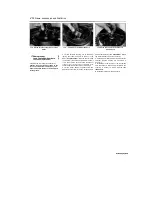
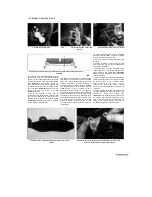
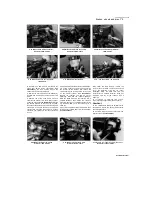
16.10a Fit a new lockwasher.
16.10b ... make sure the nut is the
correct way round ...
16.10c ... and tighten it to the specified
torque
16.10d Bend the tabs up against the nut
no mark is visible, make your own before
removing the arm so that it can be correctly
aligned with the shaft on installation. Unscrew
the bolts securing the inner sprocket cover, on
TDM models noting the clip secured by the top
rear bolt, and remove the cover
(see illustration
15.2c).
6
On TRX models, unscrew the gearchange
lever linkage arm pinchbolt and remove the arm
from the shaft, noting the alignment of the punch
mark with the slit in the clamp
(see illustration
15.3).
If no mark is visible, make your own before
removing the arm so that it can be correctly
aligned with the shaft on installation. Unscrew
the bolts securing the outer front sprocket cover
and remove the cover, then unscrew the bolts
securing the inner sprocket cover, noting the clip
secured by the top rear bolt, and remove the
cover.
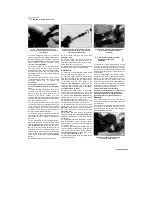
7 Bend down the tab(s) on the sprocket nut
lockwasher
(see illustration).
Have an assistant
apply the rear brake, then unscrew the nut and
remove the washer. Refer to Chapter 1 and
adjust the chain so that it is fully slack.
8 Slide the sprocket and chain off the shaft and
slip the sprocket out of the chain
(see
illustration).
If there is not enough slack on the
chain to remove the sprocket, disengage the
chain from the rear wheel.
9 Engage the new sprocket with the chain and
slide it on the shaft
(see illustration 16.8).
Take
up the slack in the chain {see Chapter 1).
10
Slide on a new lockwasher, then fit the nut
with its recessed side facing in and tighten it to
the torque setting specified at the beginning of
the Chapter, using the method employed on
removal to prevent the sprocket from turning
(see
illustrations).
Bend up one of the pre-formed
tabs of the lockwasher against the nut flats
(see
illustration).
11
On TDM and XTZ models, install the inner
sprocket cover, on TDM models not forgetting the
clip secured by the top rear bolt, and tighten the
bolts securely
(see illustration 15.2c).
Align the
split in the gearchange linkage arm clamp with
the punch mark on the shaft, then fit the arm on
the shaft and tighten the pinchbolt to the
specified torque setting
(see illustration 15.2b).
Install the outer sprocket cover and tighten its
bolts to the specified torque
(see illustration
15.2a).
12
On TRX models, install the inner sprocket
cover, not forgetting the clip secured by the top
rear bolt, and tighten the bolts securely. Install
the outer sprocket cover and tighten its bolts to
the specified torque. Align the split in the
gearchange linkage arm clamp with the punch
mark on the shaft, then fit the arm on the shaft
and tighten the pinchbolt to the specified torque
setting
(see illustration 15.3).
Rear sprocket
13
Remove the rear wheel (see Chapter 7).
14 On XTZ models, bend back the locking tabs
on the sprocket nut lockplates.
15
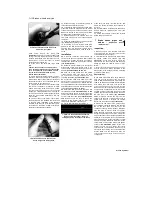
Unscrew the nuts securing the sprocket to
the hub assembly
(see illustration).
Remove the
sprocket, noting which way round it fits.
16
Install the sprocket onto the hub with the
stamped mark facing out. On XTZ models, install
the lockplates, noting that new ones should be
used. Tighten the nuts evenly and in a criss-
cross sequence to the torque setting specified at
the beginning of the Chapter. On XTZ models,
bend the tabs of the lockplates up against the nut
flats.
17 Install the rear wheel (see Chapter 7).
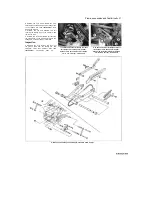
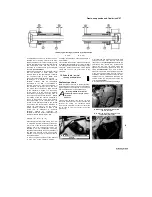
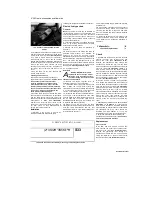
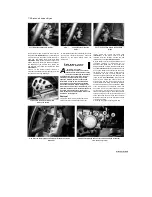
16.15 Unscrew the nuts (arrowed) and
remove the sprocket
6
UNREGISTERED VI
Scaned by Stalker
UNREGISTERED VI

